
How to Install a Mini Split Ground Stand (Madison, WI Tech)
I install and service ductless mini split systems around Madison, WI, and one of the most common things I see done wrong is the outdoor unit sitting too low.
- Written by
- A working HVAC tech
- Updated
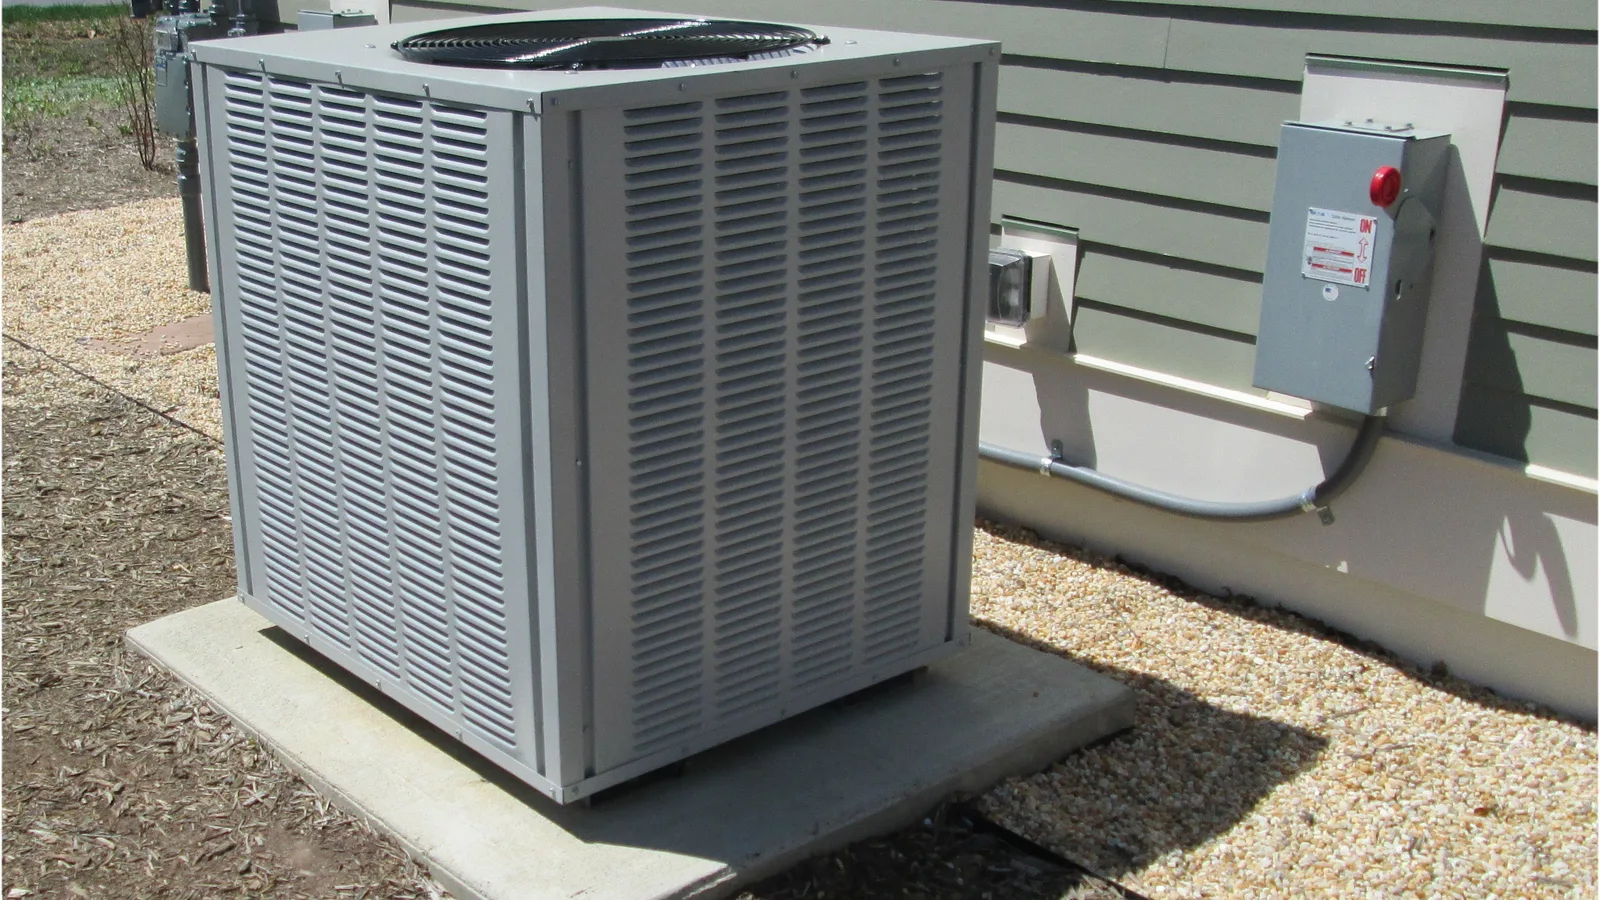
This guide walks you through planning and installing a ground stand for a mini split or heat pump, with clear notes on which steps you can handle yourself and which need a licensed tech.
Key Takeaways
-
In Madison and most of Wisconsin, outdoor units go on a raised stand instead of a pad that sits at grade level. Snow regularly reaches 5–10 inches and it will block airflow and drainage on a unit that sits at ground level.
-
If you pour separate concrete piers for the stand, Wisconsin UDC SPS 321.16 needs footings below frost depth or at least 48 inches below grade, whichever is deeper.
-
You can usually handle site layout, basic carpentry, anchoring the stand and drainage prep. Refrigerant work, vacuum, line set flaring and electrical connections must be done by a DSPS-registered HVAC contractor and licensed electrician.
-
A stable foundation is crucial for installing a mini split ground stand. Skip this step and you risk frost heave tilting your entire system.
-
If you're in the Madison area and want a ground stand installed or checked, you can book me through howtoinstallminisplit.com.
Why Use a Ground Stand for Your Mini Split
I almost never set a ductless mini split heat pump on a pad at grade in the Madison area. The reason is simple: snow. Madison averages 77.5 days a year with at least 1 inch of snow on the ground, 34.5 days with 5 inches or more, and 8.2 days with 10 inches or more. During a normal December through February, roughly 62.6 of those days have an inch or more of snow sitting there. A unit at grade spends most of winter half-buried.
Installing a ground stand elevates a mini split condenser above snow and water, keeping the coil and base pan clear so defrost cycles actually work. A ground stand also protects the condenser from pooling water, dirt and debris that accumulate at grade level. Compared with some wall brackets, a ground stand on solid piers can reduce vibration transmission into the house and avoids loading older siding or foundations.
Common stand types include:
-
Galvanized steel mini split stands are the most popular type
-
Pressure-treated lumber frames on metal hardware
-
Manufacturer-specific frames are matched to a specific unit
Planning the Ground Stand Location and Height
Good placement affects both performance and how easy the mini split system is to service later. Follow the manufacturer's specifications for minimum clearance and mounting requirements, but as a baseline: leave at least 12 inches behind the unit, 12–24 inches on the sides, and open space above. Outdoor units need plenty of clearance for proper airflow. Your indoor air handler should be mounted about seven feet high on an interior wall, and the line set run between indoor and outdoor units should be as short and direct as possible.
For stand height, I recommend the bottom of the unit sit at least 18 inches above finished grade. If your yard drifts badly or snow gets wind-blown against the house, go to 24 inches. Pick a location with good airflow-not packed in a tight alcove-and a safe path for condensate to drain away from the foundation.
A few more things to watch:
-
Avoid placing the heat pump directly under bedroom windows. Noise matters.
-
Check local building codes, which may require permits for installation.
-
In Wisconsin, any HVAC work performed for others requires a DSPS HVAC Contractor registration under Wis. Admin. Code SPS 305.70. That means if you're hiring someone, verify they hold that registration.
Foundation Options and Code Considerations in Wisconsin
A mini split ground stand still needs something solid underneath it, and frost movement is the main problem in our climate. What can you put under it? Concrete pads are usually used to support ground stands for mini split condensers, but they aren't the only option. Here are three approaches:
| Foundation Type | Pros | Cons |
|---|---|---|
| Individual concrete piers | Frost-protected if dug to depth; minimal concrete | More labor per pier; needs careful alignment |
| Full concrete pad above grade | Simple, distributes load | Vulnerable to frost heave unless deep or insulated |
| Pre-cast deck blocks | Low cost, fast | Rarely code-compliant in frost zones; unstable |
If the stand has its own piers, Wisconsin UDC SPS 321.16 requires footings below frost penetration or at least 48 inches below grade, whichever is deeper. In Dane County, that means 48 inches. That's the depth I plan for on permanent installs.
For pier layout: mark the locations of the legs, use an auger or post-hole digger to go to 48+ inches, widen the bottoms if you can, pour concrete and set anchors or embedded bolts that match the stand's base. Grade the area with about a 1–2% slope away from the house so meltwater drains clear.
Picking and Putting Together a Mini Split Ground Stand
You can buy a galvanized steel stand kit sized for your outdoor unit. Ground stands can be made from metal or heavy-duty resin materials for support, but steel is what I see on the vast majority of installs. Before you start, measure the heat pump base dimensions-bolt-hole spacing, depth and width-and confirm the stand is compatible with your specific model's weight and footprint.
Assembly is fairly easy on most kits: lay out crossbars, bolt uprights, square the frame, then snug hardware to the manufacturer's torque specs. Use stainless or hot-dip galvanized fasteners if adding extra hardware. Use a level to ensure the ground stand is properly aligned during installation-front-to-back and side-to-side-then tighten anchor nuts. Anchoring the ground stand securely is important for preventing movement in high winds, so don't skip the concrete anchors (wedge anchors or concrete screws) drilled with a hammer drill and masonry bit.
If you're building a pressure-treated lumber stand, set it on metal post bases above the concrete, not directly on soil. Any wood near grade should be rated for ground contact.
Mounting the Unit and Running Lines
Here's where the line between homeowner work and licensed work is clear. You can physically set the unit, bolt it to the stand, and rough in a line set route. You should not touch flaring, vacuum, refrigerant or final electrical connections.
Lift the outdoor heat pump onto the stand with two people for anything that is over about 150 lbs. Avoid tilting the unit severely. Vibration isolation pads are there to minimize operational noise and vibrations from the mini split unit-place them between the base and the stand rails before bolting down. Torque bolts firmly but don't crush the base-pan metal.
For the line set between outdoor unit and indoor air handler, route the shortest practical run with gentle sweeps instead of sharp bends. Protect exposed sections with UV-rated insulation or line set covers. All flaring, leak testing, evacuating (pulling vacuum on the line set), and opening refrigerant valves must be done by an HVAC contractor registered under SPS 305.70. Wisconsin's HVAC Qualifier certification under SPS 305.71 needs at least four years and 1,000 hours per year of HVAC experience plus a DSPS exam-that's the level of credential behind proper startup work.
Most mini-splits need 220V wiring and a dedicated circuit, though some smaller systems run on 110–120V. Verify voltage requirements before installation and consult an electrician for electrical system compliance. The wire run from disconnect box to unit and all connections must meet code.
For drainage: ensure base-pan drain holes stay clear, check drainage lines for clogs annually, and avoid directing defrost meltwater onto walkways where it will ice over.
Final Checks, Safety and Calling a Pro
Before energizing a ductless mini split, double-check everything. It is important to check the stability of the unit after the mounting process is complete. Installation time usually takes several hours to a full day depending on foundation work and complexity.
Homeowner visual checks:
-
Confirm the stand is solid with no wobble
-
Verify all anchors are tight
-
Confirm the unit is level
-
Ensure there is proper clearance around the condenser for airflow and servicing
-
Check that snow and debris won't pile against the heat pump
All electrical work-disconnect box, outdoor unit wiring, bonding-should be performed and inspected by a licensed electrician. Make sure the disconnect is reachable from the stand without mounting or stretching.
On a startup visit, here's what I do: verify line set routing and insulation, pull a deep vacuum, confirm the system holds vacuum with no leaks, open service valves, check operating pressures and temperatures against manufacturer data, and listen for vibration or rattling from the stand. Air filters should be cleaned regularly after the system is running, condenser coils need periodic cleaning for efficiency, and annual professional maintenance is recommended for best performance to keep cooling and heating output where it should be.
If you're in the Madison, WI area and are thinking about a new ground stand, need an existing pad replaced, or want a second opinion on a wobbly or low-mounted mini split, reach out through howtoinstallminisplit.com.
FAQ About Mini Split Ground Stand Installation
These questions cover a few common topics that don't fit neatly into the step-by-step guide above. For more detailed information, you can watch tutorials on YouTube, a Google company, though always confirm any advice against local code-content published under 2026 Google LLC doesn't account for Wisconsin-specific frost depths or licensing rules.
How high should I mount my mini split above the ground in Madison?
I recommend the bottom of the outdoor unit sit at least 18 inches above finished grade, and closer to 24 inches where drifting is common. With Madison averaging about 51.8 inches of annual snowfall and 34.5 days with 5+ inches on the ground, that clearance keeps the coil and base pan above typical snow levels through most of winter.
Can You DIY the Mini Split and Stand?
You can install the ground stand, handle site layout and do basic prep. But Wisconsin law under SPS 305.70 prohibits installing or servicing HVAC for others without a DSPS HVAC Contractor registration, and refrigerant handling, vacuum and startup steps should always be left to a qualified tech. Electrical work needs a licensed electrician.
Do You Need 48-Inch Concrete Piers for a Ground Stand?
For a long-term, code-compliant install with separate piers supporting a heavy outdoor heat pump, yes. UDC SPS 321.16 needs footings below frost penetration or at least 48 inches below grade. In Dane County, frost routinely reaches that depth. Skipping it risks frost heave tilting your system in a similar way to what I see on shallow pad installs every spring.
Wall Bracket or Ground Stand for a Ductless Mini Split?
Wall brackets keep the unit completely out of snow and free up yard space, but they can transmit more vibration indoors and load the wall structure. Ground stands on solid foundations are often easy to service, quieter near bedrooms and don't stress siding or framing. The right choice will depend on your specific space and house construction.
What If a Mini Split Sits in the Snow?
Snow blocking the coil reduces airflow, hurts efficiency and causes defrost failures. Meltwater refreezes around the base pan, leading to corrosion and ice buildup. An oversized mini-split causes short-cycling and inefficiency even without snow issues, while an undersized mini-split cannot cool effectively in summer-so conducting a load calculation ensures proper mini-split sizing before you finish planning your install. Multi-zone systems that connect multiple indoor units to one outdoor unit are especially vulnerable to snow obstruction because of higher airflow demands. A properly sized and installed ground stand is the best prevention in our climate.