
Mini Split Installation Clearance: How Much Space You Need
Mini split installation clearance can be one of the fastest ways to turn a good system into an expensive headache when you get it wrong.
- Written by
- A working HVAC tech
- Updated
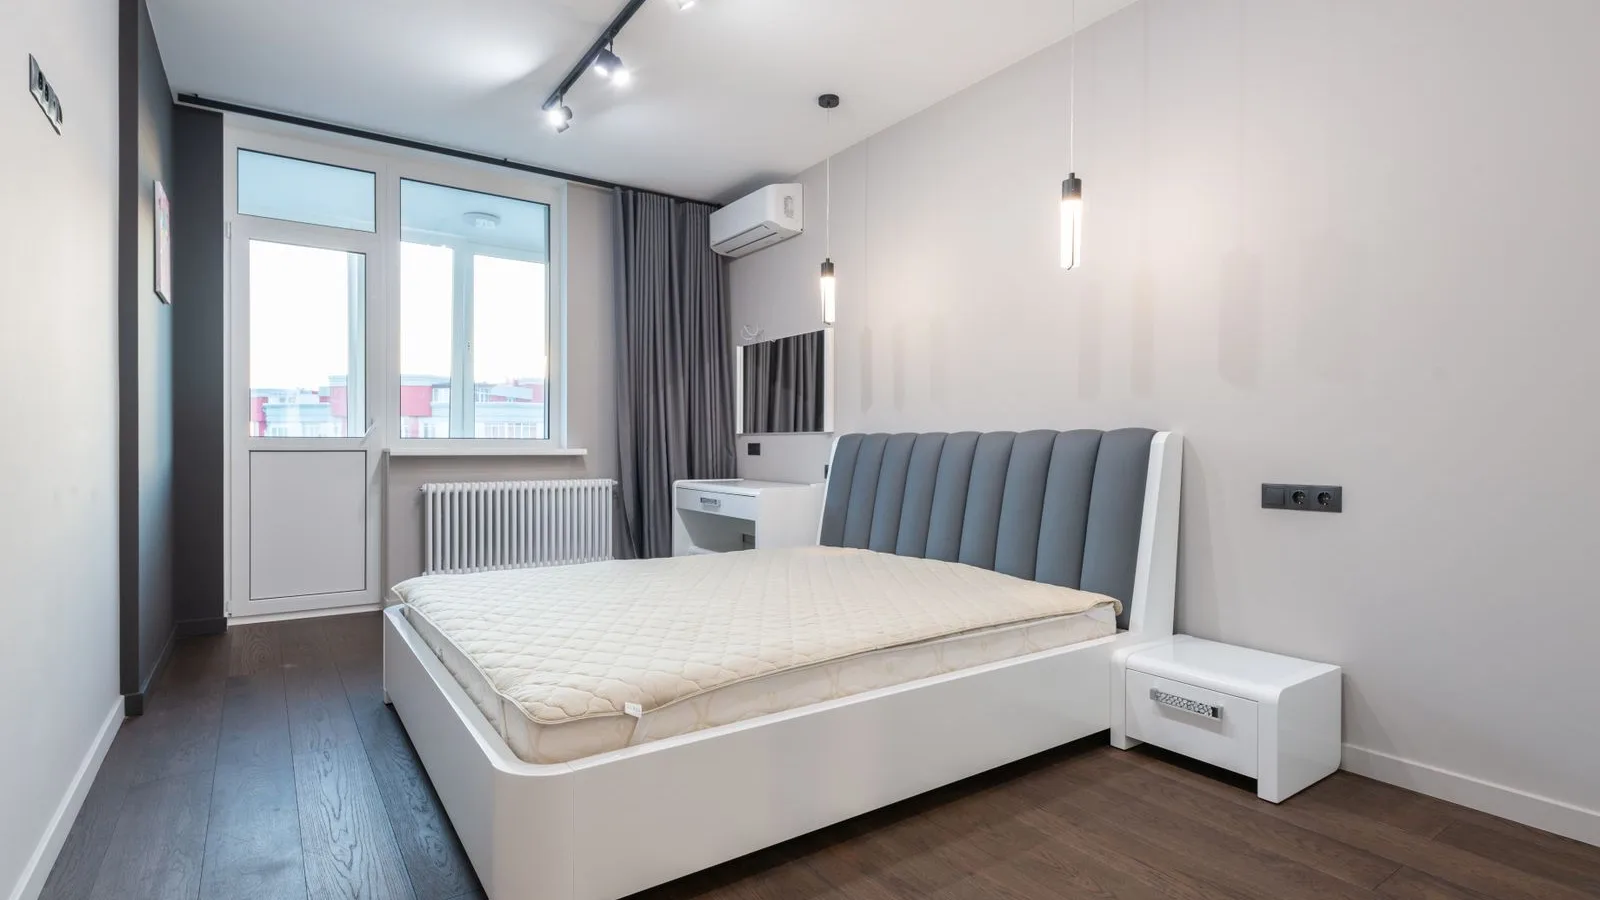
I install and service mini splits across the Madison, Wisconsin area and questions about clearance come up on almost every job. This guide will give you the exact numbers you need for both indoor and outdoor units, explain why those numbers matter, and show you the real-world challenges that snow, fences and tight side yards create.
What You Need to Know
Before we dig into the details, here's what can matter most:
-
The quick answer for basic mini split clearance: usually 6–8 inches above the indoor head to the ceiling, 4–6 inches on each side, and 6 to 8 feet of open space in front. 12–24 inches around and at least 20–24 inches above the mini split condenser outdoors-unless the manual says otherwise.
-
The installation manual from the manufacturer always wins over generic clearance rules for ductless mini split installation. Specific clearance requirements can be very different from one mini split model to the next, and from one brand to the next.
-
Poor clearance can void warranties, reduce efficiency, cause ice buildup and shorten compressor life. When you optimize clearance, you can get a longer equipment lifespan and better comfort.
-
I install and service mini splits around Madison, Wisconsin, where local code, snow loads and landscaping all have an effect on real-world clearance choices.
Minimum Clearances for Most Mini Splits
Indoor wall-mounted unit:
-
At least 6 inches of ceiling clearance for proper air intake
-
4–6 inches from side walls or corners on both sides for wiring and maintenance
-
There should be 6 to 8 feet of open space in front to ensure proper airflow across the room.
Outdoor mini split condenser:
-
10 to 12 inches away from walls for enough ventilation at the rear
-
12–24 inches on each side for airflow and service panel access
-
You need at least 20 to 24 inches of vertical clearance above so heat does not get trapped.
-
There should be 4 to 6 feet of clearance in front for effective cooling and heating.
The exact numbers must come from the brand's installation manual-Mitsubishi, Daikin, Fujitsu, Gree, Senville or whoever made your equipment. My estimates in Madison always start with that document. And space around the unit isn't just about air. It also covers service access, snow exposure in Wisconsin winters, and code-required working space at the electrical disconnect.
Why Mini Split Installation Clearance Matters
Clearance is tied directly to comfort, reliability and safety in every ductless mini split installation. Here is why it matters:
-
Airflow: When intake or discharge is restricted on indoor heads, it causes noisy operation, poor temperature control and ice on the coil in both cooling and heating mode. When airflow around mini split units is blocked, energy use goes up and components wear out faster.
-
So what happens when airflow gets blocked? That can lead to short cycling and lower overall system performance. Compressor stress: When condenser spacing is tight, it recycles hot air, raises head pressure and can trigger high-pressure faults or shorten compressor life.
-
Maintenance access: Techs need room to pull covers, clean coils, test electrical components, connect gauges and hook up a vacuum pump to line sets. Maintaining proper space around the unit is what ensures you have easy maintenance access to the unit.
-
Temperature sensing: Indoor units need enough space around them to avoid reading the room temperature wrong, which leads to waste and uneven comfort.
-
Warranty: Brands like Mitsubishi clearly show needed space in their manuals. Ignoring those drawings can give the manufacturer a big reason to deny parts coverage after a failure. Proper clearance for outdoor units also prevents noise from getting louder and improves efficiency.
Indoor Unit Clearance for Walls, Ceilings and Furniture
-
Ceiling: Most mini splits need 6–8 inches minimum from the top of the casing to the finished ceiling. Don't mount tight to the drywall even if brackets physically fit-the unit needs that gap for air intake.
-
Side walls: Keep 4–6 inches on each side so the unit can swing the air vents and spread airflow evenly. When you cram a head into a narrow nook, it usually leads to drafts and dead spots in the room.
-
Front clearance: Indoor units need at least 6 to 8 feet of open space in front. Don't put tall shelves, closets or deep soffits in the way of the air throw. This is a practical fit issue that directly affects how well the system conditions the space.
-
Height off floor: Indoor units are usually mounted 7 to 8 feet above the floor so air is distributed best. For floor-mounted or low-wall units, keep several inches above the finished floor, clear any baseboard trim and don't push furniture right against the front panel.
Outdoor Mini Split Condenser Clearance on Sides, Back and Above
The outdoor unit is both a fan and a heat exchanger, and it is sensitive to tight spots, fences and shrubs. Don't put outdoor units in tight enclosures, because that is how you starve a condenser for air.
-
Rear clearance: Some brands need 4–6 inches minimum from siding or a bracket wall, and others need 12 inches. Check the exact model diagram and don't block the coil with insulation or foam.
-
Side clearance: Aim for 12–24 inches on each side for airflow and so I can remove service panels and access service valves for evacuation and charging.
-
Front clearance: Maintain at least 24 inches as an absolute minimum, with 36 inches or more preferred so discharge air can escape and snow piles from shoveling don't smother the unit. Many manuals call for 4 to 6 feet in front for effective cooling and heating operation.
-
Vertical clearance: Many manuals call for 60 inches (5 ft) of open space above the unit. Avoid decks, low overhangs and placement directly under porches that stick out unless the manufacturer lets it. Outdoor units need at least 20 to 24 inches of vertical clearance above at a bare minimum.
Mounting Clearance in Real-World Installs
-
Ground pads: I recommend raising condensers 12–18 inches above grade on stands in snowy climates, keeping 3–4 feet away from downspouts, roof runoff and areas where a plow vehicle pushes snow against the house.
-
Future service access: Make sure a tech can safely stand or set a ladder to reach the condenser. High wall mounts still need safe working space at the electrical disconnect.
Clearances for Lines, Drains and Electrical
-
Line set routing: Keep lines as short and straight as you can. Avoid tight 90° turns. Leave a gentle service loop at the condenser so flares can be re-done if needed. A hole must be drilled through the wall for refrigerant lines during installation, and hiding and insulating lines are essential afterward.
-
Electrical clearance: Code typically requires clear working space at the outdoor disconnect-commonly 30 inches wide and 36 inches deep in front per NEC 110.26. Electrical work is a key factor in installation costs and safety. Wisconsin did not adopt NEC 210.8(F), the 2023 rule requiring GFCI protection on outdoor outlets feeding equipment like heat pump condensers, so the nuisance-tripping GFCI breaker issue other states have with inverter mini splits doesn't come from state code here.
-
Electrical setup is necessary for ductless mini-split systems, and I always coordinate with a licensed electrician on new circuits.
Snow, Landscaping and Obstructions: Special Clearance Issues in Wisconsin
-
Snow lines: Mount outdoor condensers high enough that typical snowfalls and plow piles don't block the coil or fan. Across 2022–2024 winters, 12–18-inch stands made the difference between running and operating in a shutdown.
-
Plants and fences: Plan for the size the shrub will be when it is mature. Keep 2–3 feet of clearance at full growth, and don't let a new privacy fence choke off airflow a year after installation.
Clearance Mistakes I See on Mini Splits
When you're looking at someone else's DIY or low-bid install, the same patterns come up over and over:
-
Indoor mistakes: Heads mounted directly against ceilings with zero gap left for intake. Units tucked over tall closets or installed where a ceiling fan throws air straight back at the unit.
-
Outdoor mistakes: Condensers set 6 inches from fences, crammed into 18-inch side yards between houses, or buried behind lattice skirting that looks nice but starves airflow.
-
Electrical and service mistakes: Disconnects mounted so close to the condenser that covers can't be removed. Line sets coiled behind units with no room to access service valves for evacuation, pressure testing or micron gauge hookup.
-
Consequences: Nuisance lockouts in deep cold, high head pressure trips during heat waves, noisy operation and in some cases compressor or board failure within a couple of seasons. You're going to worry about price now, but a compressor replacement costs far more than doing the clearance right the first time.
When to Call a Licensed Mini Split Installer
Safe DIY-friendly tasks:
-
Choosing a general wall area for the indoor head
-
Pouring a small pad under guidance
-
Trimming shrubs for clearance
-
Installing a line set cover channel along a planned route
Tasks for a licensed HVAC tech:
-
Verifying clearances against the exact manual
-
Nitrogen pressure testing, deep vacuum to manufacturer specs
-
Opening refrigerant valves safely on R-410A-which the EPA calls a high-pressure appliance (liquid saturation pressure of 170–355 psia at 104°F), not a "small appliance"
Senville's warranty states that pressure testing and evacuation must be performed by a licensed HVAC professional and that DIY installation voids coverage. Mitsubishi's base warranty is 5 years parts from installation by a licensed contractor. 12 years parts and compressor needs a Diamond Contractor install registered within 90 days, and labor is never covered. These aren't suggestions-they're the terms you pay for with the equipment.
FAQ on Mini Split Installation Clearance
How close to a window can I install a mini split condenser?
Most manuals allow condensers near windows but recommend several feet of horizontal separation so hot discharge air and noise don't blow directly into open windows. Avoid mounting directly under bedroom windows where winter defrost steam or fan noise may be annoying, even if technically within clearance specs. Local code may require specific clearances from egress windows, so I check Madison building requirements before finalizing placement.
Is it OK to put the mini split condenser under a deck?
Placing condensers under low decks is usually a bad idea because it breaks vertical clearance requirements and traps hot air, moisture and sometimes grill smoke. A tall, open deck can work if the underside is high enough to maintain 5 feet or more of vertical clearance and the sides are open, but I still prefer open-air locations. Check the deck framing for potential snow or ice shedding and verify service access is still met.
How far can the outdoor mini split condenser be from the indoor unit?
Each manufacturer lists maximum line set lengths and elevation differences. So how does distance affect performance? Many residential mini splits allow 50–100 feet of total line length, but performance can change at the higher end. Longer distances increase refrigerant volume and may need additional charge beyond the factory pre-charge. Line-set distance affects the overall installation cost, and clearance around the condenser is still mandatory regardless of how long the run is.
What size mini split do I need, and does it affect clearance?
Mini splits can cover areas from 400 to 1,500 square feet depending on the model. A 12,000 BTU unit usually covers about 750 square feet. Mini-splits can serve one room or multiple connected spaces. SEER2 ratings can reach up to 25-for example, SEERXtreme operates down to -15°F with SEER2 ratings of 24–25, while Airtural models cover 450 to 1,500 square feet with SEER2 values of 20.5 to 22. Blast Pro models cover 400 to 1,200 square feet with SEER2 values of 20–21. For humidity control, GreyVolt units provide dehumidification from 35.5 to 92 pints per day. Smart control options include Wi-Fi and voice control features across many brands. The condenser size grows with capacity, which affects clearance footprint. Equipment capacity affects installation cost a lot, and permit requirements can also affect costs. Installation cost depends on room size and zones, so square footage matters for both sizing and budgeting. Ducts aren't needed with ductless systems, which is the whole point-but you still need every inch of clearance the manual calls for. Manufacturer installation manuals should always be checked for specific clearance requirements for your exact model.