
Mini Split Installation Tools: What You Really Need (From a Madison, WI Tech)
Mini split installation tools range from basic hand tools to specialized refrigeration equipment, and knowing what you actually need can save you hundreds of dollars and hours of frustration.
- Written by
- A working HVAC tech
- Updated
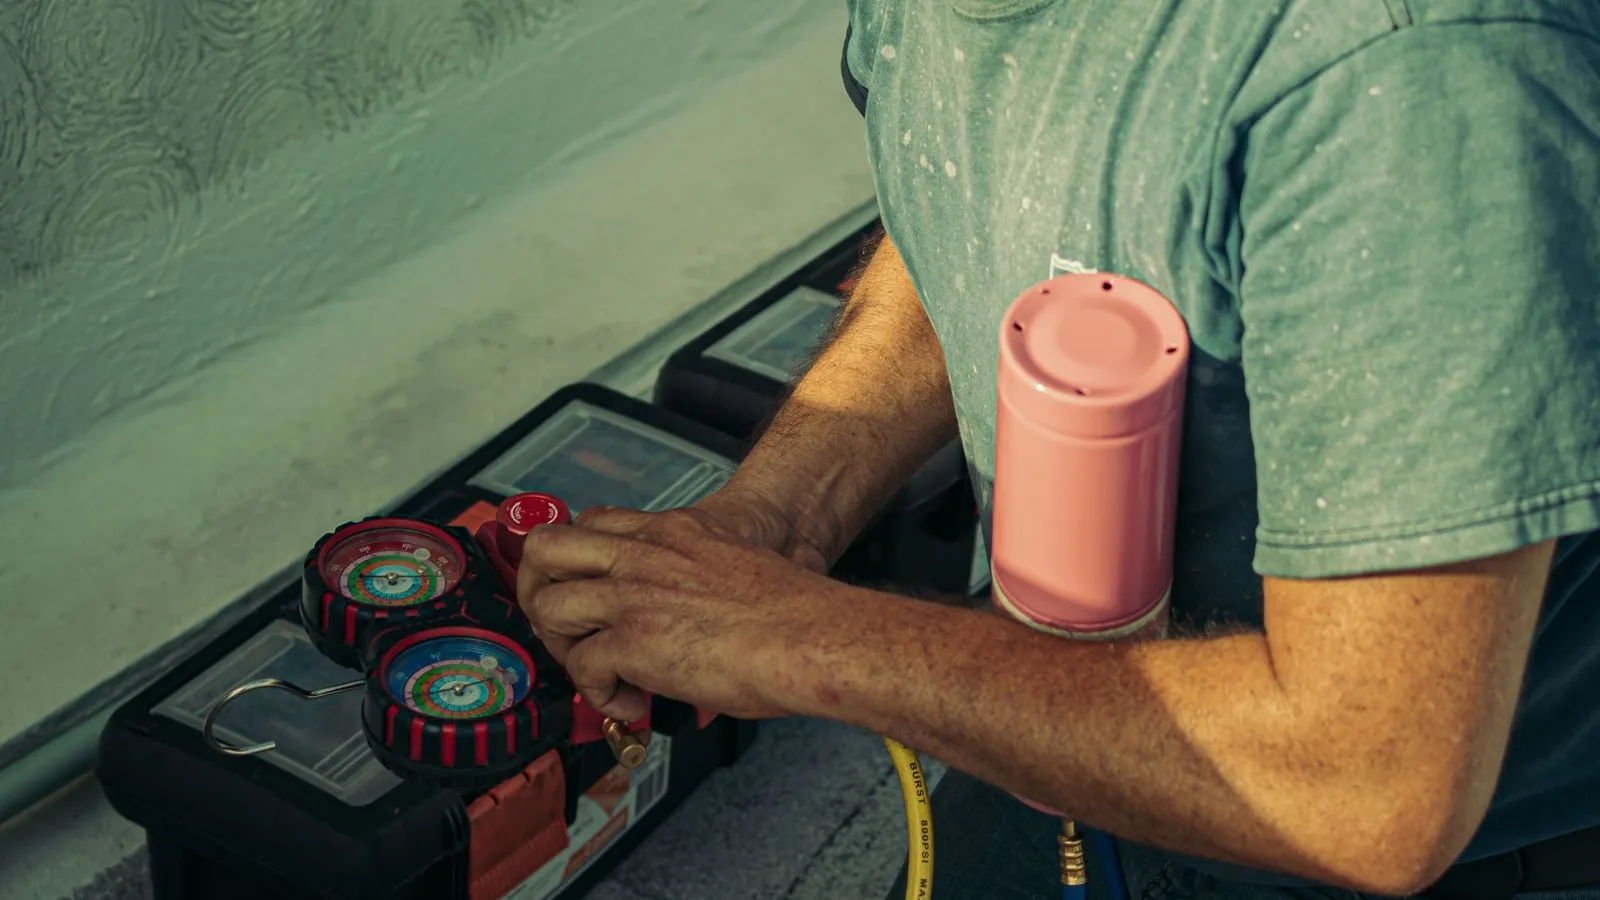
I install and service mini splits within about 40 miles of Madison, Wisconsin. Installing a mini-split system can take both structural knowledge and knowledge about how to handle refrigerant, and the tool list shows that split. Here's what you actually need, what you can skip and where a licensed tech gets their fee.
Key Takeaways
-
Most of you can handle mounting, drilling and basic prep. Vacuum work, refrigerant handling and final commissioning on a mini split system should be done by a licensed tech with EPA Section 608 certification.
-
Core tools you would want include a drill and hole saw, a level, a flare tool with torque wrench, a vacuum pump, a micron gauge, a manifold gauge set and electrical tools for safe wiring.
-
In Madison, the City requires permits for central AC installation and electrical work. Call Building Inspection at (608) 266-4551 ext. 2.
1. Basic Hand Tools for DIY Mini Splits
Installing a ductless mini-split air conditioner takes specialized HVAC gear plus standard tools. The standard ones come first. You probably have 70-80% of these already. The specialty purchases are coming up in the sections that follow.
-
Tape measure, 4' level, stud finder
-
You will want a hammer drill or SDS with masonry bits for brick and concrete. Standard drill/driver for wood framing
-
Screwdrivers, nut drivers, wrench set in both metric and SAE sizes
-
Utility knife, tubing tool rated for refrigeration copper, hand saw or sawzall for wall blocking and brackets
-
Safety equipment includes goggles and gloves for protection during installation. It's a good idea to add hearing protection and a dust mask when you are drilling through fiber-cement siding or plaster-and-lathe walls that are common in older Madison homes
Installing mini-split systems usually involves drilling, mounting and electrical work. Each category of tool maps to a phase: stud finder and level for hanging the air handler, drill and hole saw for the line set penetration, wrenches and drivers for setting the outdoor condenser on its pad or brackets.
2. Tools for Mounting the Indoor Air Handler
Mounting the indoor air handler exactly right prevents drainage problems and vibration noise. If the plate is even slightly off-level, condensate pools inside the unit instead of flowing to the drain.
-
A 4' level and a small level for the mounting plate are what you'll want. Stud finder to locate framing
-
An impact driver or drill with wood screws when hitting studs is what works. Fasteners for brick or concrete party walls are what you need
-
A small plumb laser or plumb bob to line up the plate with the outdoor wall penetration point is what you'll want
-
Use the manufacturer's mounting plate pattern. You will want to hit at least two studs when possible. In older Madison homes where studs are not on 16" centers, you can screw a plywood board across multiple studs and mount the plate to that
-
Before drilling, check that the wall cavity is clear of electrical or plumbing with both a stud finder and a visual check from the attic or basement side
-
Correct mounting reduces vibration and noise from movement, helping the mini split system run quietly in every room
3. Drilling and Routing the Line Set: Hole Saws, Bits and Routing Tools
The line set is the copper connection that runs between the air handler and the outdoor condenser. Good routing protects refrigerant lines for decades. When routing is done poorly, it causes friction, leaks and water getting in.
-
A core drill or 2.5-3" bi-metal hole saw with pilot bit handles most wall types. For tight spots, a right-angle drill is what works. Long drill bits with a twist shape get through rim joists or double walls.
-
Angle the hole slightly downward toward the outside so condensate drains out and rainwater stays out
-
Fish tape, flexible glow rods and a small camera on a flexible cable help route through wall cavities with obstructions
-
Use line set sleeves or short PVC sections through rough materials. Outdoors, line covers protect refrigerant lines from damage that is caused by weather and UV
-
Madison siding varies: vinyl cuts with a hole saw, fiber-cement needs a hole saw with carbide tips, and old wood lap does fine with bi-metal. Match your bit to the material.
-
Mini split installation kits include refrigerant lines and electrical wiring, but the tools to route lines are almost never in the box
4. Refrigeration Tools: Flaring, Torque and Leak-Free Line Sets
Refrigerant circuit work on a high-pressure R-410A system is not DIY ground that you can just walk into. Installing a mini-split system can need state licensing or credentials in some regions, and EPA Section 608 certification is needed for any work releasing refrigerant in the U.S. Here is what tools are involved and where a tech steps in.
-
Quality flaring tools are essential for creating leak-free connections on copper tubing: off-center flaring tool for 1/4" and 3/8" copper, tool to remove rough edges, tool to ream the inside, flare gauge, flare nuts matched to the manufacturer's spec
-
A tubing tool and deburring tool are used to cut copper lines in a clean way. Square cuts and thorough removal of rough edges prevent metal bits from entering the system.
-
Torque wrenches make sure flare nuts are tightened to the specifications from the manufacturer. Use crow's foot add-ons. Typical values run 15-18 ft-lb for 1/4" and 33-42 ft-lb for 3/8", but it's a good idea to check the unit's manual for exact numbers.
-
EPA says a high-pressure appliance is one whose refrigerant has a liquid pressure of 170-355 psia at 104°F, with R-410A as an example. Mini splits are not "small appliances," which are limited to factory-sealed units with 5 lb or less of refrigerant.
-
Clean cuts, proper removal of rough edges, a drop of refrigerant oil on flare faces when the manufacturer lets you, and holding back with a second wrench when tightening to avoid turning the line: these steps prevent the most common leak source in new installs.
-
Some DIY systems come with pre-charged no-flare line sets, but most conventional mini splits still need proper flaring and tightening to the right torque. That's where I usually come in for you around Madison.
5. Vacuum Pump, Micron Gauge and Gauges: Tools for a Proper Evacuation
Pulling a deep vacuum on the line sets and air handler is the step that separates a working install from a reliable one. This is the point where most DIY jobs need a pro.
-
A vacuum pump removes air and moisture from refrigerant lines during installation. For residential mini splits, a 2-stage pump rated 4-6 CFM is what is appropriate. A digital micron gauge measures vacuum levels to make sure moisture is removed.
-
Refrigerant line sets must be evacuated to below 500 microns, then held for a decay test. Moisture that is left inside reacts with refrigerant and compressor oil to form acid, which eats away at compressor coils and causes electrical failure.
-
Manifold gauge sets monitor system pressures and check for refrigerant leaks. Use of high-quality hoses rated for vacuum service can improve vacuum speed during installation by reducing flow that is held back.
-
You can connect the micron gauge at the farthest service port from the vacuum pump for an accurate reading. You can remove Schrader valve cores to open flow.
-
Buying these tools runs $400-$800 for pump, gauges and micron gauge combined. For a one-off DIY mini split project, hiring a tech who already owns them is often cheaper.
-
Under the EPA Technology Transitions rule, new residential AC and heat pump systems that are manufactured or brought in from outside after January 1, 2025 must use refrigerant under 700 GWP. Tools and hoses need to be compatible with newer refrigerants like R-32 as well.
6. Electrical Tools and Code Considerations for Mini Splits in Madison
You can usually hang equipment and run conduit or a whip between the disconnect and the outdoor condenser. New circuits and panel work should be handled by a licensed electrician and permitted through the City.
-
Non-contact voltage tool, meter rated CAT III or better (meters verify electrical connections and ensure safety during wiring), wire strippers and crimp tools to prepare electrical connections between units
-
Knockout set for disconnect boxes, tool to bend conduit, cable staples and clamps
-
Wiring path: main panel to outdoor disconnect, disconnect to outdoor condenser, low-voltage communication cable between outdoor unit and air handler. Each connection needs a dedicated circuit sized per the manufacturer's manual.
-
City of Madison sees central AC installation and electrical work as permit-required, handled by Building Inspection at (608) 266-4551 ext. 2. Mini split systems fall under the same expectations.
-
Wisconsin did not adopt NEC 210.8(F), the 2023 rule requiring GFCI protection on outdoor outlets that feed equipment like heat pump condensers (SPS 316.210(1)(e)). The nuisance-tripping GFCI breaker issue other states have with inverter mini splits is not driven by state code here, though local changes or utility rules could still apply.
-
Wrong electrical wiring can void the warranty or damage inverter boards. Follow manufacturer wire size and breaker size tables exactly.
-
Safe, code-compliant wiring is one of the best ways to protect your investment and save money long-term compared to patch-style DIY work.
7. Outdoor Condenser Setup in Cold Climates
Condenser placement matters more in Wisconsin's cold climates than in moderate regions. Snow that piles up, ice falling from roofs and leaf debris all affect performance and defrost cycles. DIY mini splits can operate in temperatures as low as -22°F, but only if the outdoor condenser has proper clearance and support.
-
Small level, string line, shovel and tool to pack down gravel pads, concrete screws for wall brackets, pads that cut vibration
-
Brackets and stands secure mini split units for best performance. Set the condenser 12-18" above grade (or higher) to stay above typical Madison snow depth. You can maintain space from the manufacturer for airflow on all sides.
-
Prefabricated condenser stands are faster than poured concrete pads. Either way, check level so oil return and defrost function correctly.
-
How do you keep lines from sagging and rubbing where they drop to the outdoor condenser? Pipe hangers, clamps and UV-resistant zip ties are the line set support tools that prevent that. Line covers protect refrigerant lines from weather damage.
-
Heat pump accessories like wind baffles or snow hoods improve performance during colder months when recommended by the manufacturer for sub-zero operation.
-
A properly set condenser defrosts better, runs quieter and helps the system save money on winter heating compared to electric resistance backup.
8. Specialty Tools That Make Mini Split Installations Go Smoother
These tools are not strictly needed, but they turn a tough DIY mini split into a clean, professional-looking job.
-
Refrigerant scale for checking factory charges, clamp-on amp meter, infrared thermometer, digital manifold sets that log pressure and temperatures
-
Vinyl or metal line set cover kits with matching elbows, small hand tool for flashing, sealants and foams that can be painted with sealant guns
-
Leak detector (electronic "sniffer") for finding tiny refrigerant leaks. Bluetooth temperature probes for quick superheat and subcool checks during commissioning
-
Smart thermostats can reduce energy consumption when paired with mini splits that support external thermostat control
-
Mini split cleaning kits improve cooling efficiency and airflow over time. Buying one up front is something that pays off in the first season
-
Homeowners can rent or skip most of these specialty items and hire a local technician for commissioning and testing
9. When to Call a Pro and Split the Work
A realistic division of labor: you do mounting, wall penetration, condensate drains and partial electrical prep. I handle vacuum, refrigerant, final connections and commissioning. Installation of a single-zone DIY mini split takes about a day when you've already prepped.
-
Steps best left to a licensed installer: flaring and tightening line sets to the right torque, pulling vacuum with a micron gauge, opening service valves, final leak checks and performance tests
-
I work inside about a 40-mile area of Madison, Wisconsin and quote "assist installs" where the homeowner has already hung the air handler and placed the outdoor condenser
-
Assisted DIY systems save homeowners thousands in installation costs. You handle the tools you own. I bring the tools and certifications you don't.
-
What about Focus on Energy mail-in rebates? Applications are due within 60 days of installation and no later than January 31, 2027. The check is arriving 8-10 weeks after approval. Using the right tools and a pro at the right stage is what helps the system qualify for rebates and run efficiently rather than just "working for now."
-
Properly installed ducts ensure even cooling and heating in ducted systems, but the whole point of a ductless mini split is that you skip that complexity. Getting the refrigerant circuit and electrical right is what makes the rest of the system reliable.
-
Contact me through howtoinstallminisplit.com to schedule an installation, assist-DIY connection or troubleshooting visit.
FAQ About Mini Split Installation Tools
Can I install a mini split without a vacuum pump and gauges?
Conventional mini splits need a proper evacuation with a vacuum pump and micron gauge. "Cracking the valves" to blow out air is not acceptable. It leaves moisture and non-condensables in the system that form acid and can kill the compressor within a few years. Only certain pre-charged DIY systems with sealed quick-connect line sets are designed to skip field evacuation, and even those benefit from leak checks and electrical testing. For a standard system, the realistic option is to have a licensed tech come with the right tools after you've run the line sets and mounted the equipment.
Which mini split installation tools are worth buying vs. renting? Do pre-charged DIY mini splits need different tools?
Pre-charged DIY mini split kits reduce or remove the need for flaring tools, vacuum pumps and manifold gauges. MRCOOL DIY systems use pre-charged Quick Connect line sets, and MRCOOL DIY systems come with a 25 ft pre-charged line set. GWIN systems use a no-flare line set for easier installation. You still need solid mounting, drilling and electrical tools, plus a good level and stud finder. Even with these kits, have a contractor check electrical, confirm operation and verify the system is heating and cooling to spec.
Will new low-GWP refrigerants change my tools?
Most core tools (vacuum pump, micron gauge, torque wrench) stay the same unit you've always used. Manifold sets and hoses must be rated for the specific refrigerant (like R-32) and its operating pressures and class of fire risk. Under the EPA Technology Transitions rule, new AC and heat pumps that are manufactured or brought in from outside after January 1, 2025 must use refrigerant under 700 GWP, so newer systems in Madison will increasingly ship with different types. It's a good idea to let a tech handle refrigerant-side work on these newer systems. Procedures and safety considerations are still evolving.
How should I budget for tools versus hiring a mini split technician?
Price out the basic carpentry and electrical tools you'll reuse, then compare the cost of refrigeration tools (pump, gauges, flaring kit. About $400-$800 total) to one service visit from a local licensed installer. In many cases around Madison, the price of a single assist-install visit is cheaper and safer than buying everything yourself. Contact me with your room size, mini split brand and model, and how far you've gotten, so I can quote just the technical parts you don't want to tackle.