
Mini Split Installation Mistakes: 9 Errors I Fix Most Often
Mini split installation mistakes that destroy efficiency and void warranties, explained by a pro. See what goes wrong and how to protect your investment.
- Written by
- A working HVAC tech
- Updated
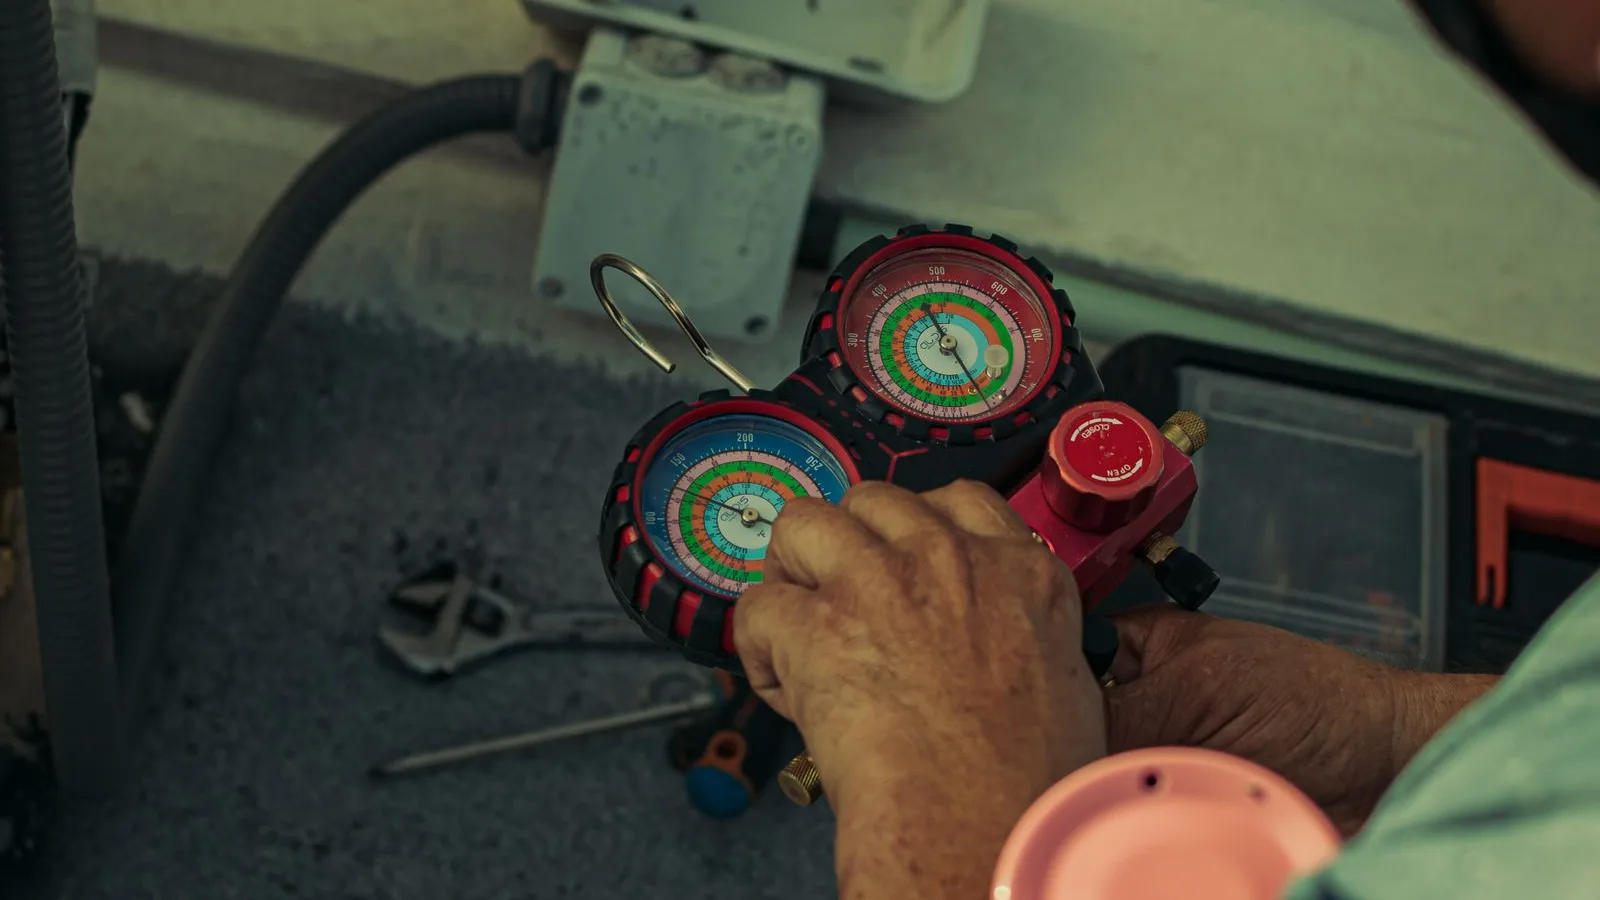
Why Mini Split Installation Mistakes Matter
Mini split installation mistakes are the reason nine out of ten "broken" mini splits I get called out to diagnose in the Madison area aren't broken at all. They're good equipment with a bad install underneath. Installing a ductless mini split system can involve small errors that impact efficiency, comfort and system life in ways that don't show up until months later.
This article covers the nine most common mini split installation mistakes I fix on callbacks, and which steps a careful homeowner can handle versus which legally require a licensed, EPA 608–certified tech. I work in and around Madison, roughly a 40-mile radius and I see these same errors in Wisconsin homes, garages and converted porches every season. Installation can be more reliable with careful planning and adherence to guidelines, so let's get into what goes wrong and how to prevent it.
How I Picked the 9 Mini Split Installation Mistakes
These aren't pulled from theory-they come from real service calls and inspections I've done since 2020. To take a longer list and cut it down to nine, I used these criteria:
-
Frequency: mistakes I see multiple times every cooling or heating season.
-
Impact: errors that cause premature component failure, chronic leaks or reduced performance.
-
Safety/code risk: anything risking fire, shock or violations of 40 CFR 82.161 or local permitting rules.
-
DIY temptation: steps that look simple on YouTube but go wrong without proper tools or training.
-
Cost: mistakes that turn a $3,000 project into a $5,000 replacement.
These nine cover about 90% of real-world problems on ductless installs.
Top 9 Mini Split Installation Mistakes
1. Mounting Units in the Wrong Place
Putting the unit in the wrong spot can cut efficiency and it's the number-one comfort complaint I see in Madison basements, sun rooms and upstairs bedrooms. You usually want to hide the indoor unit or keep the line set short, and you end up giving up airflow and service access. When a room's cold in the corners and hot in the middle, that's poor placement showing.
Indoor units should be mounted 6–8 feet above the floor, and about 7 feet high is where you get the best airflow and efficiency. If you mount it too low, air won't circulate right and putting it above furniture just makes things worse. Outside, the condenser needs enough clearance to breathe. Direct sunlight hits your efficiency hard, and in Wisconsin snow zones, if you mount the unit too low, the coil gets blocked. Before anyone bores holes, you can pick general locations, but have a tech walk the space first. You also need to seal the wall penetration where the lines go through so moisture and pests can't get in.
2. Choosing the Wrong Size Mini Split
A common mistake is sizing by square footage alone. Choosing a unit with incorrect BTU capacity can cause short cycling or inefficiency. System size is measured in BTU/h, with one ton equaling 12,000 BTU/h. Oversized systems cause short cycling, reducing efficiency and lifespan-you'll feel clammy air in summer because the unit satisfies temperature before removing humidity. Undersized systems struggle to meet temperature demands, increasing energy bills during a -10°F cold snap or a 95°F July day.
Spaces most at risk include finished attics, three-season porches and garages with poor insulation. A load calculation helps prevent short-cycling from an oversized system, and correct sizing improves energy efficiency and system reliability. A real Manual J load calculation beats the old "500 sq ft per ton" rule of thumb. Professional load calculations ensure accurate mini split system sizing-I always do a walk-through and heat-loss estimate before quoting your own system.
3. Skipping Permits and Ignoring Local Codes
A lot of homeowners think a mini split is plug-and-play and skip permits. In Madison, the City HVAC permit fee for a ductless split system in an existing building is $25.00 per split system. The City lists central AC and electrical work as needing a permit, and that's handled by Building Inspection at (608) 266-4551 ext. 2. Professional installation keeps you compliant with local codes.
Skipping permits comes back to bite you at resale when the buyer's inspector flags unpermitted HVAC work, or when your insurance carrier asks for records after water damage or an electrical fault. Planning the placement, sizing and connections is critical for a successful install, and so is the paperwork. I handle permitting for customers in the Madison area on every split installation I do.
4. DIY Electrical Work and Undersized Wiring
Electrical mistakes can void warranties and create safety risks. Common errors I see: wrong breaker size, missing disconnect switch, landscape wire used as communication cable, and circuits shared with other equipment. Improper wiring can lead to electrical fires or electrocution. Connecting to a wrong breaker size can break electrical codes and create risk.
Older Madison homes with limited panel space are most at risk, especially detached garages fed by too-small subpanels with voltage drop on long runs. Clues include a breaker box that trips when the mini split ramps up, communication errors between indoor and outdoor units, and warm or discolored wiring at the disconnect. Dedicated breaker installation is mandatory for mini split systems. A correct setup includes a dedicated circuit sized to manufacturer amps, correct wire gauge, outdoor disconnect within sight of the unit, and proper grounding. I coordinate a licensed electrician for electrical work on every full-service install.
5. Line Set Routing and Kinks
Line sets are more than "just run the pipes through the wall." Sharp bends and kinks restrict refrigerant flow, so the compressor works harder and performance drops. Missing or damaged insulation on refrigerant lines is losing energy and creating condensation. Closed-cell insulation around refrigerant lines keeps energy loss down.
Running lines bent too sharp to reach an outdoor unit directly below the indoor unit is something I often see, and line sets run along sunny south walls in Madison with no UV protection-the insulation bakes and crumbles after two seasons. Bending copper refrigerant lines takes proper tools so you don't kink them. Good line set work means smooth bends, supported runs and UV-protected insulation. A handy homeowner can mount line set covers, but cutting, flaring and charging the refrigerant circuit has to be done by an EPA 608–certified tech.
6. Bad Flares, Wrong Torque and Skipping Pressure Tests
Improperly flared connections are a leading cause of refrigerant leaks. Under 40 CFR 82.161, anyone who attaches or detaches hoses and gauges on a split-system mini split (a high-pressure appliance) must hold EPA 608 Type II or Universal certification. This step is not a diy mini split installation project.
Common errors include flares made with cheap tools that leave metal shavings inside the line, over tightening or under tightening flare nuts by feel instead of using a torque wrench, and skipping nitrogen pressure testing. Skipping nitrogen pressure testing can allow leaks to go unnoticed. The pressure test should be performed with dry nitrogen to prevent risk-pressure testing with dry nitrogen is crucial to identify micro-leaks. Nitrogen pressure testing is vital for exposing leaks before opening service valves. Refrigerant leaks can reduce system efficiency and cause damage, showing up later as icing, low capacity or compressor failure. I always pressure-test and document results before opening service valves on any new system.
7. Incomplete Evacuation and Moisture Left Inside
"Crack the valves and let out a little" is not acceptable refrigerant handling. Moisture works with refrigerant and compressor oil to form acids that eat away at the internals-it's a silent killer that causes early part failure. Winter installs in Wisconsin are especially prone to moisture issues because of temperature swings.
Pulling a deep vacuum gets rid of moisture that can damage the compressor. Evacuating the system takes a vacuum pump and calibrated micron gauge. A proper evacuation pulls below 500 microns, then holds vacuum with the pump isolated to verify it doesn't rise. If microns climb, you've got a leak or leftover moisture. Attaching gauges and vacuum equipment is EPA-regulated work under 40 CFR 82.161-this keeps your new system running efficiently and protects your warranty.
8. Bad Condensate Drain Design and Routing
I get a lot of calls for "leaking mini splits" that turn out to be drain line slope issues. Condensate drain lines have to slope downward or they'll back up. Bad condensate drainage can cause water damage and mold. Drilling the wall hole at a downward angle lets gravity do its job from the indoor unit.
Warning signs include water leaks or spots under the head, a mildew smell and intermittent dripping during humid July stretches. In Wisconsin, drains that end where they freeze create ice dams. You should only use a condensate pump if gravity drainage is impossible. Good drain hose routing means continuous downward slope, no sags or pinched sections, and discharge to an approved location. Condensate lines should be tested for unobstructed outflow before you seal the system-I test every drain with a pitcher of water before I close up.
9. Skipping Final Commissioning and Assuming "It Blows Cold, So It's Fine"
Many diy mini split installs stop at "it turns on." Following the exact model's manual is critical for successful installation. Avoid assuming clearances and specifications apply to all mini splits generally-every model has unique requirements. Catching reversed wiring, low air flow or error codes on day one prevents frequent repairs later.
You usually miss checking supply/return temperature split, ignore minor error codes or flashing LEDs, and skip verifying defrost operation in heat mode. My standard commissioning checklist: visual inspection, electrical connections verification, mode tests (cooling and heating), temperature readings, noise/vibration check, and drain test. I document startup data-double check everything-to support future troubleshooting and warranty conversations.
Which Mini Split Installation Mistake Hurts You the Most?
-
Wrong placement → worst for comfort, airflow and hot/cold spots
-
Wrong size → worst for energy bills, humidity control and short cycling
-
Skipping permits → worst for inspections, insurance and resale
-
DIY electrical → worst for safety, electrical problems and equipment damage
-
Poor line set routing → worst for energy efficiency, energy use and long-term reliability
-
Bad flares/leak testing → worst for refrigerant leaks and compressor failure
-
Incomplete evacuation → worst for internal corrosion and early system death
-
Bad condensate drain → worst for water damage and mold growth
-
No commissioning → worst for hidden problems and costly repairs after the installer leaves
DIY vs. Pro: What You Can Handle
Legal Requirements for Refrigerant and Gauges
Under 40 CFR 82.161, any work attaching or detaching gauges or hoses on a mini split needs EPA 608 Type II or Universal certification. That covers evacuation, pressure testing, leak-checking and opening the refrigerant circuit. DIY installations can void manufacturer warranties, and skipping professional support can void them too. DIY installations can lead to costly repairs and system failures. Hire an EPA-certified tech for these steps even if you handle the mounting yourself.
Electrical Comfort Level and Local Code
Professional assessment improves energy efficiency and comfort, and professional installation reduces the risk of costly repairs. The City of Madison considers AC and related electrical work as permit-worthy-call Building Inspection to verify. Ask yourself: have you pulled a permit before? Are you comfortable working in your breaker box? If not, hire a licensed electrician. Manufacturer support gives you access to expert installation resources that help maintain system performance.
Project Scope, Rebates and Budget
For a single-head garage unit, a hybrid approach can work. For multi-zone whole-home systems, full professional expertise usually wins on utility bills and reliability. For Focus on Energy mail-in rebates, applications are due within 60 days of installation and no later than January 31, 2027 and the check arrives 8–10 weeks after approval. Correct paperwork and proof of professional installation make rebate approvals smoother.
Which Approach Is Best for You?
- Full professional install: one point of responsibility for sizing, permits, electrical, refrigerant and warranty support-no guessing, no lead time on callbacks.
Final Thoughts
Mini splits are excellent HVAC systems when they're installed right. Most horror stories trace back to the nine mistakes above-not to the equipment itself. Every one of these errors is avoidable if you've got the right knowledge, proper tools and an honest assessment of what you can safely and legally do.
If you're local, reach out for a pre-install sizing consult, a code-compliant install with permits and documentation, or diagnostics on an existing "mystery problem" ductless system. Getting it right the first time is always cheaper than fixing it later.