
How to install a mini split, start to finish
The whole job in the order I do it on a real install, from picking the wall to the first startup.
- Time on the job
- 1 to 2 days
- Skill
- Moderate, gauges needed
- Written by
- [Tech Name], HVAC tech
- Updated
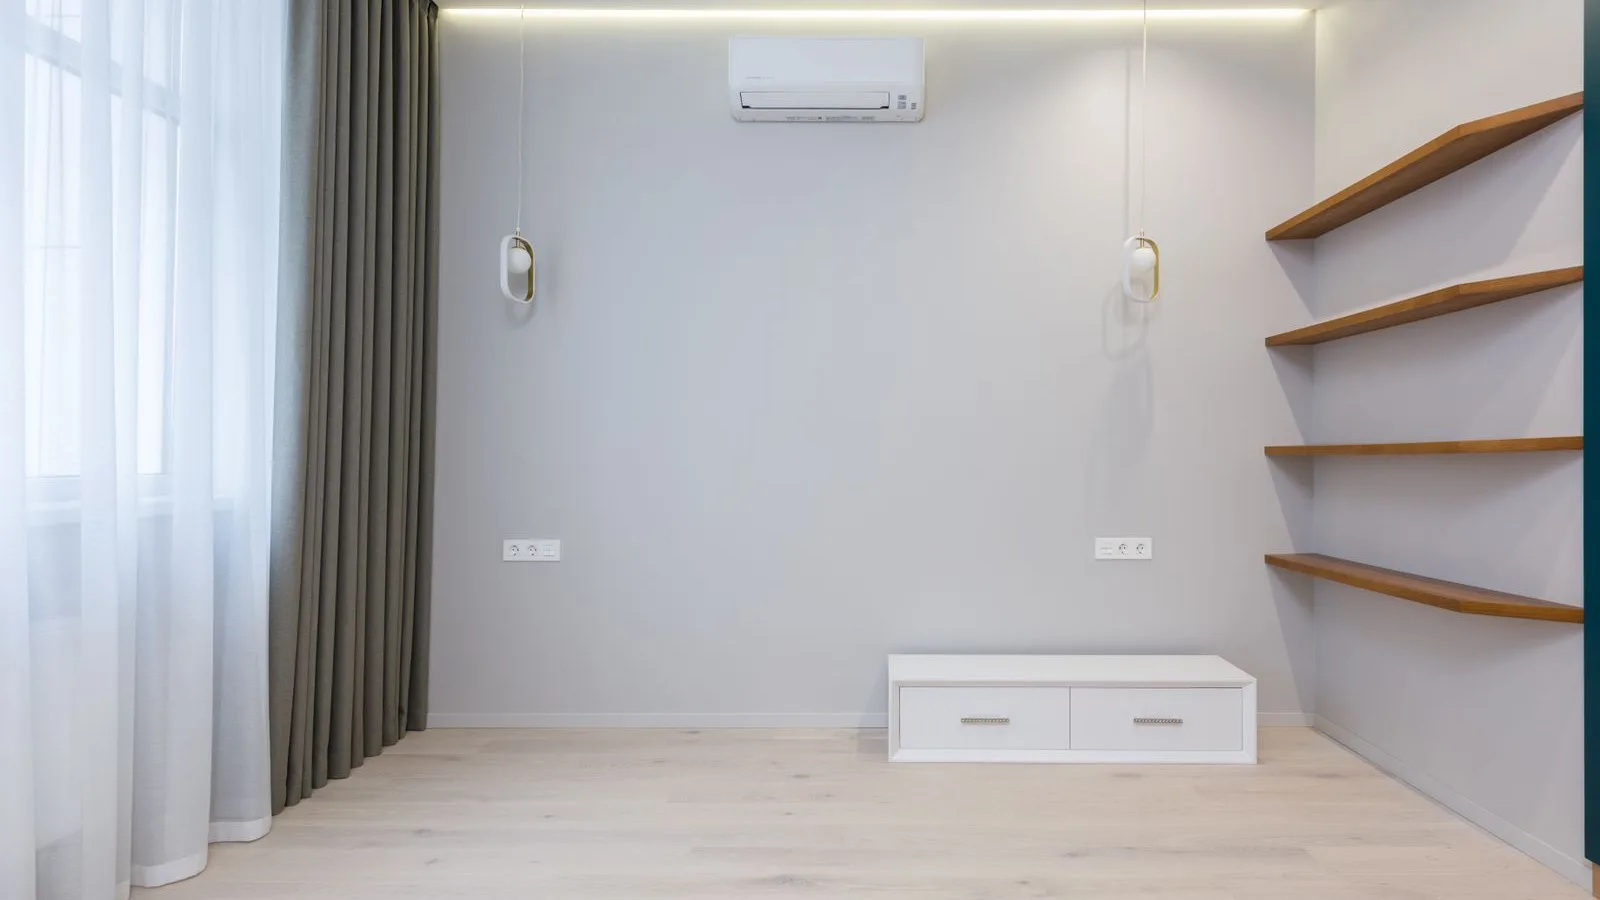
This is the same order I follow on every single-zone install. Read the whole thing before you start, then keep your unit's installation manual open next to it. Where the manual and this guide disagree, go with the manual.
1Pick the spots for both units
The indoor head goes high on a wall, with clear air in front of it and nothing blowing straight at a bed or couch. An outside wall makes the line set run short and simple. Most manuals call for about 6 in. between the top of the unit and the ceiling, and a few inches on each side.
The outdoor unit needs a level base, a foot or so from the house, and open space in front of the fan. In snow country, get it up off the ground on a stand or wall bracket so it isn't buried and the defrost water can drain away.
Tech note. Measure the line set route before you commit. Every foot and every bend matters, and a head placed six feet further along the wall can mean a longer set, more cover, and extra refrigerant.
2Mount the wall bracket
Find the studs and mark them. Tape the paper template from the box on the wall at your chosen height, level it, and mark the plate's screw holes and the pipe hole position. Screw the plate into at least two studs. If the plate's holes don't land on studs, use the anchors the manual calls for.
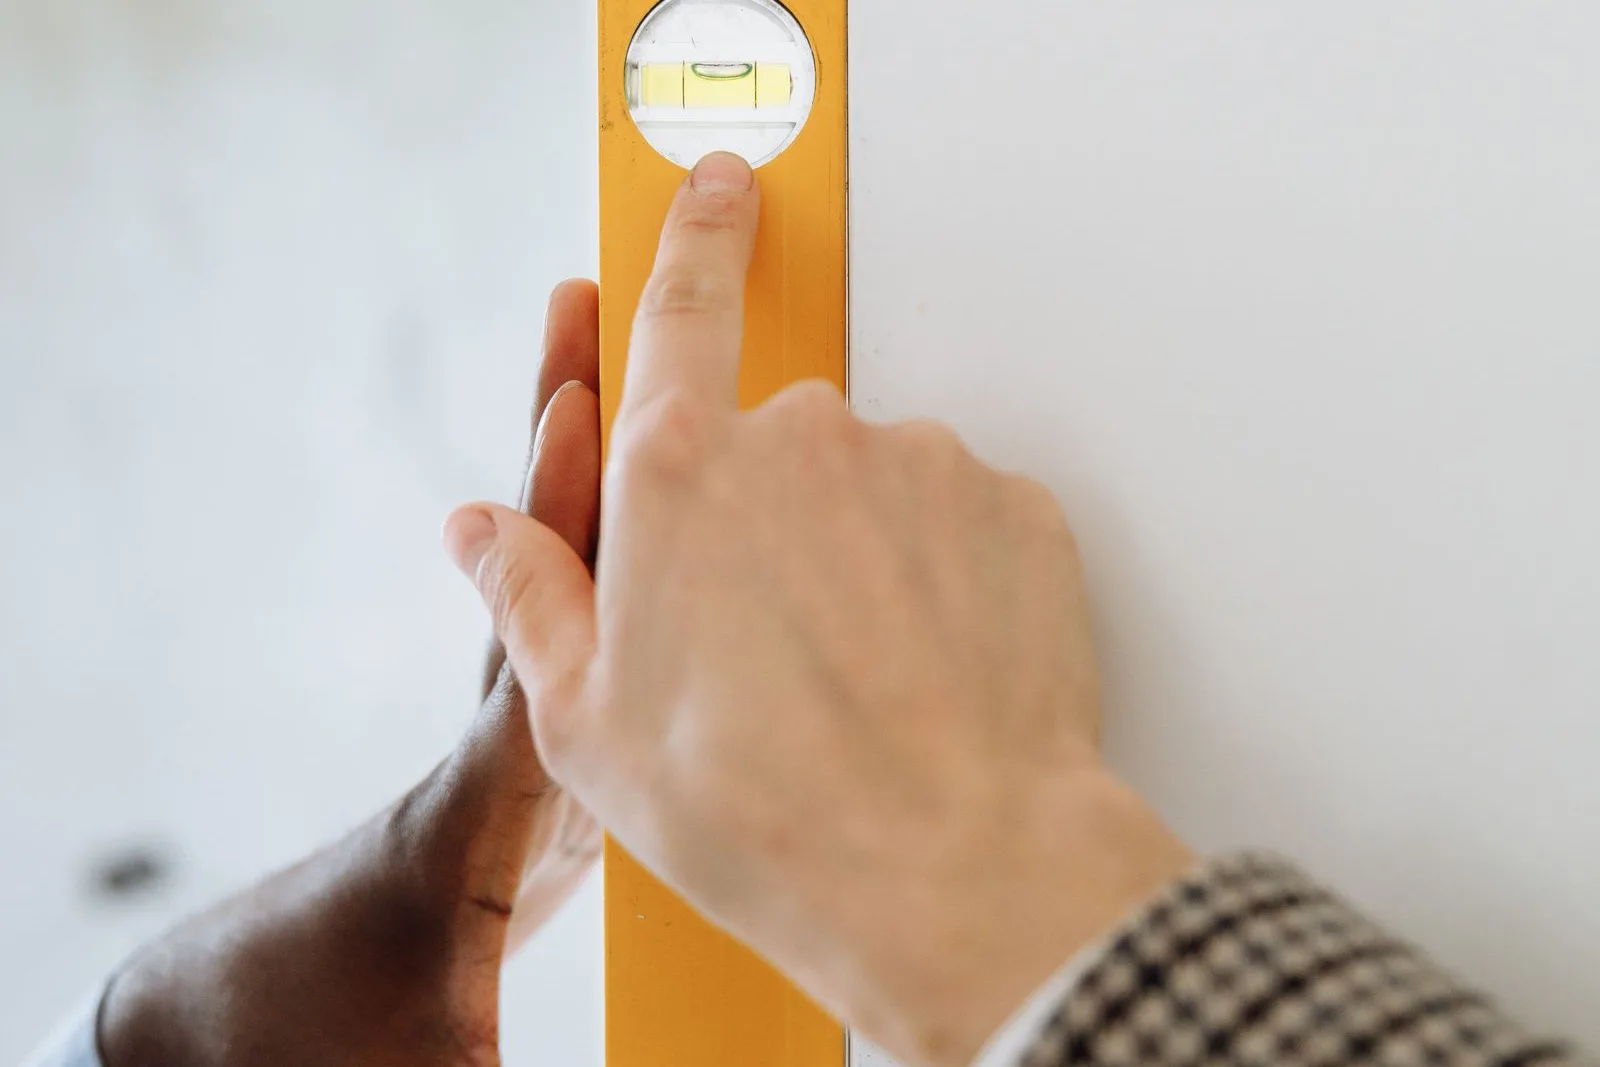
Check level again once the plate is tight. A head that tilts toward the back drains poorly and can drip into the room.
3Drill the wall
Drill from inside to outside with the hole saw size on the template. Angle the saw so the hole drops toward the outside, about 1/4 in. over the wall thickness. That slope is what carries condensate out.
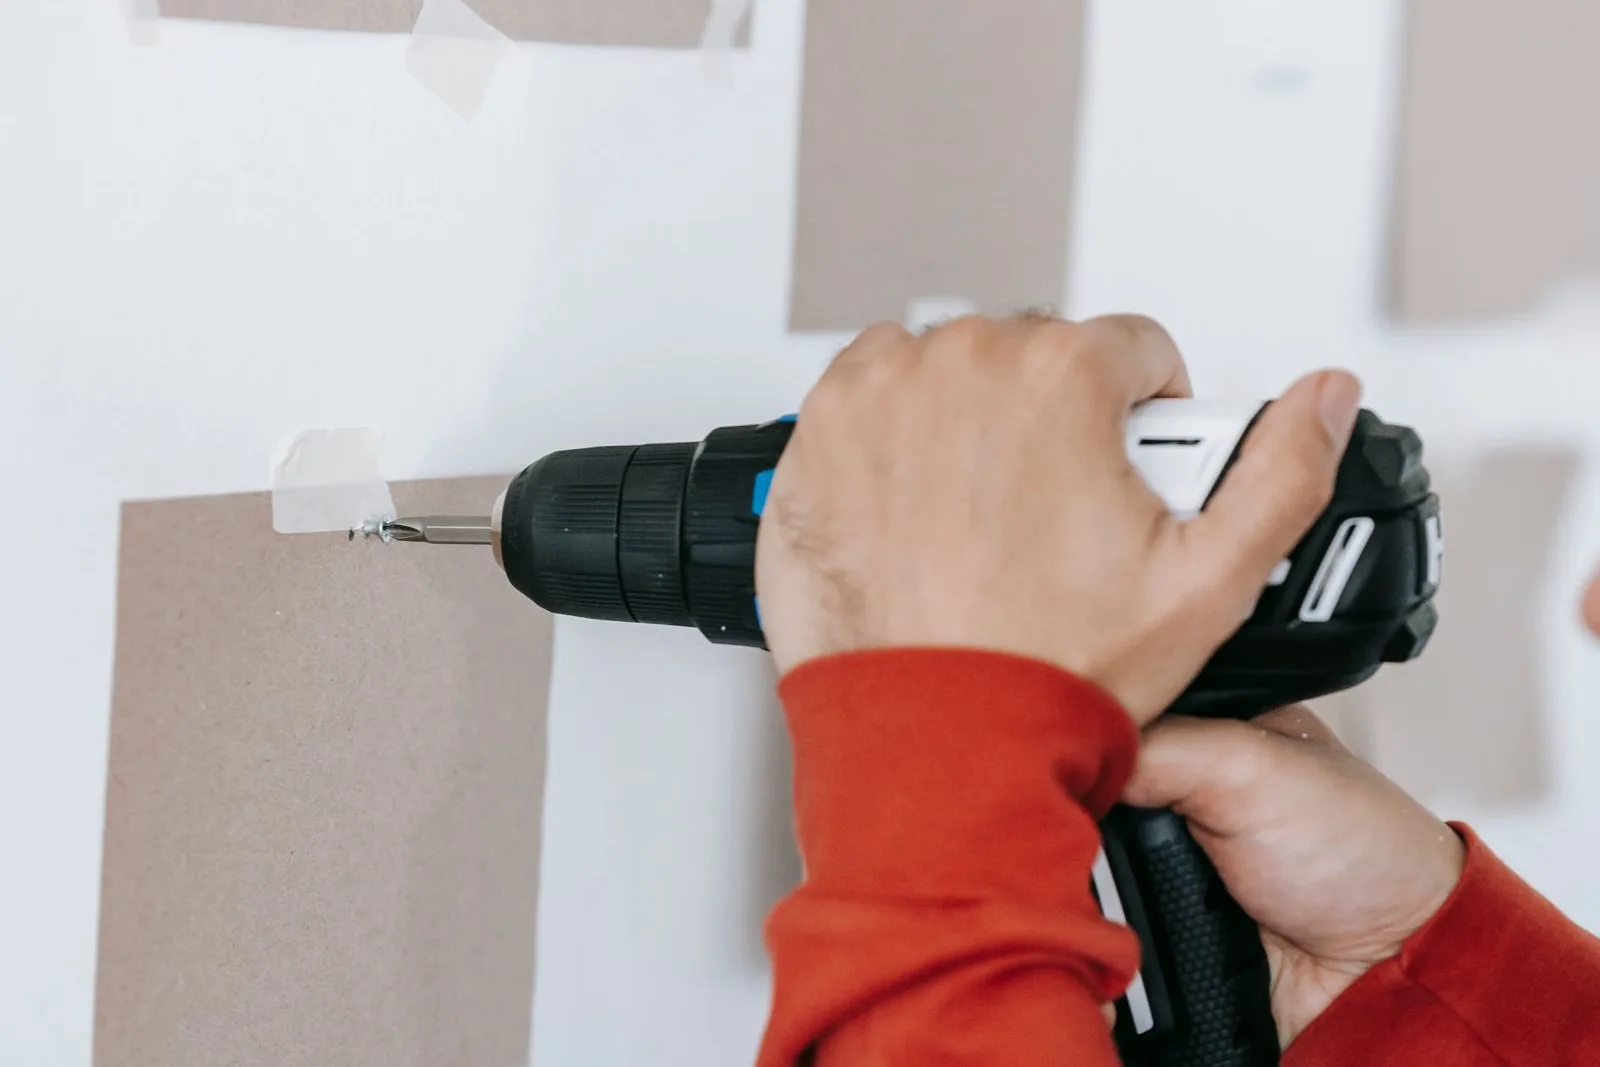
Before you drill, check the wall cavity for wiring, plumbing, and gas. Push a sleeve through the finished hole so the insulation doesn't tear on the wall edges.
4Run the line set, drain, and wire
Bundle the copper lines, the drain hose, and the communication cable, with the drain on the bottom so water always runs downhill. Feed the bundle through the wall from inside, then hang the head on the plate.
Bend copper by hand over a wide radius, or with a bender. A kink restricts flow for the life of the system and has to be cut out. Leave the caps on the line ends until you're ready to flare, so dirt and moisture stay out.
Wire the communication cable exactly as the terminal diagram shows, number for number. A swapped wire is the most common reason a new system throws an error on startup.
5Power
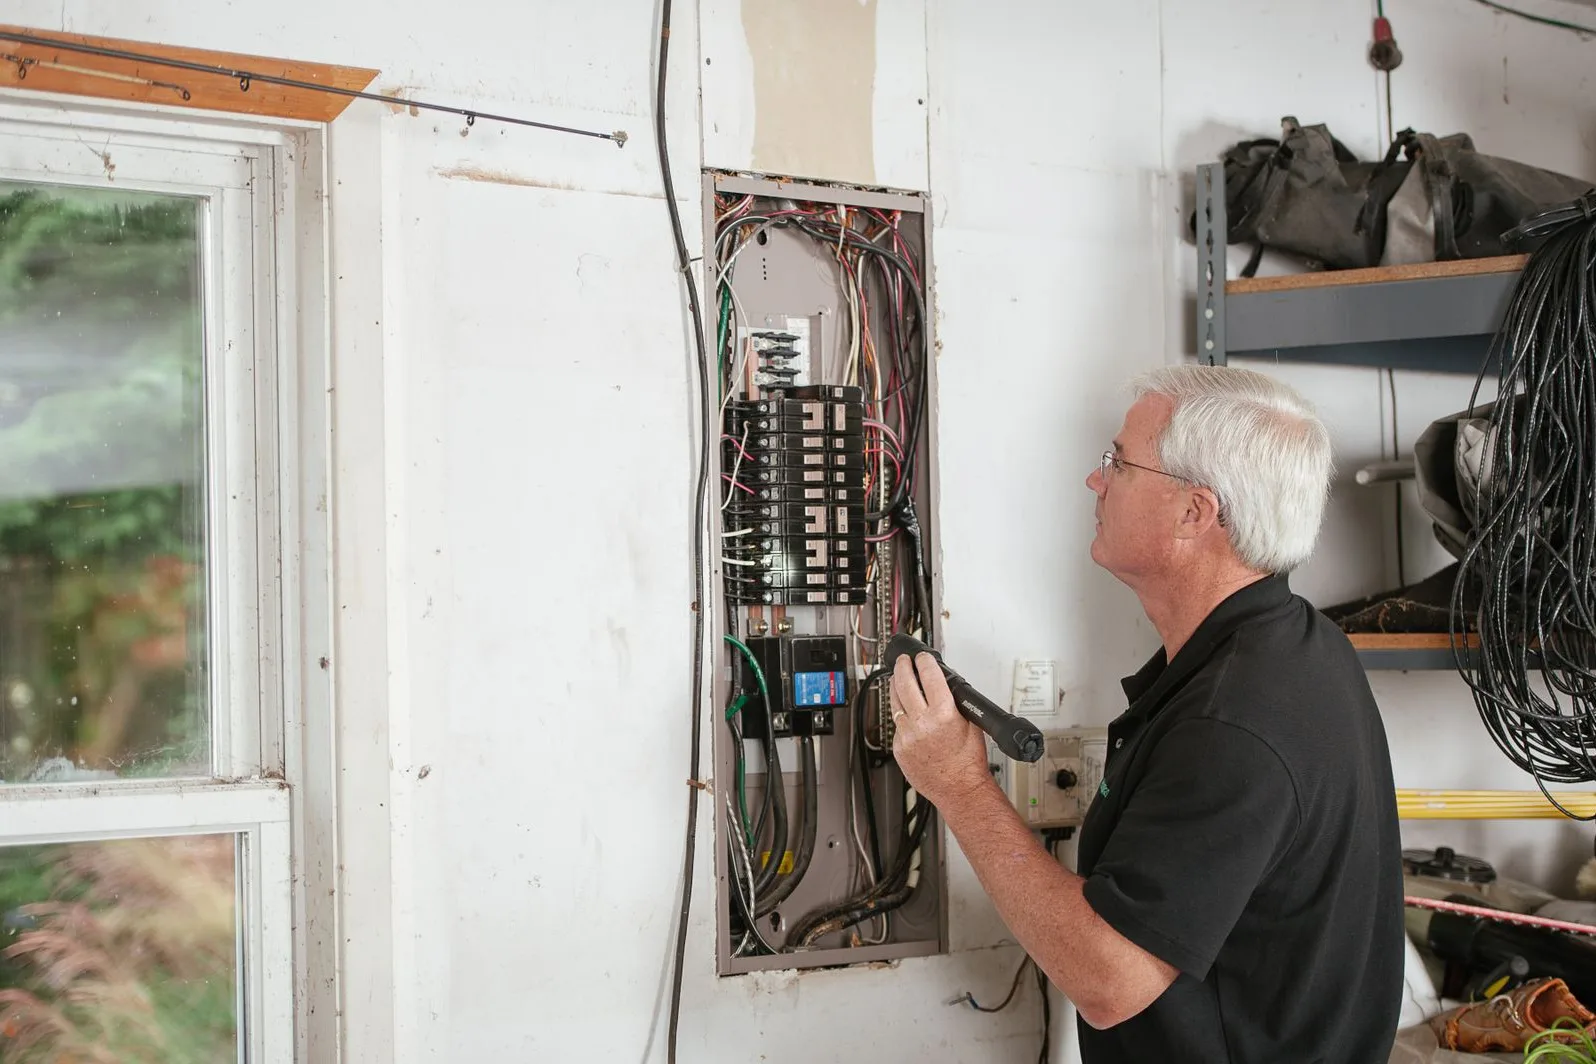
The outdoor unit needs its own circuit, sized from the unit's nameplate, and a disconnect within sight of it. Most units run on 230V. This is the step to hand to an electrician unless you're qualified. Leave the breaker off until after the vacuum.
6Make the flare connections
Cut, ream, and flare each line, then tighten the flare nuts to the torque in your manual. I cover this step in its own guide because it's where most leaks come from: how to flare a mini split line set.
7Pressure test with nitrogen
With the service valves still closed, connect your gauges and fill the line set and indoor coil with dry nitrogen to the test pressure in the manual. Close it off and wait at least 10 minutes. The gauge shouldn't move, aside from small swings as the lines warm or cool.
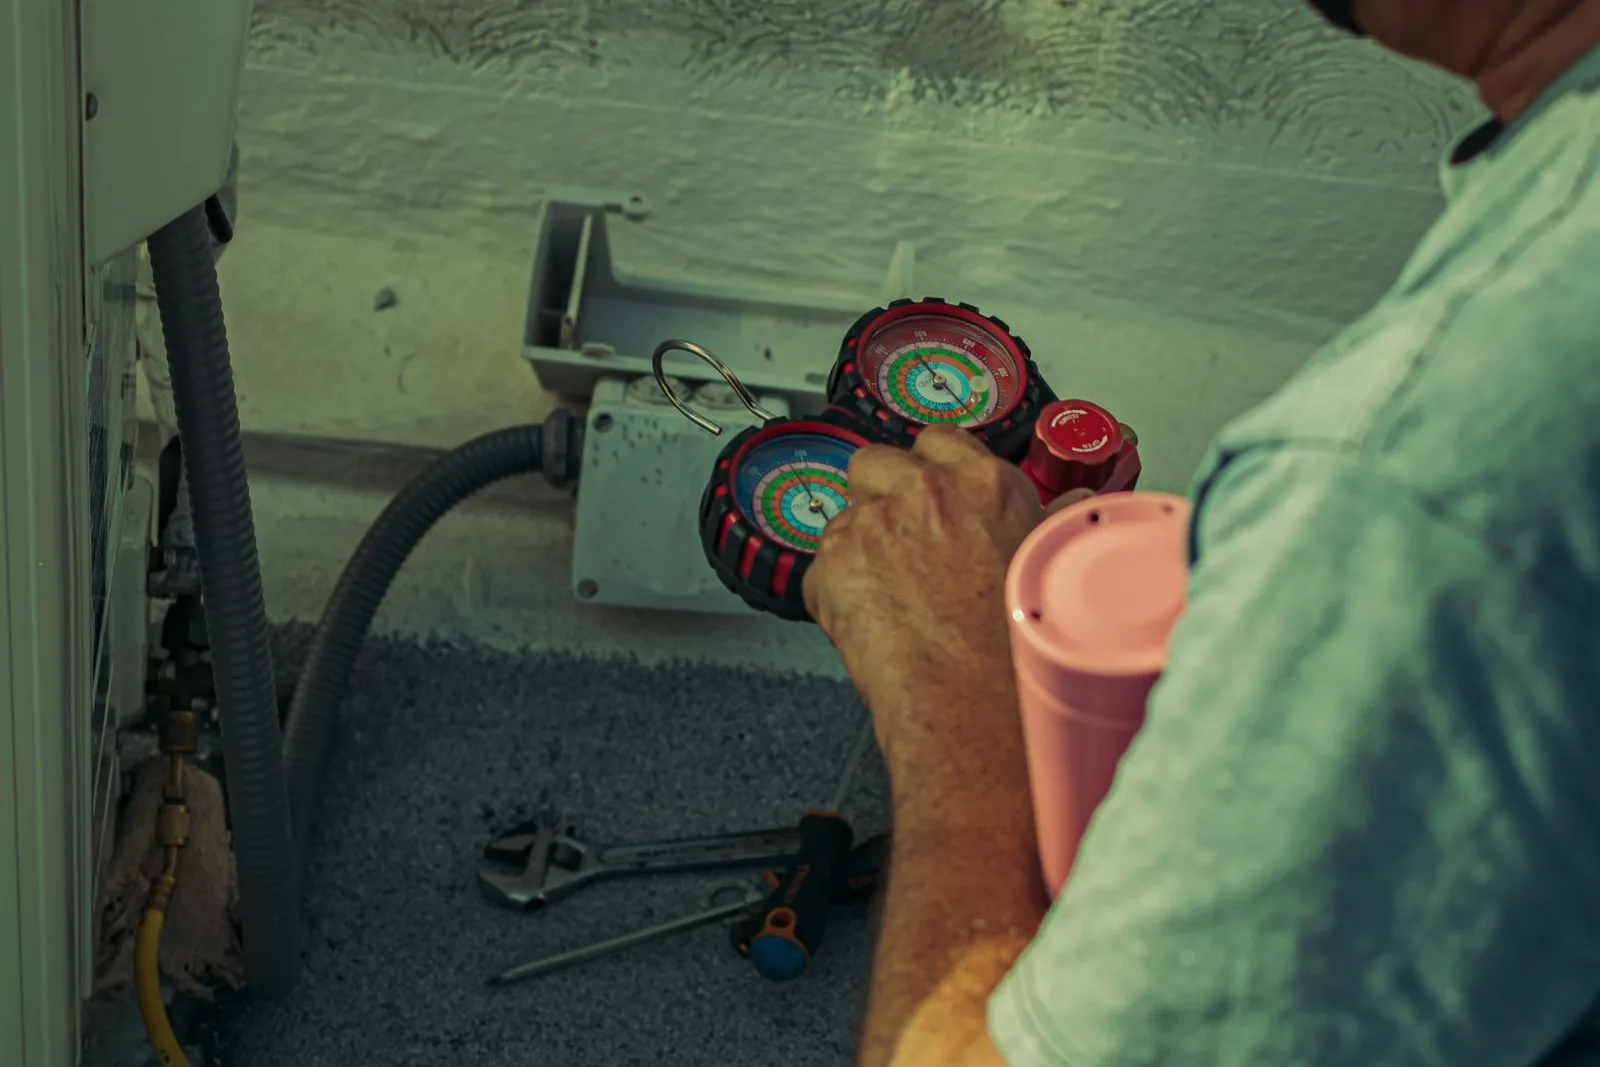
While it sits, brush soap solution on every flare and watch for bubbles. A leak is much easier to fix now than after the system is charged.
Stop. Only nitrogen goes in for a pressure test. Never compressed air, which carries moisture, and never oxygen.
8Pull a vacuum
Release the nitrogen, connect the vacuum pump, and pull the system below 500 microns on a micron gauge. Then isolate the pump and watch the reading for 10 minutes to prove it's dry and tight. The full method is in how to vacuum a mini split.
9Open the valves and start it up
With the system still under vacuum, remove the valve caps and open the liquid valve (the smaller line) with a hex key, then the gas valve. Open both all the way until they stop. Disconnect your hose, then put the caps back on snug. The caps are part of the seal.
Turn the breaker on and run the system in cooling for 15 minutes, then heat. You should feel cold air at the head within a few minutes and see water leaving the drain hose outside once it's been running a while.
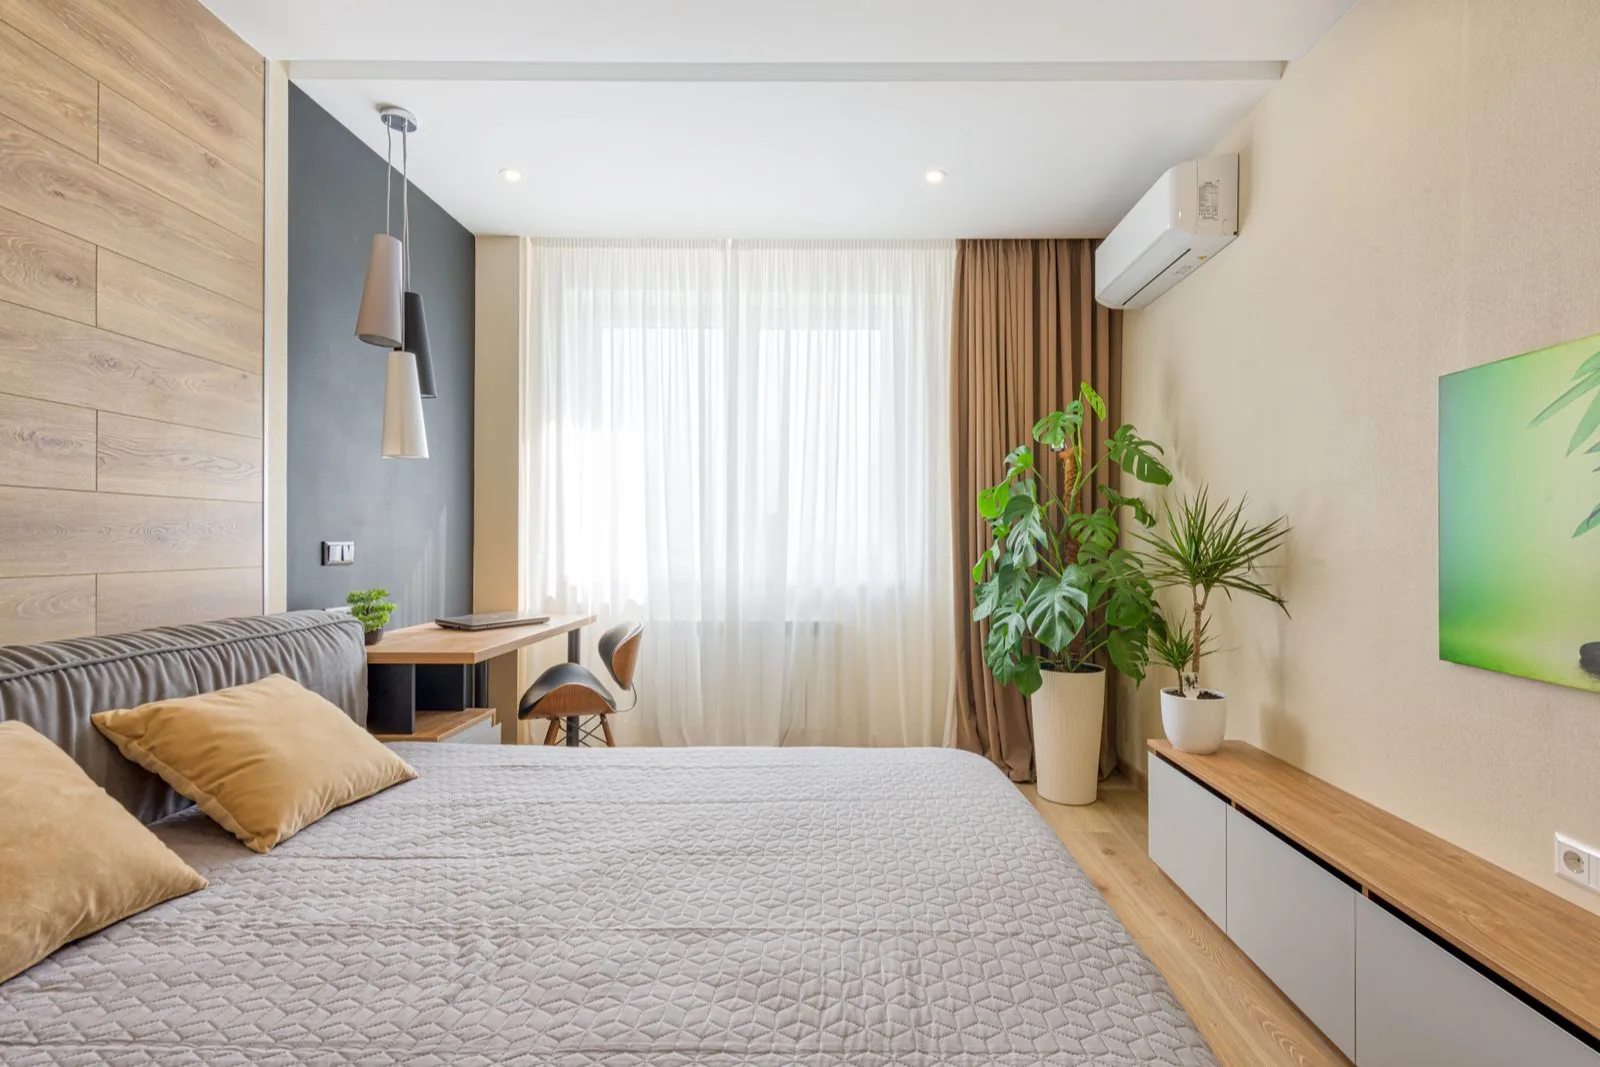
Finish by strapping the line set to the wall and covering it outside. UV breaks down insulation left in the sun.
Questions people ask me
Can I install a mini split myself?
Yes, most of it. Mounting, drilling, and running the line set are homeowner jobs. A pre-charged quick-connect kit is designed for DIY. A standard flare system needs a pressure test and a vacuum, which takes gauges, a pump, and a micron gauge, and some warranties require a licensed installer. Electrical work should follow your local code.
How long does a mini split install take?
A single-zone install takes me most of a day. A first-timer should plan on a weekend, with the refrigerant steps on day two when you're fresh.
Do I need to pull a vacuum on a mini split?
On a standard flare system, yes. Air and moisture left in the lines hurt efficiency and can damage the compressor over time. Pre-charged quick-connect kits are the exception, because the lines ship sealed. See the vacuum guide.
What if my line set is longer than 25 feet?
Most outdoor units ship with enough refrigerant for a set length, often 25 ft. Past that, the manual lists how much to add per foot. Adding refrigerant requires EPA 608 certification.