
How to Install a Ductless Mini Split: A Madison, WI Tech's Guide
Knowing how to install a ductless mini split starts with understanding what you can prep yourself and what needs a pro with the right certifications.
- Written by
- A working HVAC tech
- Updated
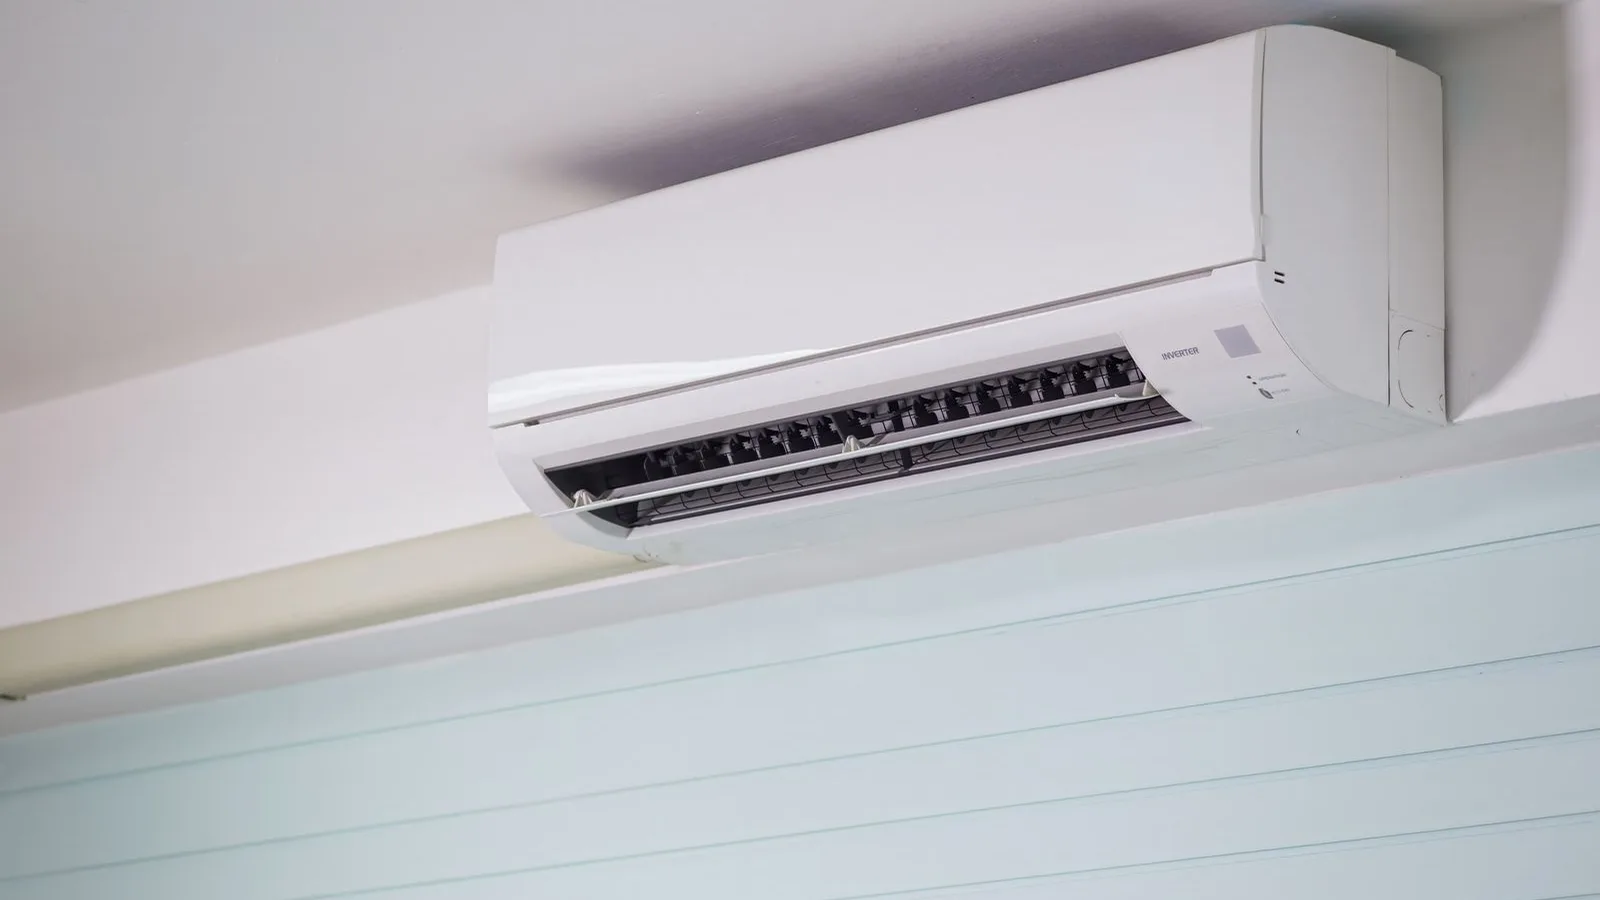
I'm a mini split installer and service tech who works in the Madison, Wisconsin area and this guide is here to walk you through every stage of putting one in.
Key Takeaways
-
A ductless mini split installation has two parts: homeowner-friendly prep like location, mounting and the condensate path, and technician-only work like refrigerant, vacuum and electrical.
-
In Madison, WI, which is climate zone 5A, heating demand far exceeds cooling, so sizing a ductless mini split system is driven by winter performance.
-
Attaching gauges, pulling a vacuum or opening refrigerant valves is something that legally can only be done by techs with EPA 608 Type II or Universal certification, so don't try to do any of that yourself.
-
Getting the line set length right, doing pressure testing, pulling a deep vacuum and sizing the electrical the right way are the things that actually give you energy savings and a long life for the equipment.
-
For local details, the City of Madison charges $25 for an HVAC permit for each ductless split system, and rebates can help pay for panel and wiring upgrades.
How a Ductless Mini Split System Works (and Why It Matters for Installation)
Understanding how ductless mini split systems move heat helps you see why each installation step is non-negotiable. A ductless mini split has four main parts: the outdoor unit with the compressor, inverter board and fan. The indoor unit with the evaporator coil and blower. The line set with refrigerant lines plus communication cable. And a condensate drain line.
Mini split systems act as heat pumps. In cooling mode they absorb heat indoors and reject it outside. In heating mode they pull heat from outdoor air into your house, even in cold weather. Inverter-driven compressors modulate speed to maintain steady temperature and maximize efficiency compared to single-stage equipment.
Because ductless systems are sealed refrigerant circuits, any step that opens that loop, whether it's gauges, charging hoses or recovery, legally requires EPA 608 Type II or Universal certification under 40 CFR 82.161. Correct line set length, proper flares and a good vacuum keep refrigerant circulating without moisture or non-condensables that damage the compressor. You should route refrigerant lines gently so they don't kink and block flow.
Planning a Mini Split Install in Zone 5A
I design every ductless mini split installation around heating first, because our winters are long and brutal. ASHRAE lists Madison as climate zone 5A with roughly 7,053 heating degree days versus just 653 cooling degree days (base 65°F), so proper heating capacity is the primary sizing concern-not summer comfort.
For a single zone mini split in a bedroom, expect the 9,000–12,000 BTU range. For an older, drafty two-story home needing climate control in multiple rooms, a multi-zone system is smarter. Larger BTU capacities increase cost. Oversizing for cooling causes short cycling and moisture issues. Undersizing for heating leaves rooms cold below 0°F.
Outdoor unit placement matters: set on a level pad or brackets, with coil mounted 18–24 inches off the ground to clear typical Madison snow levels. Indoor units should be mounted high on walls to optimize airflow-avoid blowing directly on beds or desks. Plan the line set route and drain slope now, not on install day.
The City of Madison HVAC permit fee is $25.00 per split system in an existing building-I typically pull this when I do the install. Many local jurisdictions require permits for high-voltage installations. For electrical planning, check your panel capacity for a new 240V circuit. Wisconsin's HEAR program pays up to $4,000 for an electrical panel (load center) upgrade and up to $2,500 for wiring through a Registered Contractor-not for new construction.
What a Homeowner Can Safely DIY Before the Mini Split Installer Arrives
Many homeowners want to prep the job to reduce labor costs, and I encourage it when they do it right. Some mini splits are sold as "DIY" units for handy homeowners, and installing a ductless mini split system can be a DIY project for people with experience, but only on the prep side. DIY installation involves electrical connections and refrigerant lines that are complex and cross into professional work.
Safe prep tasks include:
-
Clearing the outdoor pad area and deciding indoor head locations
-
Making sure there is a good route for the condensate drain (the drain has to slope downward the whole way so water doesn't pool inside)
-
Measuring the line set path to avoid surprises
-
Drilling the hole through the wall: you usually drill a 3-inch diameter hole for the refrigerant lines and wiring, with a slight pitch downward toward the outside
-
Mounting bracket prep: find the studs, mark level, pre-drill and make drainage slope a priority when you mount indoor units so you cut down on the risk of leaks
-
Hiring a licensed electrician to run the dedicated 240V circuit and the disconnect, per local code
DIY savings could be $500 or more for a simple single-zone job. But homeowners should never cut, flare or connect refrigerant lines, or attach a vacuum pump or gauges. Those steps need EPA-certified techs. If you make mistakes in wall penetrations or drain lines, you can get water damage or noise problems, so take your measurements carefully.
Professional Mini Split Installation Steps
Here is how I usually install a single-zone ductless mini in a home in the Madison area. You need special tools to install a ductless mini-split, including torque wrenches and vacuum pumps.
-
Indoor unit: I level the bracket with a digital level, anchor into studs or solid blocking, and confirm service access and filter clearance.
-
Line set routing: I protect the wall penetration with a sleeve, maintain gentle bend radius on the lines, and keep the condensate drain at a continuous downward slope. Ductless mini-split systems require careful consideration of indoor and outdoor unit locations.
-
Outdoor unit: Set on a pre-leveled pad or wall brackets with adequate clearance for airflow per the manufacturer's manual. Outdoor units must be placed on level pads or securely mounted.
-
Electrical: I verify breaker size and wire gauge against the mini split nameplate, install a local disconnect switch, and land control wiring between indoor and outdoor units. Mini-split installation often requires electrical work that must adhere to local codes and safety standards.
-
Flare connections: Copper tubing flare connections require precise torque to prevent leaks, roughly 13–18 ft-lb for a 1/4-inch liquid line and 25–30 ft-lb for a 3/8-inch suction line. I apply a small amount of refrigerant oil to flare faces before tightening.
-
Leak testing: I pressurize with dry nitrogen and check every flare and service port with soap solution. Testing for leaks after installation is essential for ensuring system performance. Incorrect installation can lead to hazardous leaks and system failure.
-
Evacuation: A vacuum pump is used to pull a vacuum of 500 microns or lower before refrigerant release. I monitor with a micron gauge and perform a standing vacuum test to confirm no moisture or leaks remain.
-
Commissioning: I open the service valves, release factory charge, verify line set length is within "no added charge" range, power up, run heating and cooling modes, and check superheat, subcooling, airflow and noise.
EPA certification is typically required for refrigerant work on mini-splits in the U.S., and this is federal law, not a suggestion.
Cost, Savings and Electrical Upgrades
You might wonder whether the investment in a ductless mini split is worth it compared to window units or extending ductwork. Professional installation costs $1,000–$2,000 per unit on average. Installation costs can run from a few thousand to over ten thousand dollars for whole-house projects.
| Cost Factor | Notes |
|---|---|
| Single-zone systems | Most affordable option |
| Multi-zone systems | Significantly increase costs |
| Premium brands (high SEER2/HSPF) | Higher upfront, better long-term savings |
| Additional indoor units | Raise both equipment and labor costs |
| Panel/wiring upgrade | Offset by HEAR rebates up to $4,000+$2,500 |
| DIY prep | Can save $500+ per unit |
Properly installed ductless mini splits offer lower utility bills over time through inverter operation, zoned comfort (only conditioning the room you use), and eliminating duct losses from older forced-air systems. These energy efficient models deliver real money savings-but cutting corners on the complete refrigerant and vacuum process erases those benefits.
Many older Madison homes have full panels. A 240V circuit for the outdoor unit may need a panel upgrade, but HEAR incentives can heavily offset that cost when you use a Registered Contractor. Check current local rebates and programs before you start. Incentives change yearly.
Worth noting: leak-repair recordkeeping rules under 40 CFR 82.157 apply only to appliances holding 50 lb or more of refrigerant, so a residential ductless mini split has no federal leak-rate paperwork. That's one less thing for you to worry about.
Post-Installation Checks and Service Calls
Even a perfectly installed ductless mini split needs routine care to keep its efficiency up and stay quieter over time. Here's what I recommend for you to do each season in Madison:
-
Clean or replace the indoor filters every 4–8 weeks during heavy use
-
Gently vacuum the indoor coil face if you can reach it
-
Keep the outdoor unit clear of snow, leaves and cottonwood fluff
-
Each fall, run the system in heat mode on a cool day and listen for odd noise and make sure warm air is coming out
Watch for error codes, unusual ice buildup outside of normal defrost cycles, water drips from the front of the indoor unit, or a spike in energy bills. If you suspect a refrigerant leak from oily spots on flare joints, hissing or poor heating in winter, do not connect gauges or add refrigerant yourself. Call an EPA-certified tech instead.
Professional maintenance visits can include checking electrical connections, cleaning blower wheels and coils, checking operating pressures and temperature, and updating control software on smart models. You can expect to schedule this every one to two years. If you're within about 40 miles of Madison, contact me for troubleshooting, annual maintenance or to look at a ductless mini split that isn't performing as expected.
FAQ
Can you install a ductless mini split yourself?
You can handle planning, wall penetrations, bracket mounting and coordinating with an electrician. But refrigerant work, vacuum and system charging must legally be done by an EPA 608 Type II or Universal certified tech. DIY installation can save $500+ per unit on the prep side, but the sealed-system steps are not optional to hand off.
How long does a single-zone mini split installation take?
In my Madison-area experience, a simple single-zone installation usually takes most of a day, about six to eight hours. More complex line set paths, wall construction surprises or electrical upgrades can stretch the job into a second visit.
Do I need a permit for a ductless mini split in Madison, WI?
Yes. The City of Madison requires an HVAC permit for a ductless split system in an existing building. The current fee is $25.00 per split system. I normally handle this paperwork for my customers.
Will a mini split heat your whole home in winter?
It depends on your home's layout, insulation, air sealing and the specific equipment. In our 5A climate with over 7,000 heating degree days, picking cold-climate models that are rated for performance at −13°F or below is essential. A single unit won't replace a furnace in most homes, but a properly designed multi-zone system with the right models can.
How often should I schedule professional maintenance on my ductless mini split system?
I recommend a professional check every one to two years in addition to your own filter cleaning, especially if the system is your primary heating and cooling rather than just a replacement for spot cooling.