
Where to Install a Mini Split Indoor Unit: Installer's Guide
Choosing where to install a mini split indoor unit determines whether the system runs quietly and efficiently or becomes a source of drafts, noise, and humidity problems.
- Written by
- A working HVAC tech
- Updated
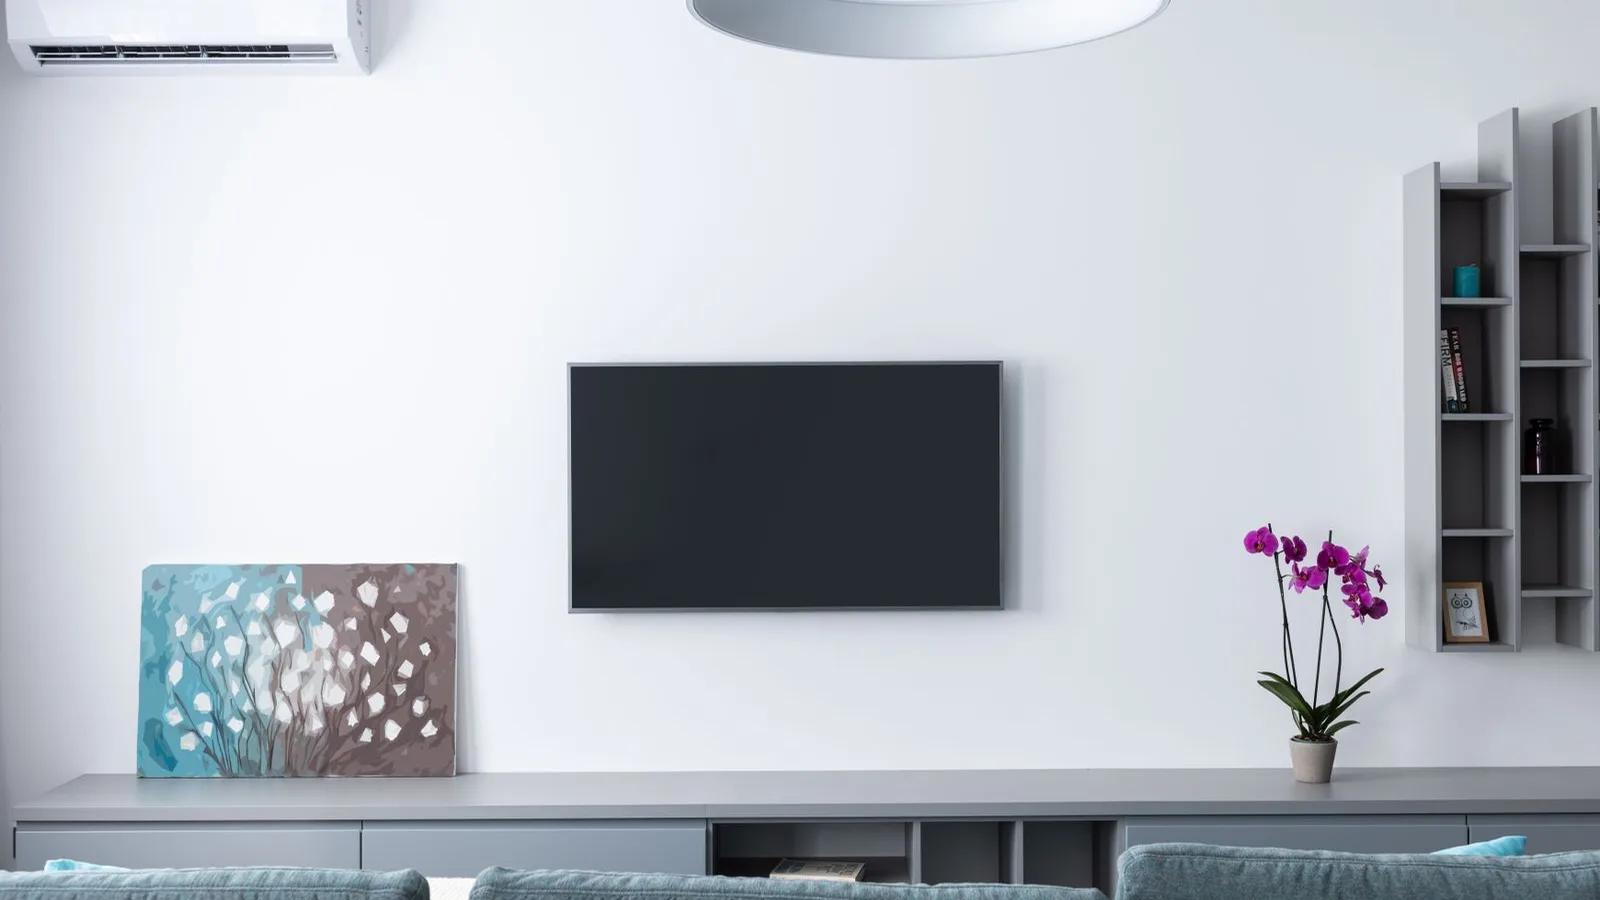
I install ductless systems across the Madison, WI area, and placement is the first thing I discuss on every job. Here is how I approach it.
Key Takeaways
-
The best spot for the indoor unit is usually high on a wall with open airflow, solid structure behind the drywall, and a short run to the outdoor unit for the refrigerant lines and drain.
-
Your mini split manual has the exact space requirements. For example, Mitsubishi's MSZ-FX needs a minimum mounting height of 5.9 ft off the floor, though 7.5 ft is preferred.
-
Bad placement of the indoor air handler can cause drafts, short cycling and humidity problems. In Madison, the 0.4% summer design dew point is 73.9°F, so the condensate drain and the line-set insulation are working hard all July.
-
You can handle measuring, planning and wall layout. Drilling, mounting, running refrigerant lines, pressure testing and electrical work need a qualified HVAC pro.
-
In Wisconsin, it's not legal to install a mini split for someone else without DSPS HVAC contractor registration under SPS 305.70.
How I Pick the Best Spot for a Mini Split Indoor Unit
I start every job by finding which wall gives the indoor unit the longest open throw across the room. The idea is to blow air along the length of the room, not straight at where you sit or sleep.
-
Mounted high on an interior wall or exterior wall, the indoor air handler is centered on the main living area. An exterior wall is better because it makes installation and drainage simpler. The line set is going straight out to the outdoor unit.
-
In open-concept spaces, pick a central location for even air distribution. Don't put the unit in direct sunlight, which messes up the built-in temperature sensor.
-
Keep shelves, soffits, beams and tall furniture at least 12 to 24 inches away on all sides. Indoor units should be placed at least one foot from objects to allow proper airflow and filter access.
-
Make sure the wall has studs or solid blocking. You need to mount the unit into wall studs for support. Drywall alone won't hold a 25 to 50 lb air handler over time.
-
Plan a clean path through the wall for the line set, drain line and control cable. Fewer turns means less pressure drop and easier service later.
Clearance, Height and Airflow Rules for Indoor Units
Every mini split indoor unit comes with a clearance chart. By model, the numbers change, but the patterns stay the same.
| Clearance | Typical Minimum |
|---|---|
| Ceiling gap (above unit) | 6 inches |
| Side walls | 4 to 6 inches each side |
| Floor to bottom of unit | 66 inches (5.5 ft) or more |
| Recommended mounting height | 6 to 7 ft from floor |
Indoor mini split units should be mounted 6 to 8 feet off the floor, depending on the model. The Mitsubishi MSZ-FX requires at least 5.9 ft, with 7.5 ft recommended; that number matters when choosing between a bedroom with 8 ft ceilings and a basement with 7 ft ceilings.
Keep an open airflow path 8 to 15 ft in front of the unit. If you put the head too close to a facing wall or above a tall cabinet, the discharge air loops right back into the intake. That short-circuits the air, drives up energy use and ruins humidity control. The unit also needs enough room below it for maintenance access, including filter cleaning.
Room-by-Room Placement Examples
Here's how placement works out in a typical Madison-area home built between 1980 and 2010.
Living room (250 to 400 sq ft). I mount a 12,000 to 18,000 BTU indoor unit high on the long wall and aim airflow across the seating area. Keep it away from direct drafts above seating or beds so you stay comfortable. Don't mount it behind a TV since that's a heat source, or above a fireplace shelf. Keep it away from heat and moisture sources so it runs efficient.
Bedroom (100 to 150 sq ft). I position the unit so air crosses the bed from foot to head instead of blowing down on your face. Mounting above the door or on the opposite wall facing the bed works well if you can get the space.
Finished basement. Low ceilings limit your options. Watch for beams that block airflow. Route the condensate drain to a floor drain or put in a condensate pump. Don't install it in areas that stay damp unless the equipment is rated for that.
Home office. Quiet operation matters here. Don't mount on thin partitions that carry vibration into the next room. For desks and shelving, keep wall space free.
Multi-zone systems. A 1,500 square foot house usually needs two to four indoor units. Each zone needs its own best placement. Grouping heads close together just to shorten line-set runs is a common mistake that costs you. Multi-zone installs take 1 to 2 days, so it's worth taking time to plan each location.
Drain Line, Condensation and Humidity Considerations
Unit placement has to allow a reliable condensate drain with a slope that drops about ¼ inch for each foot of horizontal run.
-
Place the indoor unit so the drain hose leaves the wall and drops steadily toward a safe termination point. No upward traps or sags. The condensate drainage has to be routed right or you'll get leaks and water damage.
-
Madison's 0.4% summer dehumidification design dew point is 73.9°F. That humidity means the indoor coil puts out heavy condensate loads. Line-set insulation sweats if it's wrapped poorly, and drain lines see constant duty from June through August.
-
Long horizontal drain runs tend to clog. Better placement keeps those runs short.
-
In cold seasons, exterior drain ends need to avoid creating slippery ice patches on walks or patios.
-
Away from foundation walls, keep the drain outlet so water doesn't get in, and don't route through unconditioned attics unless the drain is fully insulated against freezing.
Structural, Electrical and Code Issues
Before I lock in an indoor unit location, I check what's inside the wall.
-
Scan or open the wall to miss plumbing, electrical conduits or structural members before you drill the 2.5 to 3.5 inch hole for the wall penetration. Pick installation locations that let you route refrigerant and electrical properly.
-
For lag screws, the wall needs solid backing. Drywall alone can't support the indoor air handler.
-
Indoor unit placement has to work with the electrical plan: accessible paths for power and communication cables between indoor and outdoor units, and it needs to be near the dedicated circuit and disconnect at the outdoor unit.
-
Under Wis. Admin. Code SPS 305.70, only a DSPS-registered HVAC contractor can install or service HVAC equipment for others. Wisconsin's HVAC Qualifier certification under SPS 305.71 takes 1,000 hours per year for at least 4 years of experience, plus passing the DSPS exam.
-
Units using R-454B refrigerant need minimum room floor area based on total charge. A 2 lb 3 oz charge needs at least 41 sq ft of floor area per manufacturer safety tables.
DIY vs. Pro for Indoor Unit Placement
You can safely handle measuring the room, choosing preferred walls, checking furniture layout and reading the indoor unit manual's clearance section. That is the DIY installation scope.
Everything else goes to a licensed installer: drilling the wall penetration, mounting the indoor unit to structure, running the line set and drain, evacuating the system and pressure testing. Technicians must have EPA Section 608 certification for refrigerant work. A licensed installer makes sure high-pressure refrigerant is handled safely. DIY installation is not recommended due to safety risks.
Professional installation costs between $2,000 and $10,500, depending on the number of zones and difficulty of the install. A single-zone system installation usually takes 4 to 8 hours. Improper installation can lead to energy loss and system failure, and a professional installation helps maintain system efficiency and warranty.
If you are in the Madison, WI area (about a 40-mile radius), you can contact me directly for a placement walkthrough, quote or complete mini split installation.
Coordinating Indoor and Outdoor Unit Locations
Never pick the indoor unit location without checking where the outdoor unit can go. Tied together by the line set, drain and control wiring, the two have to be planned as a pair.
-
Connect the dots: straight, short line-set run with little bends and easy access for service. Keep total length inside the manufacturer's recommended range so you don't have to add field charge or lose heating and cooling capacity.
-
The outdoor unit should sit on a level pad or wall bracket with open airflow. Not under deck stairs or buried in shrubs. That sometimes shifts the ideal indoor location by a foot or two.
-
When exterior looks matter, locate the indoor unit so the line set leaves near a corner, drops in a slim cover down the siding, and reaches the outdoor unit clean.
-
Any shift in indoor placement to fit outdoor limits still has to meet every clearance, drainage and structural rule covered above. For the plan to work, both units have to be placed right.
FAQ
Can I put a mini split indoor unit above a window or door?
Indoor units shouldn't go above doors or windows. Above these openings, the wall framing is often weaker (it's a header, not full studs), and airflow gets blocked by the gap. Putting the unit on the adjacent wall section, where you can verify clearances and structure, is the better choice.
How close can the indoor unit be to the ceiling?
Leave at least 6 inches of clearance between the unit and the ceiling. Less than that starves the air intake, blocks filter removal and causes short-circuiting. Always check your specific model's clearance diagram instead of going by a generic number.
Is an interior wall or exterior wall better for the indoor air handler?
Wall-mounted units are best on exterior walls for easier installation. The line set and drain are exiting straight through to the outdoor unit. An interior wall works if there is a good path (chase, soffit or basement run), but the process gets more difficult and adds cost.
Can I install the indoor unit low on the wall?
Standard wall-mount heads are built for high-wall mounting at 6 to 8 feet off the floor. For low-wall placement, you need a console-style indoor air handler made for floor mounting. It's got a different return-air setup and safety design. Mixing the two causes cold drafts and poor heat distribution.
Does indoor unit placement affect heating performance in winter?
Yes. In heat-pump mode, warm air rises. The unit needs to be high enough with louvers pointing warm air downward so it washes across the floor. Avoid spots where rising warm air gets trapped near the ceiling or blocked by tall partitions. Ceiling-mounted units can blow air in one or four directions, which gives you more control in rooms with tricky layouts. Traditional HVAC with ductwork pushes heat through floor registers. A mini split depends completely on where the air handler sits and which way the louvers point to get warmth where you need it.