
How Far From the Ceiling Should a Mini Split Be? (Installer's Guide)
Most homeowners ask me about mini split placement before anything else, and the ceiling clearance question comes up on nearly every job.
- Written by
- A working HVAC tech
- Updated
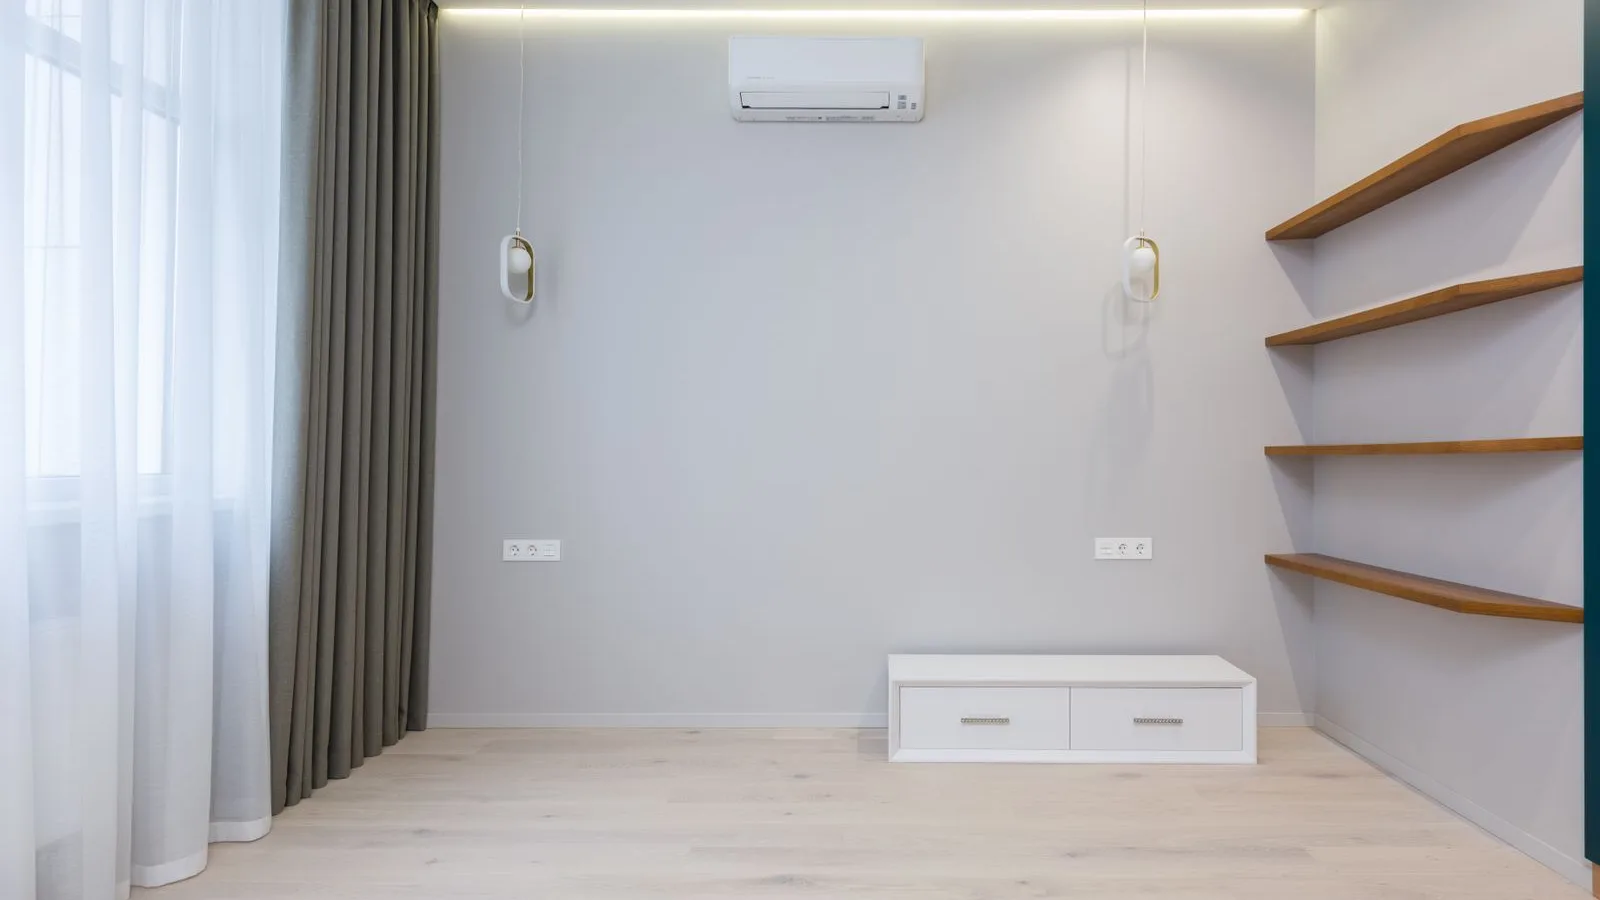
Here's what I've learned installing these systems across the Madison, WI area.
Key Takeaways
-
Most wall-mounted mini split indoor units need at least 6 inches of open space from the top of the case to the finished ceiling. The general recommended clearance for mini-split units is 4 to 6 inches depending on the brand, but I use 8 to 10 inches as my safe sweet spot on real installs unless the manufacturer spec says otherwise.
-
Homeowners in Wisconsin can legally do some or all of the work under SPS 305.70, but should still follow the installation manual and consider hiring a tech for vacuuming, flaring and charging.
How High Should a Mini Split Be From the Ceiling?
Most wall-mounted mini split indoor units should be installed so that the top of the case sits 6 to 12 inches below the finished ceiling. Out in the field, 8 to 10 inches works with almost all of the brands that I see (Mitsubishi, Fujitsu, Daikin, Gree and others). Most manufacturers recommend a top clearance of 4 to 6 inches for mini-split units, and the ideal clearance ranges from 2 to 6 inches on paper, but I lean toward the higher end for better results.
-
You can always find the exact minimum ceiling clearance printed in the installation manual and on the paper wall guide. Some compact inverter units allow the gap to be as tight as 3 inches. Standard models usually need 6 inches or more.
-
To measure: start from the finished ceiling surface down to the top edge of the mounting bracket, then check where the top of the indoor unit case will land. Use a tape measure and a level before you drill anything.
-
Indoor units should be mounted 6 to 7 feet above the floor. In an 8-foot room, that puts the bottom of the unit around 6.5 to 7 feet up, so the air can spread across the room instead of staying near the ceiling. Mounting the unit above 7 feet can cause airflow issues because the throw stays trapped near the ceiling plane.
-
In Madison homes with 7-foot basement ceilings, keep at least 4 to 5 inches from the ceiling and accept the indoor unit sitting a bit lower instead of stuffing it under the joists.
Why Ceiling Clearance Matters
Ceiling clearance has an effect on airflow, on how well the unit heats, and on how accurate the thermostat reading is. In Madison's mixed climate, where I use mini splits for both heating and cooling, getting this wrong will create problems in every season.
Most wall-mounted mini-split units pull return air in through the top grille. Mini-split indoor units will draw air in through the top of the chassis, condition it across the evaporator coil, and push it out through the bottom vents. Cool air should be allowed to circulate freely from the unit to condition the room. If the unit sits too close to the ceiling, discharge air will roll right back into the intake. That short-cycling of air causes poor mixing, drafty spots and noisy high fan operation. The intake fan's airflow can create a mess of air when the gap is too small; field tests by Airspool found that airflow drops a lot once clearance falls below 3 inches.
Mini-split performance is affected by the amount of space left around the unit. Restricted airflow can cause the blower fan to work harder, and too little clearance can restrict airflow and reduce efficiency. Near the top of the coil is where the built-in temperature sensor sits. With the unit tight to the ceiling, it reads a layer of warmer air instead of the temperature where you sit, so the room can feel cool while the controller thinks it's warm.
Inverter units like I usually install are running their fan continuously at low speed. If they're pushed against the ceiling, they lose efficiency and may run at higher RPMs, using more energy during MGE's on-peak time-of-use windows (about 9.4 to 10.7 cents/kWh extra on weekdays from 10 a.m. to 9 p.m. under the Rg-2A rate).
- Noise and vibration: when the fan has restricted intake, you get noise and a mess of air, which is especially noticeable in bedrooms at night. Enough clearance lets air circulate properly throughout the room.
Manufacturer Guidelines vs. Real-World Practice
The installation manual is the final authority for ceiling clearance and wall space. Inspectors and warranty claims will go by what that book says, not by rules of thumb. It is always important to verify installation specifications in the unit's manual for best performance.
-
Many common wall-mounted inverter units specify about 6 inches minimum from the ceiling and 4 to 6 inches on the sides. MRCOOL's official guidance, for example, calls for at least 6 inches above. Manufacturer requirements for installation may vary from brand to brand. Some high-static units allow 3 inches, and others ask for up to 12 inches.
-
From my field experience in Madison homes (old farm houses to 1990s homes), I almost always aim for more than the minimum: if the manual says 6 inches, I try for 8 to 10 unless the room layout forces tighter.
-
You sometimes get the guide wrong and measure to the wrong edge of the bracket, ending up with the unit almost touching the ceiling. Double-check the alignment of the paper wall guide and use blue painter's tape to mark the top line.
-
When trim, crown molding or a soffit forces you lower than plan, meet the manual's ceiling clearance and live with a slightly lower unit rather than ignore the spec and risk airflow or condensate issues.
Balancing Ceiling Clearance With Wall Space
You can't decide on ceiling clearance in isolation. You also have to consider wall space, doors, windows, furniture and the path to the outdoor unit.
-
For the best location, this is the order I use: first avoid blowing directly at exterior doors, then avoid mounting over big picture windows if possible, then worry about placing the unit in the center of the wall for looks. Maintain at least 1 foot of clearance around indoor units so air can circulate on all sides.
-
Keep indoor units at least 3 to 4 feet away from electronics like TVs and internet boxes. The condensation and airflow can cause problems over time.
-
You can technically put a mini split above a door or window if you still meet the 6 to 12 inch ceiling clearance, but I usually avoid it because of drafts, framing obstructions and limited service access.
-
Direct sunlight exposure can throw off mini split efficiency, and solar heat gain can cause premature cycling of the unit. Avoid placing mini splits on southern walls facing sunlight when you can. The best mini split locations tend to be on northern walls with little sunlight, where the sensor isn't fooled by radiant heat.
-
For tall ceilings (9 to 12 feet): I'm often mounting the indoor unit at about 7 feet off the floor. The ceiling clearance might be 2 to 3 feet. That's fine as long as the unit is high enough to throw air across the room.
-
For very low ceilings or dropped ceilings, consider a floor-mount unit or a low-wall box if you can't keep both the needed ceiling clearance and a comfortable mounting height.
Indoor Unit Placement in Madison Homes
In the Madison, Wisconsin area, most of my installs are on an exterior wall because it keeps the line set length and the number of penetration points to a minimum. But interior walls are sometimes the best location for comfort and zone coverage when the room is in the center of the home.
-
On an exterior wall, mount the mini split indoor unit with proper ceiling clearance, then run the lines directly through the wall to the outdoor unit on a pad or wall brackets. Short refrigerant piping helps with efficiency and reduces refrigerant volume.
-
Interior wall installs route lines up into an attic or down into a basement, then out to the exterior wall. You still respect the same 6 to 12 inch ceiling clearance inside. You just have more freedom on where the outdoor unit ends up on the ground on the exterior.
-
Madison's ASHRAE 1% cooling design condition is 86.4°F dry bulb with a 72.4°F wet bulb at the same time. We're not sizing or placing for Phoenix heat. Good air mixing from a well-placed interior-wall unit is usually more important than pointing the outlet at one hot spot.
-
SPS 305.70 lets Wisconsin homeowners work on HVAC in their own occupied home without HVAC contractor registration, but they still need to follow manufacturer placement clearances, pull electrical permits where required, and may want a pro for flaring, vacuum and pressure testing.
Mini Split Placement Mistakes Near the Ceiling
Internet photos and quick installs often show mini splits stuffed under the ceiling or pushed into corners. The problems will only show up after the first real heating and cooling season.
-
Mounting with less than the manual's needed ceiling clearance to fit above trim. This will starve the unit for air, increase noise and lead to dirty filters. Too little space above a mini-split unit can compromise air intake and maintenance. Airflow restrictions can lead to overheating of mini-split unit components over a long run.
-
Tucking the unit into a vertical corner (tight to ceiling and side wall). This blocks side intake, makes filter removal harder on each open step of the service, and often leads to dirty streaks on walls from condensate-blown dust.
-
Placing the unit so it blows directly into an often opened exterior door or stairs. This throws away conditioned air and creates uncomfortable drafts, even if the ceiling clearance was technically correct.
-
Prioritizing a centered view over structure. Always locate studs, electrical and plumbing first, then fine-tune for appearance, provided you still meet ceiling and side clearances.
Use painter's tape or cardboard patterns on the wall to see the height and clearance before drilling. Step back, sit where you usually sit, and make sure the airflow path and visual impact feel right. This one step saves more headaches than any other thing I can recommend.
FAQ
Can You Install a Mini Split Against the Ceiling?
-
Wall-mounted mini splits are not designed to be tight to the ceiling. Leave at least 6 inches between the unit and the ceiling. Almost all manuals need several inches of clearance for airflow and for lifting the case onto the bracket.
-
Putting the unit hard against the ceiling almost kills the warranty of poor air circulation, hard-to-clean filters and may void the warranty if it goes against the spec sheet.
-
Alternatives: lower the unit to maintain 6 to 12 inches of clearance, shift to a different wall, or consider a ceiling cassette or floor-mount indoor unit if the wall layout is impossible.
How high is too high for a mini split in a room with a 10- or 12-foot ceiling?
-
Your very tall ceilings are less about "too high" and more about getting air where you sit. I mount the indoor unit so the bottom is around 7 feet off the floor, not tight to the ceiling plane.
-
Keep the unit accessible with an ordinary step ladder for filter cleaning while it's still high enough to throw air across the space.
Is it okay to angle the indoor unit downward to "cheat" the ceiling clearance?
-
Wall-mounted mini split indoor units are designed to be installed level. Tilting them to gain "virtual" clearance is not approved by manufacturers.
-
Angling can cause condensate drainage problems, noisy fan operation and bad vent swing. Pick a different wall space or drop the mounting height instead.
Can I mount a mini split low on the wall instead of keeping it near the ceiling?
-
Standard wall-mounted heads are designed for high-wall placement. Mounting below 5 feet can waste energy and cause discomfort because the air throw pattern doesn't reach across the room.
-
If you want a low-wall option, manufacturers make dedicated floor-mount or box indoor units with airflow patterns designed for knee or hip height.
-
When you low-mount a high-wall unit, the biggest issues are poor distribution, you feeling airflow directly at head height when sitting, and filters ending up where kids and pets can reach them.