
Mini Split Outdoor Unit Placement: How I Actually Do It in Wisconsin Yards
Mini split outdoor unit placement mistakes cost Wisconsin homeowners thousands in repairs.
- Written by
- A working HVAC tech
- Updated
Key Takeaways
-
The outdoor unit needs a stable, level base, it has to sit well above snow depth, and it needs open airflow on all sides. Don't point the intake or discharge straight into the usual winter winds.
-
You'll want at least 8–12 inches from the exterior wall, 18–24 inches on intake sides, and 4–5 feet of open space in front of the discharge. That gives you performance you can count on and keeps the unit running quietly.
-
Line set length, the way the lines run, and elevation changes between the indoor unit and outdoor unit directly affect energy efficiency, refrigerant charge and manufacturer warranty coverage.
-
You can look over locations, check the space you need on all sides, and get the pad area ready. But a licensed tech has to do the refrigerant work, the electrical connections and the final mounting.
Why Outdoor Unit Placement Matters
Mini split outdoor unit placement is something I routinely see get wrong in the Madison, Wisconsin area and perfectly good mini splits fail to perform well because the outdoor unit ended up in the wrong spot. A system that is sized correctly for the room still has trouble if the compressor is buried in a pile of snow, closed in by fencing or baking against an exterior wall in July. Outdoor unit placement is as critical as sizing. It has a direct effect on energy efficiency, consistent comfort, noise levels and equipment life for both heat pump and cooling-only systems.
-
Madison gets about 51.8 inches of snowfall per year, and piles of blown snow can double the local snow depth.
-
This guide covers the real-world outdoor unit placement details I use on jobs within about 40 miles of Madison, not generic pictures from a manual that was printed in a warm climate.
Core Rules for Outdoor Unit Placement
You can think of this as your quick-reference checklist.
-
Keep the bottom of the outdoor unit at least 18–24 inches above grade. In Madison, piles of snow regularly go past ground-level snow depth.
-
Don't let the discharge or intake face straight into the usual winter winds, which around here are usually from the northwest.
-
You can cut down on noise from mini split units by avoiding placement near bedrooms or outdoor seating areas. Madison's code caps stationary equipment noise at 65 dBA at the property line.
Outdoor Location Around Your Home
-
Behind the house near a deck: it's often out of the way of street noise, but watch for low decks that block airflow or roof water that runs onto the unit.
-
Side exterior wall: this usually gives you the shortest line set run. Avoid north and west corners where Madison's usual winds pile up snow.
-
Garage wall: this works well if the wall faces a protected area, but stay away from spots with heavy dust or exhaust from lawn equipment.
-
Putting outdoor units in shaded areas can help with cooling efficiency in summer. But don't move them out of direct sunlight only to put them under a roof valley that drops ice spikes all winter. A little sun exposure is better than constant dripping and ice.
-
Even with quiet operation ratings, wall mount brackets can send vibration through siding into sleeping areas. Near bedrooms, I prefer a free-standing stand with pads that cut down on vibration.
Clearance, Airflow and Noise Manuals Miss
- I'm looking for at least 8–12 inches from the exterior wall on the intake side, 18–24 inches from shrubs or fencing, and 4–5 feet of open space in front of the discharge.
Snow, Ice and Wind in Wisconsin Winters
Madison winters hit hard with nights below zero, 13.7 inches of snowfall in January alone, and northwest winds that build serious piles of blown snow. That makes placement for a heat pump system a lot harder than it is in warmer climates.
-
Daikin's install manual says to mount the outdoor unit high enough that it can't get buried in snow, add a snow hood if snow can pile up on it, and it recommends a drain pan heater in heavy-snow areas to stop ice from building up in the base. I include these heaters on most of the installs I do in Madison.
-
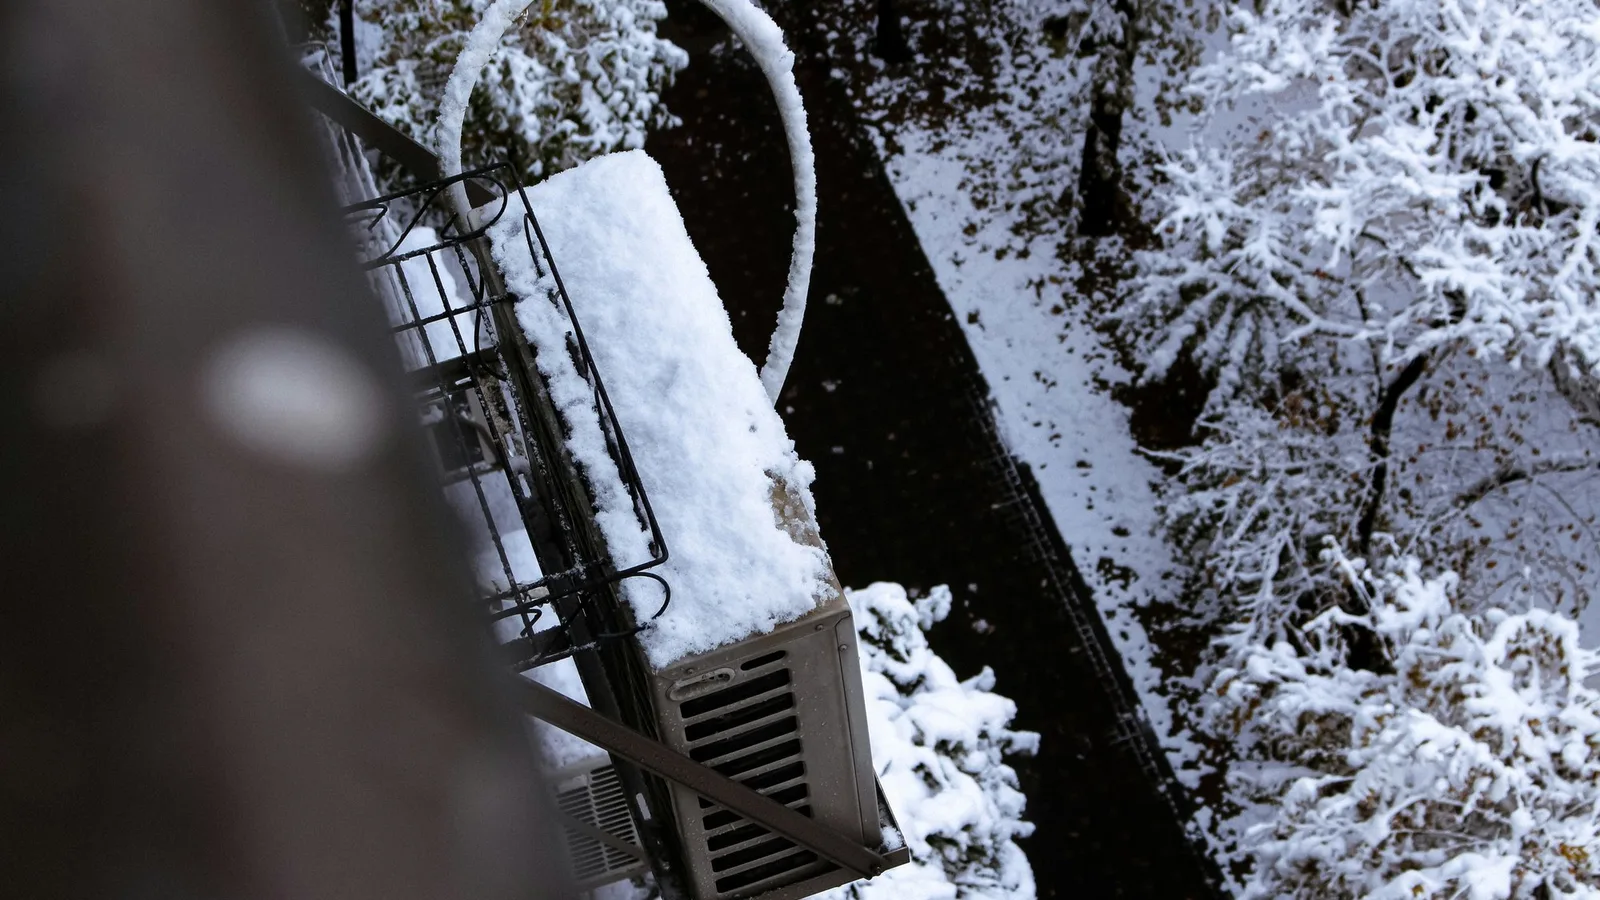
Raising outdoor units up off the ground is how you protect them from snow piling up and from flooding. I use wall brackets or stands that are 18–30 inches tall so the base pan drains freely instead of sitting in half-melted snow.
Ground Pads vs Wall Brackets vs Stands
Ground or wall mounting options depend on property layout and environmental considerations. Here's how I decide:
- Here's the practical reality: if the unit sits right where you pile snow from your driveway, you'll have a defrost problem every winter. You'll want to think through where you shovel and where you run the snow blower before you commit to a location.
Line Sets, Distance Limits and Routing Between Indoor and Outdoor Units
-
Daikin's 09–24K AXVJU units need a minimum of 10 feet of line set. If the run is shorter than that, you get outdoor unit noise and vibration. The maximum lengths are 65-5/8 feet for 09/12K models and 98-1/2 feet for 18/24K units.
-
Daikin needs 0.21 oz/ft of added R-410A past 30 feet on these models, so a very long run adds refrigerant cost and raises future leak risk.
-
I plan the way the lines will run for the shortest practical distance, as few turns as possible, gentle changes in height and clean line-hide covers on the siding.
-
Trying to hide the outdoor unit far behind a detached garage or down a hill can break the line length or elevation limits and it can void warranties. I check the specific top limits for each model before I pick outdoor locations.
Coordinating Outdoor and Indoor Placement
-
Wall-mounted units are the most common type of mini split system. Indoor units should sit 6–8 feet above the floor so air spreads out well. Position them where filter maintenance is easy, and make sure furniture or curtains don't block airflow. Keep them away from heat sources like stoves or radiators.
-
A typical Madison project pattern is one outdoor unit near the back corner serving a living room and kitchen to spread air evenly, and another on a side yard wall serving upstairs bedrooms for consistent comfort.
Outdoor Unit Placement Mistakes to Avoid
- Landscaping should not block airflow around outdoor units if you want to keep efficiency up. Keep debris and plants away. Shrubs that grow into the coil are a common problem. How much clearance do you need for the future? Plan 2–3 feet of clearance for future growth.
DIY vs What Needs a Licensed Tech
-
DIY-friendly steps: looking over outdoor locations, measuring the space you need on all sides, checking snow and wind patterns, taking photos of proposed spots, and rough-marking pad or stand positions. Common sense and a tape measure go a long way.
-
You can often pour or level a small pad area or build a paver base, as long as you coordinate dimensions and height with the installer.
-
A licensed tech needs to do the refrigerant work, the pressure testing, pulling a deep vacuum, connecting flares and charging, including Daikin's added-oz-per-foot requirements. This isn't optional.
-
Electrical work including outdoor disconnects and circuits feeding the new unit must follow local electrical code. Checking local codes and HOA rules is important before installing outdoor units. When the indoor unit is powered from the outdoor unit, Mitsubishi notes local code may require a disconnect switch on the supply circuit.
-
If you're in the Madison area, reach out through howtoinstallminisplit.com for a site visit to confirm your planned outdoor location before you commit to concrete or stands.
FAQ on Mini Split Outdoor Unit Placement
Can the outdoor unit go under a deck?
Low, enclosed decks are usually a bad idea. Airflow gets restricted, snow and leaves collect and pets crowd the space. A high, open deck with at least 4–5 feet of clear height and open sides, with no lattice, can sometimes work if the unit still has full inlet and outlet clearance. Generally I'd recommend mounting next to the deck on a stand where the unit is out of the weather but not fenced in too tight.
How close can the outdoor unit be to the property line?
Zoning rules vary by municipality, so check local setbacks for mechanical equipment in your city or county. Even if it's legal, putting the unit right at a property line leads to noise complaints. I usually stay several feet in from the lot line and avoid pointing the discharge toward nearby bedrooms or a window. Talk with neighbors before you choose a tight side-yard location around Madison.
Is the roof okay for the outdoor unit?
Roof mounting is technically possible but rarely my first choice in Wisconsin due to snow loads, wind exposure and difficult service access in winter. Structural engineering may be needed to confirm the roof handles the weight plus snow and vibration. I recommend roof placement only when ground or wall locations are truly impossible, with proper curbs, stands and wind protection designed by a pro.
Can the outdoor unit share a fenced area with a dog run or trash bins?
It's better to keep the mini split outdoor unit in a dedicated, clean area. Pet hair, heavy dust and odors can get pulled into the coil and hurt performance and air quality. If a shared space can't be avoided, the fence has to leave full manufacturer clearances on all sides and above. It shouldn't trap discharge air. Plan a simple gate so I can wheel tools in for service.
What if the only spot gets strong winter winds?
I rotate the outdoor unit so the air inlet faces the wall, add simple boards on the discharge side to block the wind, and make sure the unit is mounted high enough to stay above snow that drifts. Mitsubishi's guidance, that the air inlet and outlet should not face directly into the wind, is a principle I follow regardless of brand or model. You should talk through wind direction and local drift patterns with your installer before you finalize placement if you're on an open, windy lot.