
Why Is My Mini Split Not Cooling? Troubleshooting Guide for Quick Fixes
Your mini split is running, the remote says it should be cooling, but the room feels like it hasn't dropped a single degree.
- Written by
- [Tech Name], HVAC tech
- Updated
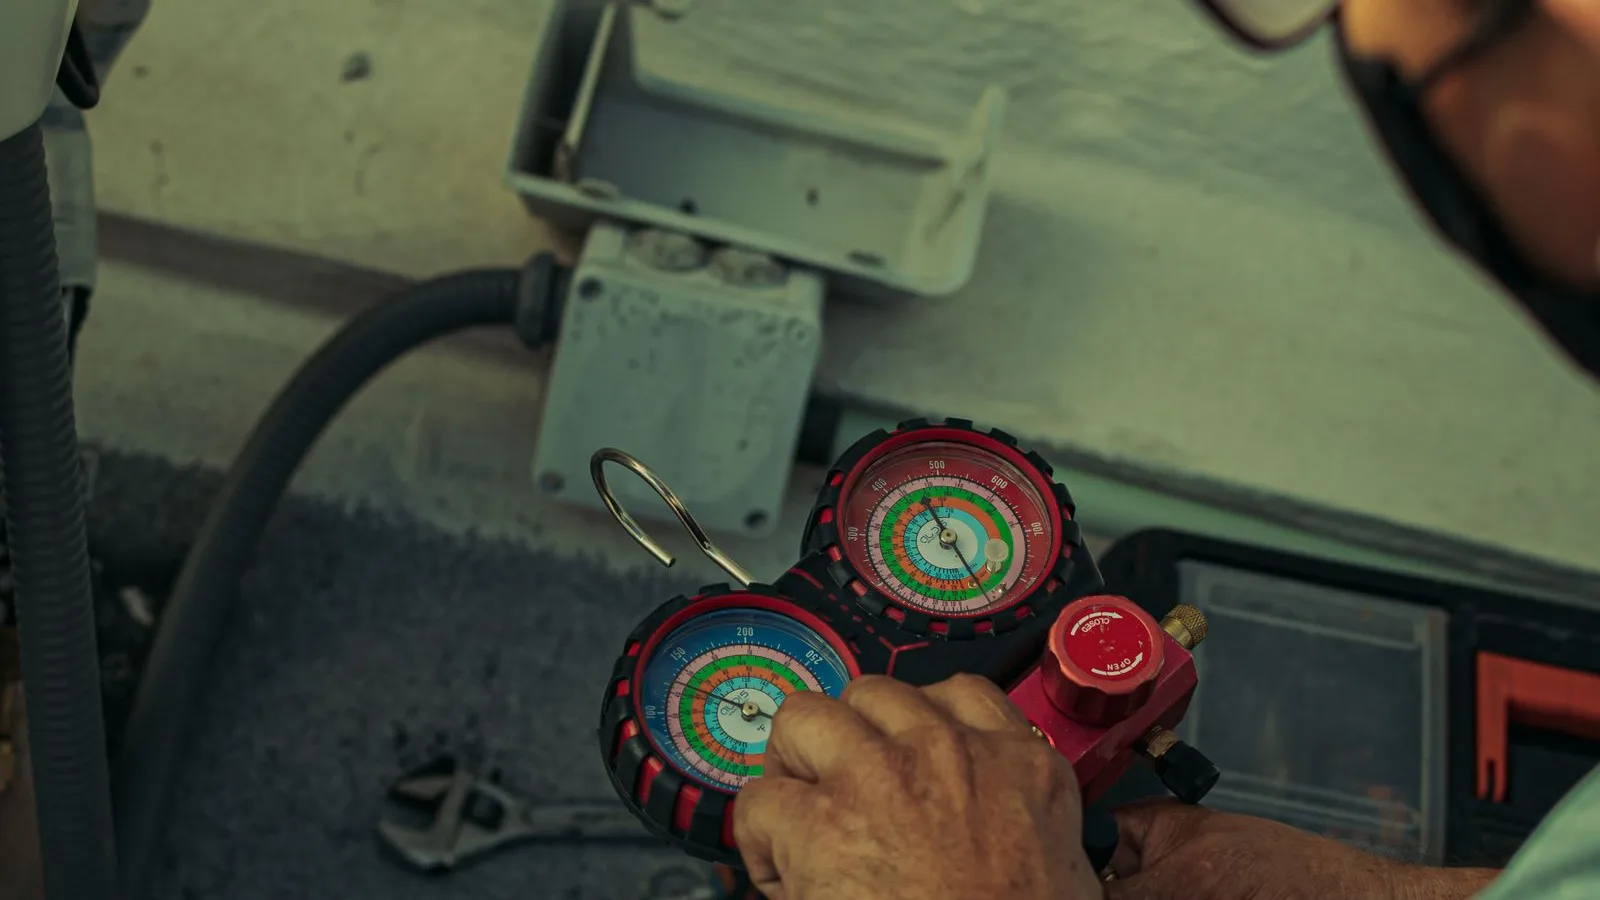
In many cases, a mini split not cooling comes down to a short list of common issues: incorrect temperature settings, dirty air filters, blocked outdoor units, refrigerant leaks, electrical faults, or a failing component. On a hot day, that’s more than annoying—it wastes energy, leaves your home uncomfortable, and can turn a small problem into a costly repair if you let it run too long.
Before you call a technician, this quick troubleshooting guide is for homeowners and mini split users who want to check the most likely causes themselves. It walks through thermostat settings, airflow and filter cleaning, outdoor unit maintenance, frozen coils, drain problems, electrical issues, refrigerant leaks, and when a professional tune-up or repair is the smarter next step.
Start Here: Fast Checks When Your Mini Split Is Not Cooling
When your mini split AC stops blowing cold air, resist the urge to panic. Most issues fall into one of five categories: wrong temperature settings, airflow problems from a dirty filter or blocked unit, a refrigerant leak, electrical issues, or a component failure. System failures can stem from something as simple as incorrect settings or modes on your remote.
Run through this quick checklist before doing anything else. First, double check that the unit is set to cooling mode with the temperature at least 3–5°F below room temperature. Second, check your electrical panel for a tripped breaker. Third, open the indoor unit's front panel and inspect air filters for dust or debris. Fourth, look for ice buildup on the evaporator coil or refrigerant lines. Fifth, step outside and listen for the outdoor unit—is the fan spinning?
Always shut off power at the disconnect or main panel before opening panels or cleaning either the indoor or outdoor units.
If the unit is completely dead—no lights, no fan, no sound—skip ahead to the electrical issues section below. If you feel warm air or lukewarm air coming from the air handlers, the problem likely sits with airflow or refrigerant.
Check Temperature Settings and Modes First
Incorrect thermostat settings are the single most common reason a mini split air conditioner appears to stop cooling. It costs nothing to fix, so start here.
Grab your remote and confirm the system is in cooling mode—not heat mode, "Dry," or "Fan Only." A wrong mode will blow air that never feels cold. Set the desired temperature at least 3–5°F below the current room temperature, then wait 5–10 minutes for the compressor to engage and cold air to start flowing.
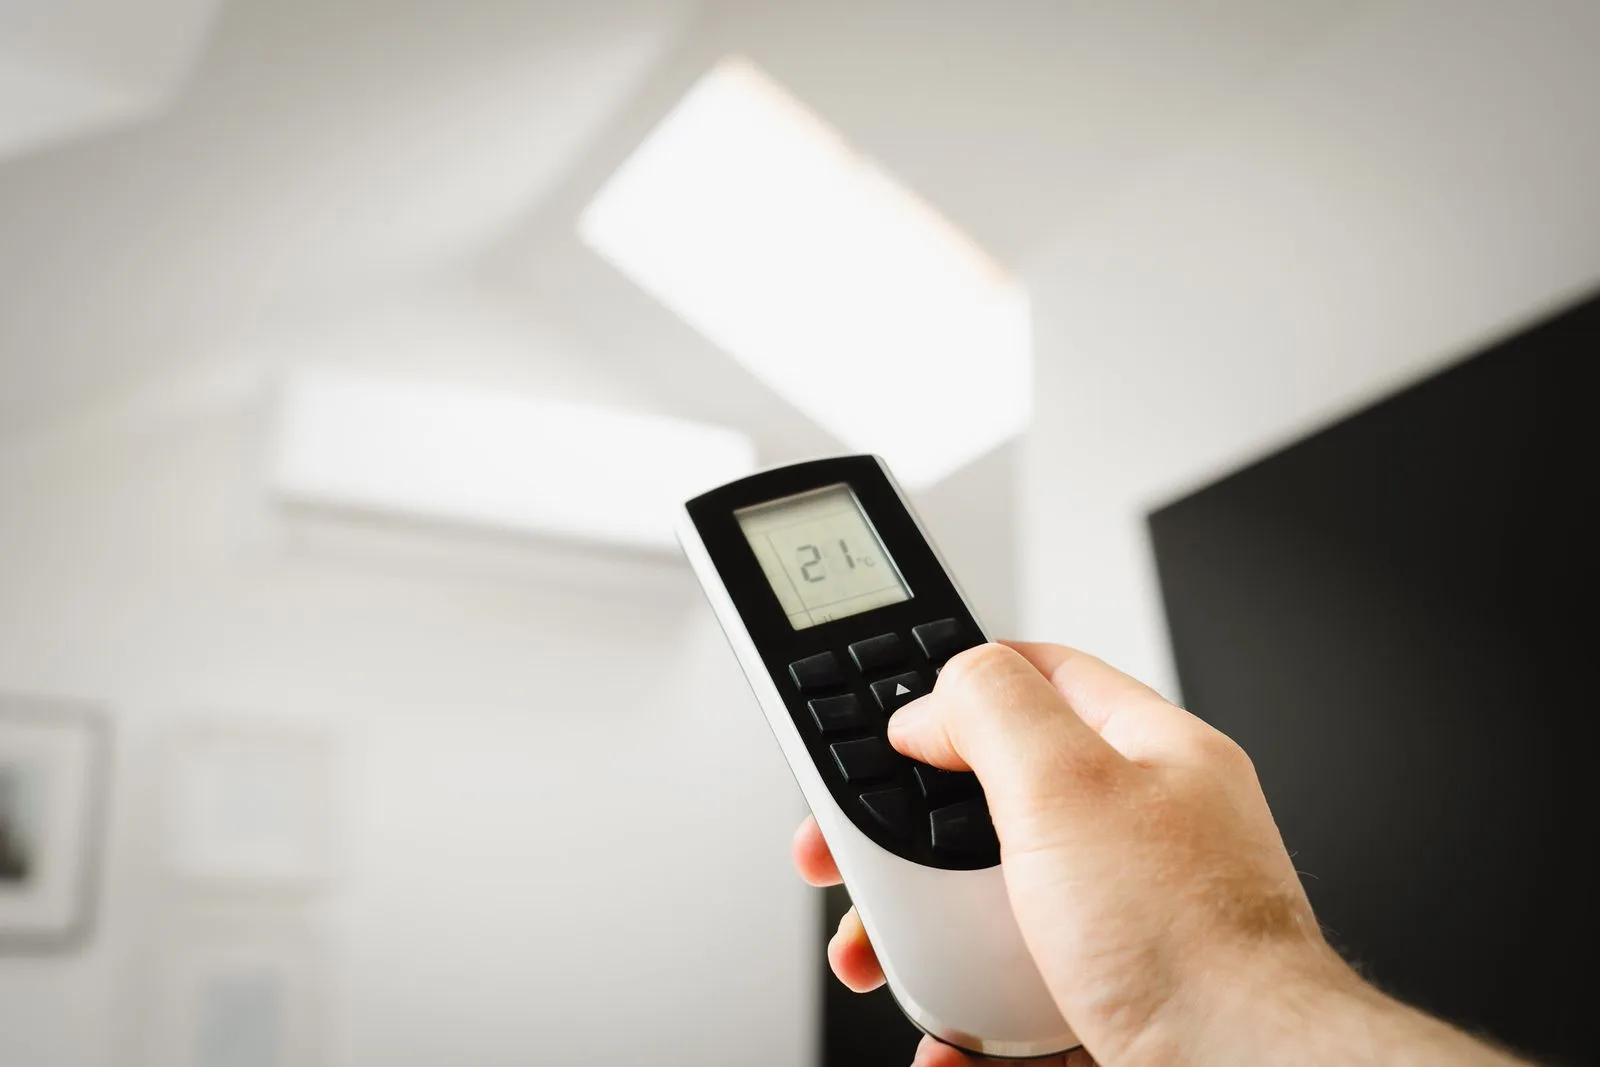
While you're at it, check the fan speed and fan setting. A very low fan speed reduces airflow across the indoor coil, weakening cooling output. Make sure the louver vanes direct air coming into the room rather than straight at the ceiling or wall. If your remote is unresponsive, replace the batteries, clean the IR sensor window on the indoor unit, and verify the display acknowledges commands.
One more thing: if your mini split is a heat pump running on a cool or wet day, it may enter defrost mode. During defrost, the system temporarily reverses cycle to melt ice off the outdoor coil, and the indoor unit blows lukewarm air for 5–10 minutes. This is normal behavior, not a malfunction.
Dirty Filter and Airflow Problems
A clogged filter is one of the fastest ways to kill cooling performance. When dirty air filters restrict airflow across the evaporator coil, the coil can't absorb heat properly—and your mini split system works harder while delivering less. Airflow issues can cause mini split cooling performance to drop significantly, and in severe cases, the coil freezes solid.
To inspect yours, open the indoor unit's front panel (usually by lifting two tabs at the top), slide out the reusable mesh filter screens, and check for dust, pet hair, and debris. Wash them with lukewarm water and mild detergent, let them dry completely, then reinstall. Cleaning or replacing air filters significantly improves airflow—dirty filters can reduce system performance by up to 25% and spike energy bills. Clogged air filters should be cleaned every 1–3 months, and every 2–4 weeks during heavy summer use.
A dirty filter can also trigger error codes, musty smells, and eventually cause the evaporator coil to freeze. Mini-split systems need clear airflow for effective cooling and heat exchange, so check that furniture, curtains, or decor aren't blocking the air intake or outlet grilles. Keep at least a few feet of open space around each air handler.
Schedule a professional tune up once a year. A technician can clean the blower wheel, internal casing, and coil surface—areas a simple cleaning at home can't reach. Dirty coils lead to reduced cooling capacity and, over time, system failure.
Blocked or Dirty Outdoor Unit
Your outdoor condenser unit has one job: reject heat to the outside air. Blocked outdoor units can prevent effective cooling even when the indoor unit seems to work fine. If shrubs, leaves, grass clippings, or storage items crowd the condenser, head pressure rises and cooling drops.
Outdoor units need at least 12–18 inches of clearance on all sides and 4 feet of open space above. Clear debris, trim vegetation, and remove anything stacked nearby. To clean the unit, turn off power at the disconnect, then gently rinse the condenser coil fins from top to bottom using a garden hose—never a pressure washer, which bends the delicate coil fins.
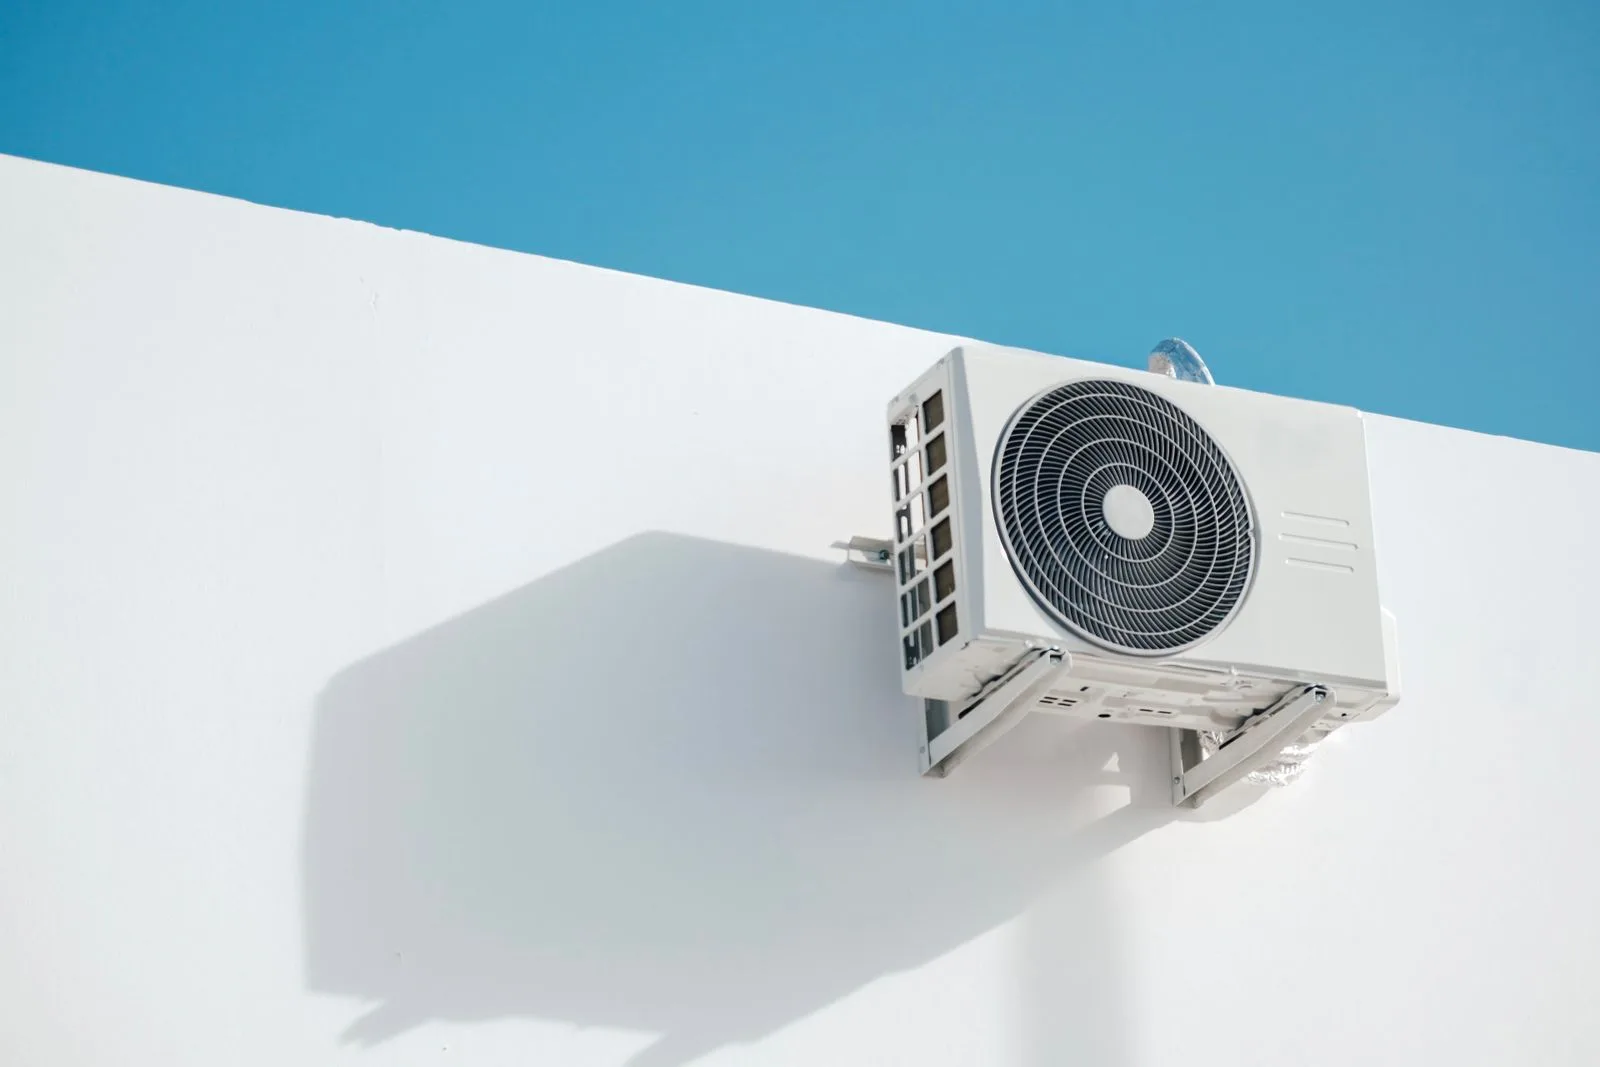
Heavy dirt, pollen, or coastal salt on the outdoor coil can mimic low refrigerant symptoms, causing the system to run constantly with minimal cooling. If the fan in the outdoor unit isn't spinning while the indoor unit runs, or the unit feels excessively hot, there may be electrical issues or a failing fan motor—call a technician.
Inspect the outdoor unit visually each season. A few minutes of preventive attention protects the overall HVAC system from overheating and costly breakdowns.
Low Refrigerant or Refrigerant Leak
A mini split is one of the HVAC industry's closed systems. Refrigerant does not get "used up" during normal operation—it circulates in a sealed loop. If refrigerant is low, it almost always indicates a leak. Low refrigerant levels cause ineffective cooling and, left unchecked, can destroy the compressor.
Common symptoms of low refrigerant include a split not cooling well despite correct thermostat settings, longer run times, ice buildup on the indoor coil or refrigerant lines, hissing sounds near connections, and climbing electric bills. Refrigerant leaks are caused by wear, poor installation, or improper charging—especially on older systems over 10–15 years old or units with visible oil stains on flare fittings and tubing.
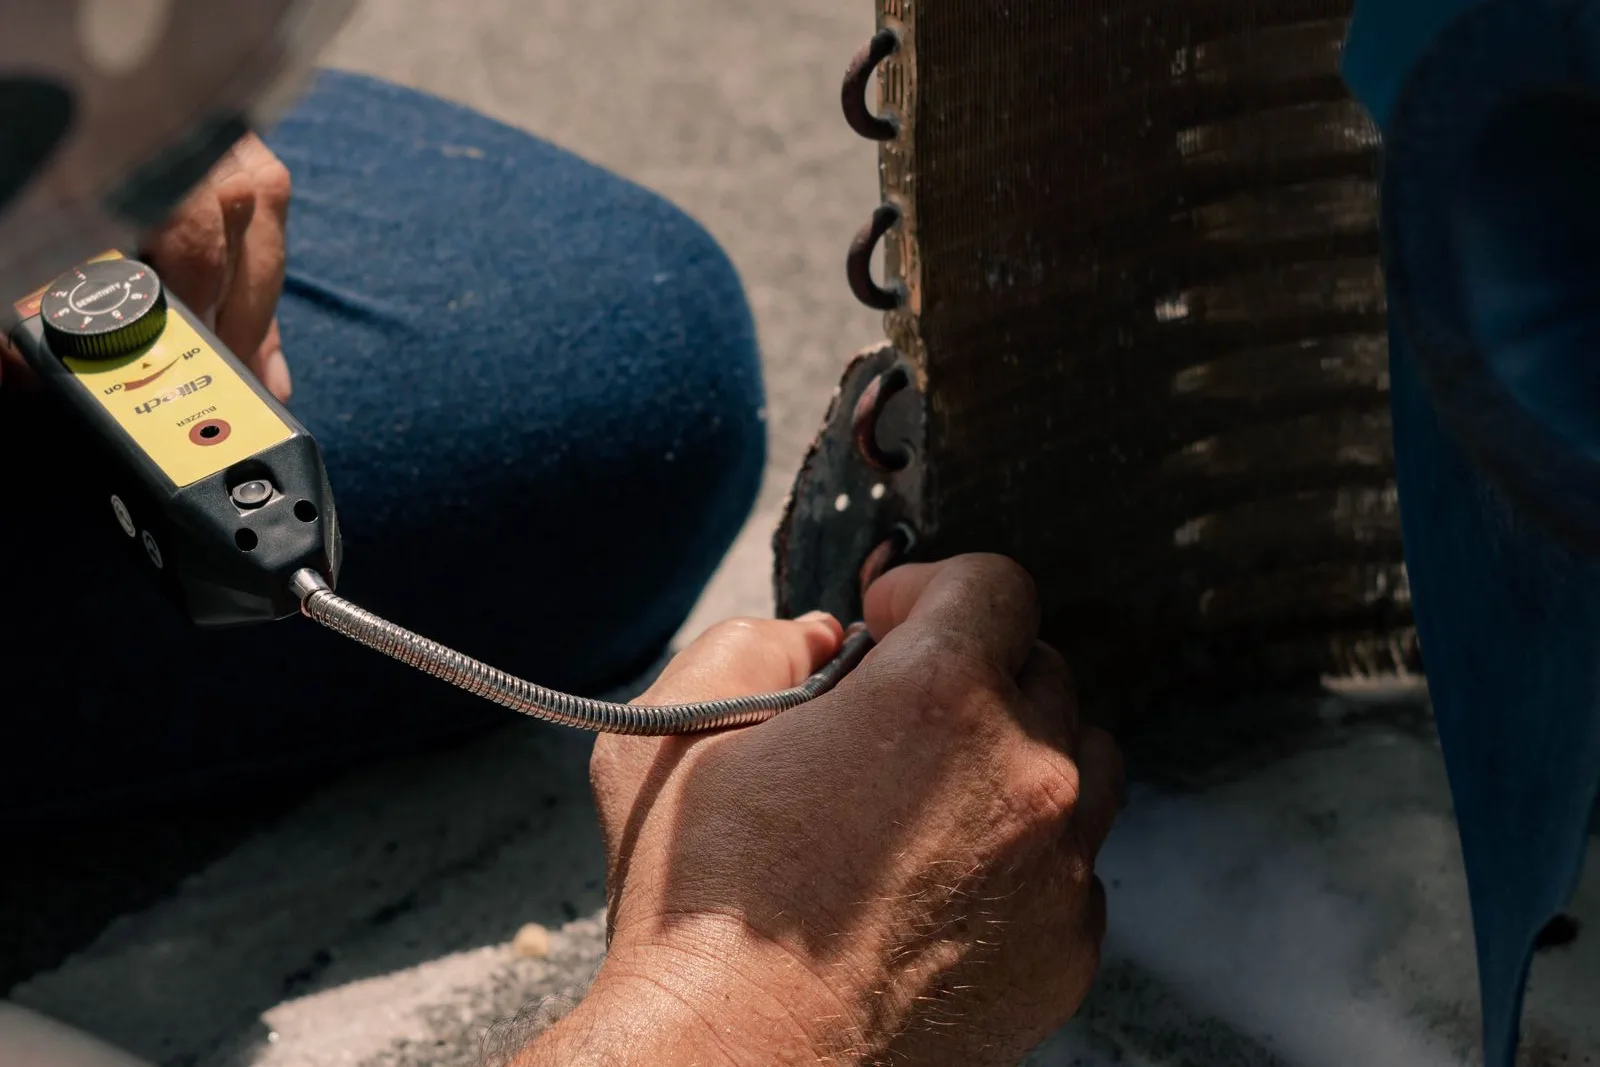
Homeowners should never attempt to recharge refrigerant themselves. U.S. EPA Section 608 regulations require specialized professional certification for refrigerant handling.
A certified HVAC technician will locate the leak, repair it, evacuate the system under deep vacuum, and recharge to manufacturer specs. Running a mini split with low refrigerant causes additional damage—compressor overheating, inverter board stress, and shortened lifespan. Repeatedly topping off refrigerant without fixing the underlying leak wastes money and risks total compressor failure. A refrigerant leak always requires a licensed technician to repair properly.
Frozen Evaporator Coil, Ice Buildup, and Defrost Mode
Ice on coils blocks heat exchange and turns your mini split into an expensive fan blowing warm air. Indoor evaporator coils can freeze due to restricted airflow or low refrigerant, and frozen evaporator coils lead to reduced cooling capacity that worsens the longer the system runs.
Open the indoor unit and look for frost or solid ice on the evaporator coil fins or exposed refrigerant lines. If you find ice, turn the system off at the remote and breaker, place towels or a tray beneath the unit to catch melt water, and allow 2–4 hours for everything to thaw. Only restart once the coil is completely clear.
Frozen coils are usually caused by a dirty filter, blocked airflow, very low fan speed settings, or low refrigerant. Resolve airflow issues first—clean filters, clear obstructions, raise fan speed—before assuming a refrigerant problem.
In cold weather, heat pumps periodically enter defrost mode: the outdoor unit reverses cycle to melt frost off its coil, temporarily sending cooler air indoors. This is normal and lasts 5–10 minutes. Recurring ice buildup or frequent, prolonged defrost cycles point to an underlying issue—fan failure, control board problems, or refrigerant issues—that needs professional diagnosis.
Drain Problems, Water Leaks, and Safety Shutoffs
If your mini split leaking water indoors is the issue, the problem may also be killing your cooling. A clogged drain line or full drain pan can trigger safety sensors that shut down the compressor to prevent water damage. You'll notice water dripping from the indoor unit, stains on the wall below, musty smells, or blinking error codes related to condensate drain faults.
Inspect the condensate drain line where accessible—usually a small PVC or flexible tube exiting near the outdoor unit. Look for kinks, algae growth, or obvious blockages. A wet/dry vacuum applied to the drain outlet can sometimes clear a clogged drain, but avoid disassembling internal drain pans or condensate pumps without experience.
A service technician can flush the drain line, clean the coil and drain pan, and test any condensate pump. Addressing water issues promptly avoids wall and ceiling damage, mold growth, and nuisance shutdowns during peak cooling season.
Electrical Issues, Tripped Breakers, and Component Failures
When your mini split is not cooling at all—no fan, no indicator lights, or only room-temperature air—electrical issues can prevent proper operation of the entire ductless system. A tripped breaker can shut down your mini split system instantly. Power surges can cause blown fuses in mini-split systems, especially during summer storms.
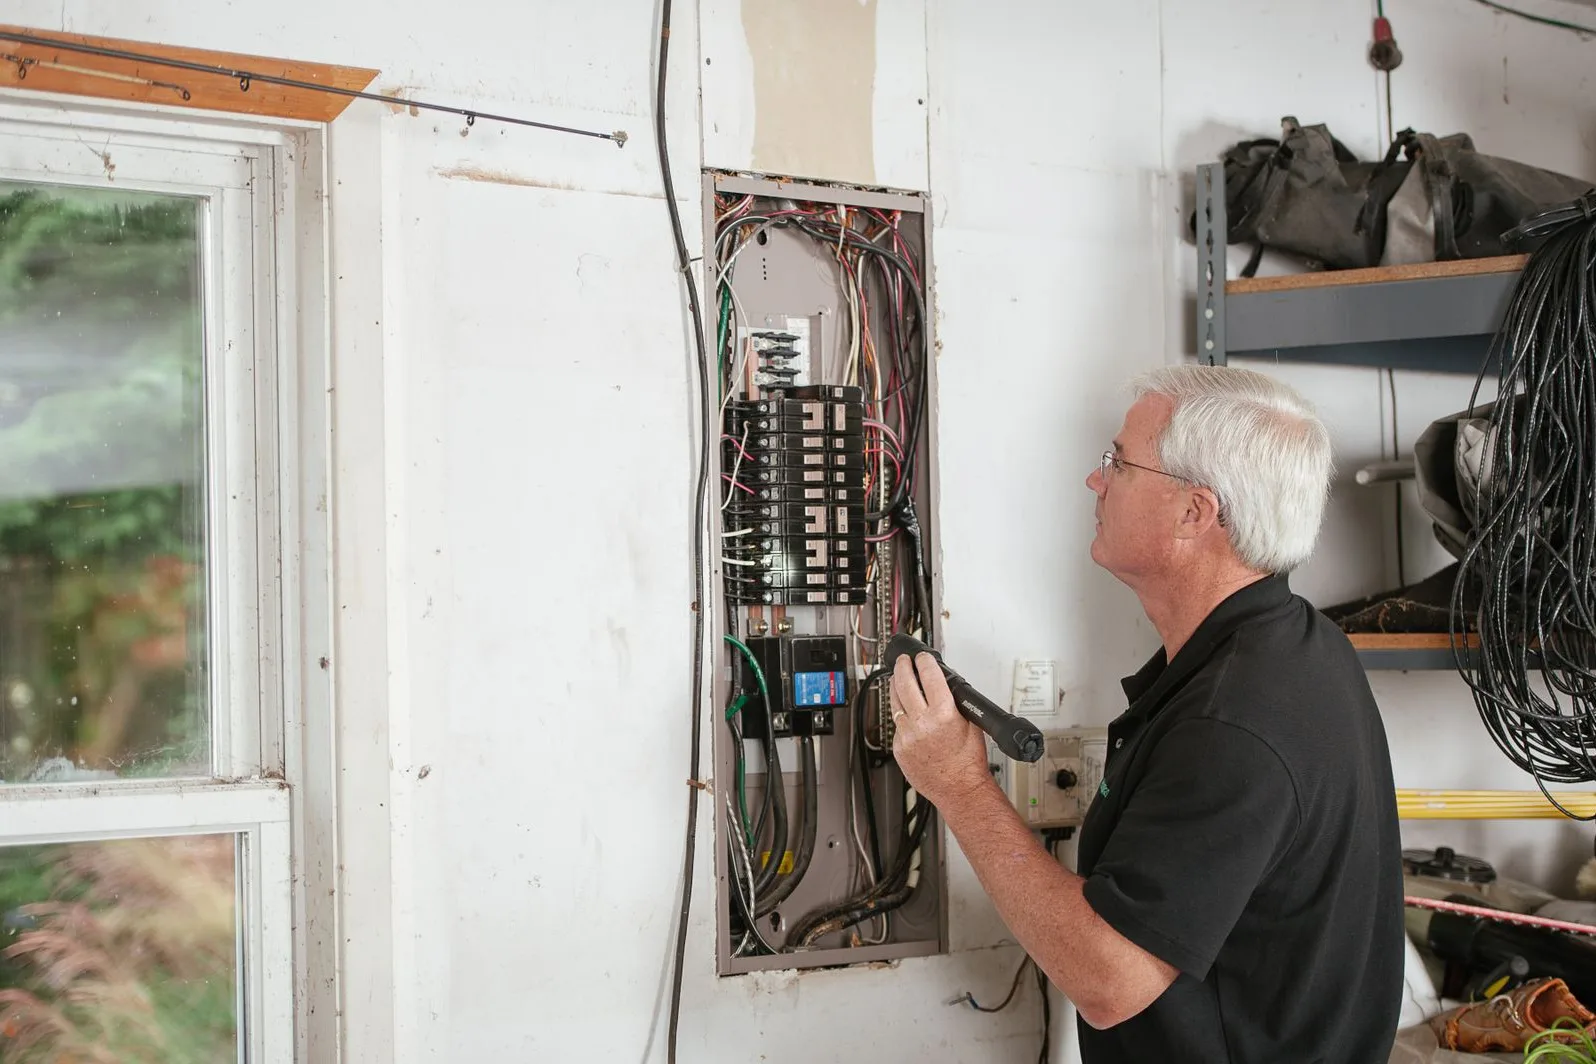
Check your electrical panel for a tripped breaker on the mini split circuit. Reset it once and observe whether it trips again under load. Repeated trips point to deeper problems: shorted wiring, a failing compressor, or a bad capacitor. A failing capacitor can lead to system failures and is actually the most common electrical failure in outdoor HVAC equipment.
Symptom clues help narrow down the issue:
| Symptom | Likely Cause |
|---|---|
| Outdoor unit hums but won't start | Capacitor failure |
| Indoor fan works, no cooling | Compressor or reversing valve |
| Communication error codes between indoor and outdoor units | Control board issue |
| No response from outdoor unit at all | Electrical issues preventing the outdoor unit from responding |
A quick reset—power off at the breaker for 1–5 minutes, then restore—can clear glitches after a power outage, but it won't fix ongoing faults. Never open electrical covers or attempt live-voltage testing yourself. Capacitor replacement cost runs $150–$400; compressor replacement cost can hit $1,500–$2,800 depending on brand and size. Protect your safety and warranty by using an HVAC professional.
Improper Sizing, Aging Systems, and When to Schedule a Tune Up
Even a mini split that's working properly can struggle if it's undersized for the space. An oversized unit short-cycles and dehumidifies poorly, while an undersized unit runs nearly 24/7, never reaching the set temperature—especially in sunny or upper-level rooms.
Indoor and outdoor units require regular maintenance for optimal performance. Regular maintenance extends a mini split's lifespan to 15–20 years. Without it, efficiency declines, breakdowns multiply, and the replacement cost of a full compressor swap may exceed the value of the aging unit.
Professional maintenance should occur at least once a year. A thorough maintenance visit includes coil cleaning on both indoor and outdoor units, verifying electrical connections, checking refrigerant pressures, flushing the drain line, and confirming the unit delivers proper temperature splits. Annual maintenance prevents costly repairs and system breakdowns before they start.
If a new installation has never cooled properly, suspect installation errors—improper line set length, poor vacuuming, incorrect charge, or wrong placement. Have a certified HVAC technician evaluate it.
Schedule a comprehensive tune up before the next hot day catches you off guard. Most mini split not cooling complaints come down to a handful of diagnosable issues. Tackle the simple ones—thermostat settings, a dirty filter, a blocked outdoor unit—and call a pro for the rest. Keeping up with regular maintenance is the single best investment in year-round comfort and optimal performance.