
What Size Hole for Mini Split Lines? Installer's Guide
What size hole for mini split lines is a question I get asked on almost every job I quote.
- Written by
- A working HVAC tech
- Updated
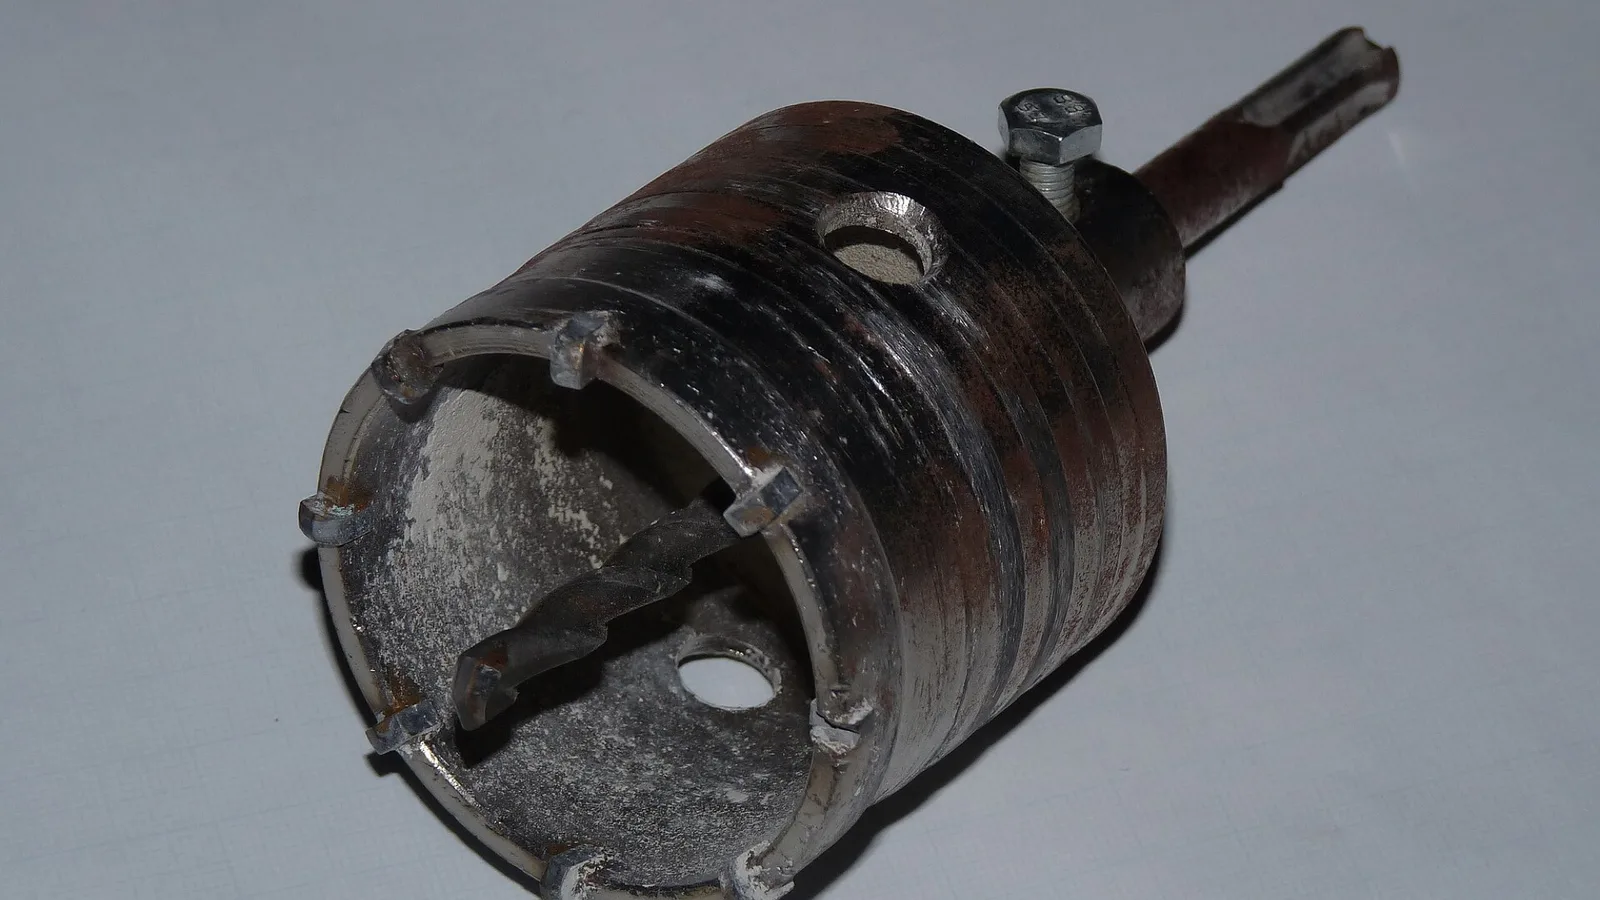
It sounds simple enough, but drill too small and you'll hurt the insulation or mess up the condensate drain. Drill too big without sealing it the right way and you can end up with drafts, moisture and pests coming in through the opening. Here's exactly how I size and drill the holes in the wall for mini split installations, based on what the manufacturer specs say and based on years of field work in Madison, Wisconsin.
Key Takeaways
-
Most mini split installs use a hole that is 2-1/2″ to 3″ across for the refrigerant lines, drain and control wire to all go through together in one group. The typical hole sizes for mini-split installations range from 2.5 to 3.5 inches.
-
Mitsubishi's MSZ-FX manual specifically calls for a 3″ hole in the wall, with the outdoor side 3/16″–9/32″ lower than the indoor side so condensate drains to the outside.
-
Larger-capacity systems (24,000–36,000 BTU) or thicker line sets may need a hole up to 3-1/2 inches, especially when you are adding extra insulation for Madison, WI winters.
-
In Madison homes, I usually core drill a 3″ hole. I size it from the equipment manual first, not from a generic rule of thumb.
Right Hole Diameter for Mini Split Lines
What passes through the wall
Everything travels through a single opening. Refrigerant lines, condensate drain hose and communication cables usually can pass through the hole together as one group. The refrigerant lines include a smaller liquid tube and a larger suction (gas) tube, and both are wrapped in foam insulation. Add the condensate drain hose and a low-voltage control cable, and the group's outside diameter is considerably larger than the bare copper alone. All of these components must fit without being crushed. Compressed insulation loses R-value, and a kinked drain line backs water into the indoor unit.
Matching hole size to BTU capacity
For most 9,000–18,000 BTU mini split systems, a hole that is 2-1/2 to 3 inches across is enough. Many manufacturer installation manuals for Mitsubishi, Daikin, Fujitsu and Pioneer specify somewhere in the 2-5/8″ to 3″ range. Larger BTU systems may need a hole up to 3-1/2 inches because the suction line grows to 5/8″ or larger and the factory insulation gets thicker.
In my own work, for Mitsubishi MSZ-FX units I follow the manual's 3″ hole spec, which gives comfortable clearance for 1/4″ + 3/8″ or 1/4″ + 1/2″ line sets, the condensate drain and a signal cable. I don't guess at this number. The manual tells me what the engineers designed around, and I agree with their math.
Here's a quick reference I share with you if you want to understand why different units need different openings:
| BTU Capacity | Typical Line Set (Liquid × Suction) | Recommended Hole Diameter | What Pushes It Bigger |
|---|---|---|---|
| 9,000–12,000 | 1/4″ × 3/8″ | 2‑1/2″ to 3″ | Thick insulation, brick veneer, UV wrap |
| 12,000–18,000 | 1/4″ × 1/2″ | 2‑1/2″ to 3″ (3″ safer) | Long line run, cold exterior wall |
| 24,000–36,000 | 3/8″ × 5/8″ or larger | 3″ to 3‑1/2″ | Multi-zone, dual drains, big insulation bundle |
How to estimate your needed diameter
With a 2-1/2″ hole, you usually have enough room for compact, low-BTU wall units with slim line sets. Measure the widest part of the pre-insulated line set group. You can add about 1/4″ to 1/2″ for the drain hose and control cable sitting alongside. If you plan to add extra insulation or UV-rated wrap, which is something I strongly recommend in a cold climate, add a bit more clearance. The hole must be slightly larger than the outside diameter of the entire grouped assembly, not just the copper tubes.
But in older Madison homes with thicker siding or brick veneer, I lean toward 3″ to avoid fighting the group through the wall. I've been on jobs where a homeowner pre-drilled a 2-1/2″ hole, and by the time I tried to route a properly insulated line set plus the drain through 8 inches of brick and sheathing, it was a battle. The responses from homeowners when I explain that we need to re-drill are never great, so I'd rather get it right the first time.
A larger hole, 3″ to 3-1/2″, is easier to work with, but it still has to be properly sealed with a sleeve, putty and exterior sealant to keep out air, water and insects. Usually the electrical disconnect and branch circuit wiring run outside the wall hole in surface conduit to the outdoor unit, so they don't change the needed hole diameter.
Tools, Slope and Wall Types for Drilling the Hole
Why I use a core drill
A core drill cuts a clean, round hole through just about any wall material. I prefer a 3″ diamond core bit for most Madison mini split installations because it produces a smoother opening than a regular hole saw, especially in masonry and older plaster walls. It's safer, more accurate and far less likely to crack brick or a concrete foundation wall. On wood-frame walls a standard hole saw can work, but the core drill is what I reach for by default.
The required downward slope
Drilling should be done with a slight downward slope of about 3 to 5 degrees toward the outside. Mitsubishi's MSZ-FX manual puts a finer point on it: the outdoor side must be 3/16″ to 9/32″ lower than the indoor side so condensate and any extra moisture flow outward, not back into the wall or the indoor unit.
This slight pitch is critical in cold climates like Madison. If the hole is back-pitched even slightly, water sits in the low spot, and when January hits (average temperature 19.4°F, normal daily lows around 11.8°F), that trapped moisture freezes. Now you've got an ice plug in your wall and a drain backup inside. I've seen it happen, and it's a problem you can avoid.
Laying out and drilling the hole
Here's how I approach it on a typical job. First, I locate studs or framing to avoid drilling through structural members. Then I mark the center point for the hole directly behind the indoor unit's piping outlet, usually on the left side of the unit where most manufacturers route the lines. I drill a small pilot hole first to verify I'm not hitting wiring or plumbing. So what do I do next? I use the correctly sized core drill, usually 3″, following the pilot. I keep the bit angled slightly down toward the outside.
Wall types around Madison
Madison homes run from one extreme to the other: wood frame with vinyl siding, fiber cement, brick veneer over wood framing, and older full-brick or block basement walls. Each one affects tool choice and drilling speed. Vinyl and wood frame go fast with a sharp hole saw or core bit. Brick veneer takes more time and absolutely needs a diamond core bit with water or vacuum dust collection. Block basement walls are similar to brick but often fall apart more easily. Go slow to avoid blowout on the exit side.
One final note on safety: use proper eye and hearing protection, watch for dust in older homes (especially anything pre-1980 that could contain lead paint or asbestos), and remember that damaging hidden electrical or plumbing can turn a mini split project into a very expensive repair.
Sealing and Cold-Climate Tips for Madison, WI
In a climate like Madison, with 7,138 heating degree days and outdoor units running in freezing weather for about half the year, how you seal and insulate the wall penetration matters as much as the exact hole diameter.
Larger Holes in Cold Regions
A 3″ opening is often better than a tight 2-1/2″ hole in cold regions for three reasons. First, it lets you add extra insulation around the refrigerant lines, keeping them from touching cold masonry where heat loss, sweating or ice buildup can result. Second, it provides room to route the condensate drain in a smooth downward path that won't trap water and freeze. Third, it makes it easier to apply air sealing and foam rod without crushing the line set.
Proper sealing steps
After pulling the line set, drain and control wire through the sleeve, I pack the inside gap with non-hardening putty or flexible foam around the lines. On the outdoor side, I am using backer rod (if needed) and high-quality exterior sealant to close any gap between the sleeve and the siding or masonry. Seal any gaps around the sleeve to prevent air drafts and moisture intrusion. Throughout, I maintain the downward slope and never trap the drain line in foam that can pinch it shut.
This is something that matters more than you might realize. In Madison's January, with that average of 19.4°F and 15.8 days per year at or below 0°F, any air leakage through an oversized, unsealed hole will increase heat loss and drafts, potentially cause condensation inside the wall assembly, and make the mini split work harder during the coldest stretch of the season. ASHRAE's 99% heating design temperature for Madison is −1.9°F, and the 99.6% design temperature is −6.8°F, so a heat pump sized to carry a Madison home alone needs published capacity at or below those temperatures. You don't want the system fighting an air leak on top of that.
Protecting refrigerant line insulation
Never cut insulation just to fit lines through a too-small hole. That's a shortcut that costs you efficiency and invites condensation problems. Instead, size the core drill correctly from the start. If you need to add extra insulation or UV wrap for outdoor exposure, plan the hole diameter, often 3″, so you can do that after the lines are in place without a big struggle.
What You Can Handle vs. What Needs a Pro
You can usually handle basic caulking around the cover plates and adding trim covers. That part isn't complicated. But brazing or flaring the refrigerant line connections, pulling a proper vacuum on the line set, weighing in the correct refrigerant charge, and checking system performance at Madison's low design temperatures, those steps need a licensed tech with the right tools and gauges. There's no shortcut around that, and I wouldn't share advice that suggests otherwise.
If you're within about 40 miles of Madison, WI, you can book me through howtoinstallminisplit.com to size and drill the correct hole diameter with a core drill, route and seal the line set properly, and commission the system so it will actually heat down into our typical winter temperatures. I'd rather do the job once than fix your undersized hole and crushed drain on a callback.
FAQ
Is a 2-1/2 Inch Hole Big Enough for Most Mini Split Line Sets?
For many smaller wall-mounted mini splits with slim line sets, especially 9,000 BTU units with a 1/4″ × 3/8″ line set, a 2-1/2″ hole can work. But I generally prefer 2-3/4″ to 3″ in Madison so there's room for the drain hose, control wire and extra insulation without crushing anything. Once you try to push a grouped line set through a tight hole in an 8″ thick brick wall, you'll understand why that extra half inch of clearance is worth it. I'd rather avoid the headache completely and drill it right the first time.
Can You Drill Multiple Smaller Holes?
Manufacturers expect all refrigerant lines, the condensate drain and the control wire to pass through one properly sized hole or sleeve. Splitting them across multiple smaller openings makes air sealing harder, increases the risk of moisture getting into the wall cavity, and doesn't match any installation manual I've seen. You should stick to a single, correctly cored opening. It's cleaner, more code-compliant and far easier to seal.
Do You Need a Professional Core Drill for a Mini Split Hole?
You can often handle wood-frame walls with standard siding with a large hole saw if you are an experienced DIYer. Brick, block and concrete usually need a proper diamond core drill. These aren't cheap tools, and they take practice to run safely. If you aren't confident locating hidden utilities behind the wall, bring in a pro. A $200 service call is a lot cheaper than hitting a water line or live electrical.