
How To Drill a Mini Split Hole Through Siding (Madison Installer)
I drill wall penetrations for mini split installs almost every week, and the most common question I get from homeowners who want to tackle part of the project themselves is: "How hard is it to drill the hole through my siding?" The honest answer is that it's very doable if you plan carefully, use the right tools, and respect a few non-negotiable rules about slope and sealing.
- Written by
- A working HVAC tech
- Updated
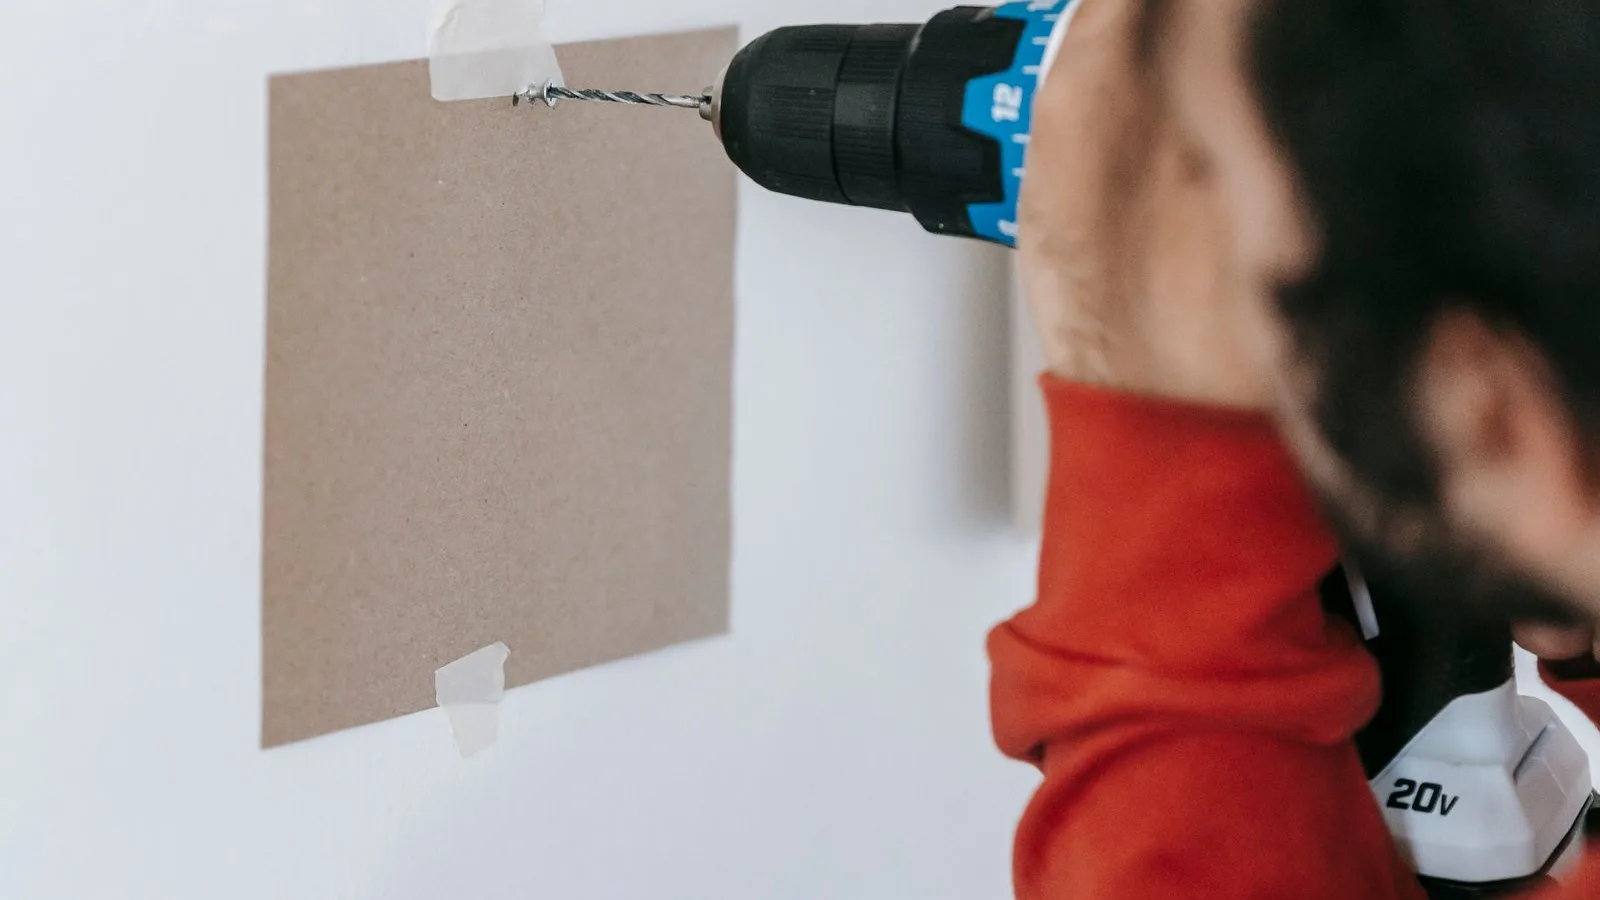
Here's exactly how I do it.
Key Takeaways
-
You can help with layout, measuring and basic drilling through wood and vinyl. But the refrigerant work, the vacuuming, the electrical connections and the permits should all go to a licensed HVAC or electrical pro.
-
In Madison, Wisconsin, you can file HVAC and electrical permits online through the city's Accela website. Focus on Energy and IRA HEAR rebates need you to use qualified contractors, which can offset thousands in cost.
How a Mini Split Hole Fits In
Before jumping into the drilling steps, it can help to understand what actually passes through this wall penetration. A typical ductless mini split system can need you to route the line set, the drain hose, the control wire and the power cord between the indoor air handler and the outdoor unit.
Where To Drill the Mini Split Hole
Drilling a hole for a mini split air handler can need precision for drainage, so it is a good idea to step and map exactly before you drill the penetration. Here's the process.
-
Mark the hole center on the interior drywall using the indoor unit mounting plate and the paper pattern. You can step up from the floor and off a corner or reference point. With most manufacturer specs, the indoor unit should be mounted 80 inches or higher above the floor, and the hole sits just below and to the right of the plate.
-
Scan for obstructions with a stud finder. It is a good idea to confirm that you're between studs and above or below any horizontal fire blocking. If anything feels off, drill a small test hole or use a small camera to peek inside the wall cavity.
-
Check the bend. The hole must allow the line set to bend gently with no kinks. The drain hose needs a constant downward pitch to the outside.
-
Step outside and confirm that the planned exit point has room for decks, rails, gas meters, hose bibs and anything else that would make the path to the outdoor unit location messy.
Safety Checks Before You Start Hole Drilling
Think of this as a quick pre-flight checklist before anyone puts a bit into the wall. Safety equipment is necessary when drilling through any wall material, full stop. Wear safety glasses, hearing protection and a dust mask. This isn't optional - drywall dust and wood chips go everywhere.
Tools for Drilling Through Vinyl Siding
Here's the concrete shopping list. Most standard residential systems need a hole saw that is 2.5 inches to 3.5 inches, so it is a good idea to size your tool to match.
Consumables and safety:
- Wall sleeve - PVC schedule 40 or manufacturer-supplied, cut so it is as thick as the wall
Drilling From Inside to Outside Step-By-Step
So how do you get cleaner fit with the indoor unit's mounting plate? In most Madison-area homes with vinyl siding, I prefer to start from the inside.
-
Mark the hole center on drywall. Use the mini split mounting plate or pattern. Double-check the height and use a level to set a slight downward angle toward the outside - that ¼-inch-per-foot drainage pitch matters.
-
Drill a small pilot hole. You can use the long ¼" to ⅜" bit. Push through the interior drywall and sheathing. You'll feel the resistance increase as you go through the OSB or plywood. Drill a small pilot hole to establish the path and angle - this is the single most important step for fit. Stop when you feel the bit just touch the back of the siding.
-
Move outside. Locate where the pilot bit came through or pushed a dent in the vinyl siding. Confirm that the exit point is acceptable - no obstructions, no aesthetic disasters, good path to where the outdoor unit will sit.
-
Start drilling with the hole saw from outside. You can center the hole saw's pilot on your existing pilot hole. Use steady, light enough pressure to cut without catching the siding. You can work inward through the vinyl and sheathing. With the pilot hole, you can verify the exit point and avoid obstructions before you commit to the big cut.
Protecting and Cutting Vinyl Siding Cleanly
Vinyl siding can crack or rattle if you rush this step, and vinyl, wood and fiber-cement sidings each need different drilling techniques. Here's how to handle vinyl specifically.
-
Tape the area. Put painter's tape around the pilot hole on the siding surface. This reduces chip-out from the hole saw teeth and gives you a surface you can mark on.
-
Control your speed. Drill at a moderate speed - about 500 to 800 RPM - with steady, light pressure. Keep the saw perfectly square to the siding so it doesn't walk or create an oval hole.
-
Clear chips often. Back the saw out from time to time to clear debris. Vinyl can melt and spread if the bit gets too hot, which makes a mess and hurts the edge of the hole.
-
Work above freezing when possible. In Wisconsin winters, vinyl gets stiff below about 60°F. If you're doing this in cold weather, warm the siding locally with a heat gun before cutting, or better yet, wait for a warmer day. Cracking a panel is not fun to fix.
Handling OSB, Plywood, Brick and Mixed Walls
Many Madison-area homes have vinyl over OSB or plywood sheathing, but some have brick or stone on lower courses. Here's what to expect.
-
Wood sheathing. You'll notice a clear feel difference when the pilot bit moves from soft drywall to thicker OSB or plywood. The material catches harder - maintain your angle and don't let the drill move off track. A sharp bi-metal hole saw makes quick work of this layer.
-
Brick or stone veneer. If you hit masonry under the siding, stop. Switch to a masonry bit and turn on hammer drill mode only for that layer. Use a diamond tip bit for drilling through concrete or hard stone. Drilling through siding is generally easier than concrete, so expect the pace to slow down a lot.
-
Solid concrete or structural brick. These are common in some basements and older foundations. Drilling through concrete may need specialized tools like core bits, and most homeowners will want a pro for that. These walls are a completely different job from wood-frame penetrations.
-
Unexpected metal. If you hit metal straps, flashing or anything you didn't expect, back out immediately. Inspect and adjust your location rather than pushing through. Forcing it is the wrong approach and risks damaging both your tool and the wall structure.
Setting the Sleeve and Maintaining Drainage Slope
-
Dry-fit the sleeve. You can slide a 2½" to 3" PVC or manufacturer-supplied sleeve through the hole. Maintain that ¼-inch-per-foot downward pitch. Some manuals recommend the sleeve be about 3/16" longer than the wall thickness.
-
Trim to fit. Cut the sleeve flush or slightly proud on each side. If you're putting line set covers (line hide) on the outside, leave the outside edge proud by about half an inch for the cover to fit against.
-
Seal the perimeter. Fill the gap around the sleeve with low-expansion foam from the interior side. On the vinyl siding side, apply a bead of UV-resistant exterior caulk. Sealing around the sleeve and penetration prevents moisture intrusion, and proper sealing is crucial to stop moisture and pests from entering.
-
Verify drain slope. Line sets and condensate drain hoses must slope downward toward the outside. The condensation drain must slope down at least ¼ inch per foot - any loop or upward dip outside the wall can cause water to back up and leak inside behind the air handler.
Pulling the Line Set Through the Hole
While refrigerant work is strictly for a licensed tech, homeowners sometimes pre-run the mechanical path. Here's how to pull the bundle through cleanly.
-
Bundle and tape. Before you push or pull the insulated line set, drain hose, control cable and power cord through the sleeve, tape the bundle smoothly with electrical tape every 12 inches. This prevents catches on sheathing edges or the sleeve lip.
-
Feed gently. Work from inside to outside, being careful not to kink the copper lines or crush the insulation. A kinked line set is expensive to fix and can restrict refrigerant flow.
-
Keep caps on. Do not open the refrigerant lines or remove factory caps. That part must stay sealed until a licensed installer connects the vacuum pump and starts up the mini split system.
-
Protect the opening. If the outdoor unit and line set covers will be installed later, tape plastic over the exterior sleeve to keep out weather and pests. Missing this step at first means you might find a nest of something unpleasant when you come back to complete the install.
When to Call a Pro (Permits, Electrical and Rebates in Madison)
Permits: In Madison, HVAC and electrical repair or replacement permits are required for mini split installations. The city takes online applications through its Accela portal. For existing buildings, the permit fee is typically around $25 per split system. New buildings and additions have to call the permit counter at (608) 266-4551 to set the fee.
Electrical: Adding a 240V circuit for a mini split may require a panel upgrade if your load center is full. The IRA HEAR program, run through Focus on Energy in Wisconsin, pays up to $4,000 for an electrical panel and up to $2,500 for wiring - but only when done by an IRA Registered Contractor, and not for new construction. That is real money that folks leave on the table by trying to DIY the electrical.
-
Focus on Energy instant discounts on qualifying heat pump mini splits are paid to a participating seller and passed through a Trade Ally contractor. The discount comes off the bill - there's no form for you to fill out, but it has to go through a Trade Ally.
-
Wisconsin's IRA HEAR program can cover up to $8,000 for an ENERGY STAR heat pump mini split system for heating and cooling, but it must be installed by an IRA Registered Contractor.
When you add up the price of permits, rebate eligibility and the cost of getting refrigerant and electrical work right, hiring a qualified HVAC guy often makes more financial sense than you'd guess.
Common Mistakes Drilling the Mini Split Hole
Here's a quick list of problems I see in the field around Madison when you attempt this yourself.
-
Wrong slope. The hole is level or angled inward, so condensate runs back into the house. I've seen water damage behind the indoor unit that was not noticed for months. "Close to level is fine" is dead wrong.
-
Bad location. So what happens if you drill straight into a stud, through a plumbing vent or come out behind a downspout or deck ledger on the outside? This means you have to patch and re-drill - not a fun afternoon.
-
Sloppy cutting. Over-tightening or misusing the hole saw leads to cracked vinyl panels or an out-of-round hole that's almost impossible to seal properly. Light, steady pressure is the sound approach.
-
Skipping the sleeve and sealant. Without a sleeve and proper sealing, rodents, insects, humid air and cold drafts follow the line set right into your wall cavity. In a climate where we see temperatures well below zero, that thermal bridge covered in condensation creates mold in the center of your wall.
-
Oversizing the hole. Bigger isn't better. An oversized hole means more foam, more opportunity for air leakage, and a messier look behind the line set cover.
How Our Madison Shop Can Help
Here's how it usually works.
-
Split the job. You drill the basic hole through vinyl siding and interior framing. I handle the refrigerant and electrical scope - including brazing or flaring, pulling vacuum, leak testing and startup. This can save you money on labor while keeping the licensed work covered.
-
Or go full service. I handle the complete mini split system installation from start to finish, including permits, line set path and the outdoor unit (which can be mounted on various surfaces like cement pads or rubber isolation pads at ground level).
ASHRAE puts Madison in climate zone 5A, with about 7,053 heating degree days versus just 653 cooling degree days (base 65°F). That means heating capacity, not cooling, is what drives mini split sizing here - and getting the system design right matters as much as getting the hole drilled clean.
If you're within about 40 miles of Madison, reach out through howtoinstallminisplit.com for an on-site evaluation, permit handling and guidance on Focus on Energy and IRA HEAR eligibility. Whether you decided to prep the wall yourself or want the whole thing hung and running, I can create a plan that fits your budget and your house.
FAQ
What size hole for a mini split line set through vinyl siding?
Most single-zone wall-mounted mini splits use a hole that is 2.5 inches in diameter to fit the insulated line set, control wire and condensate line. Larger systems - 18,000 BTU and up - may need up to 3 or even 3⅛ inches. Always check your manufacturer's installation manual for the exact spec, as the rest of the install depends on getting this right.
Should you use a hammer drill on vinyl siding?
Through drywall, OSB and vinyl siding, you want a regular drill mode with a bi-metal hole saw. Hammer drill mode is saved for masonry or concrete layers behind the siding. Running a hammer drill through vinyl will almost certainly break or crack the panel. If you notice you've hit brick or block, stop, switch to a masonry bit, and then engage hammer mode.
Drill the mini split hole from inside or outside?
I normally drill a small pilot hole from inside using the indoor unit pattern for fit, then go outside and use the hole saw led by that pilot for a clean, straight cut in the vinyl siding and sheathing. This two-step method gives you the best control over placement and drainage angle.
Can I install the mini split myself if I drill the hole?
While many homeowners can safely handle layout, hole drilling, sleeve installation and even pulling the line set through the wall, the refrigerant work - vacuuming with a vacuum pump, flaring, torqueing and leak testing - generally needs a licensed, insured contractor. Electrical connections for a new circuit also need a licensed electrician and permit. Skipping this can void warranties, violate code and disqualify you from rebate programs worth up to $8,000 in Wisconsin. With that much luck on the table, it rarely makes sense to skip the pro.
What if my wall is concrete instead of framed with vinyl siding?
Solid concrete or block walls need a proper masonry or diamond core bit and a strong hammer drill - sometimes a dedicated core drill rig. Rebar can make the job especially challenging. The heck of it is you won't know it's there until you hit it. In most cases, it is smarter and cheaper in the long run to have an experienced installer handle those penetrations rather than renting specialized equipment for a one-time job.