
How To Bend Mini Split Line Sets Without Kinking Them
How to bend mini split line set without kinking it comes down to taking care and using the right technique, and the right technique changes based on the size of the copper you are working with.
- Written by
- A working HVAC tech
- Updated
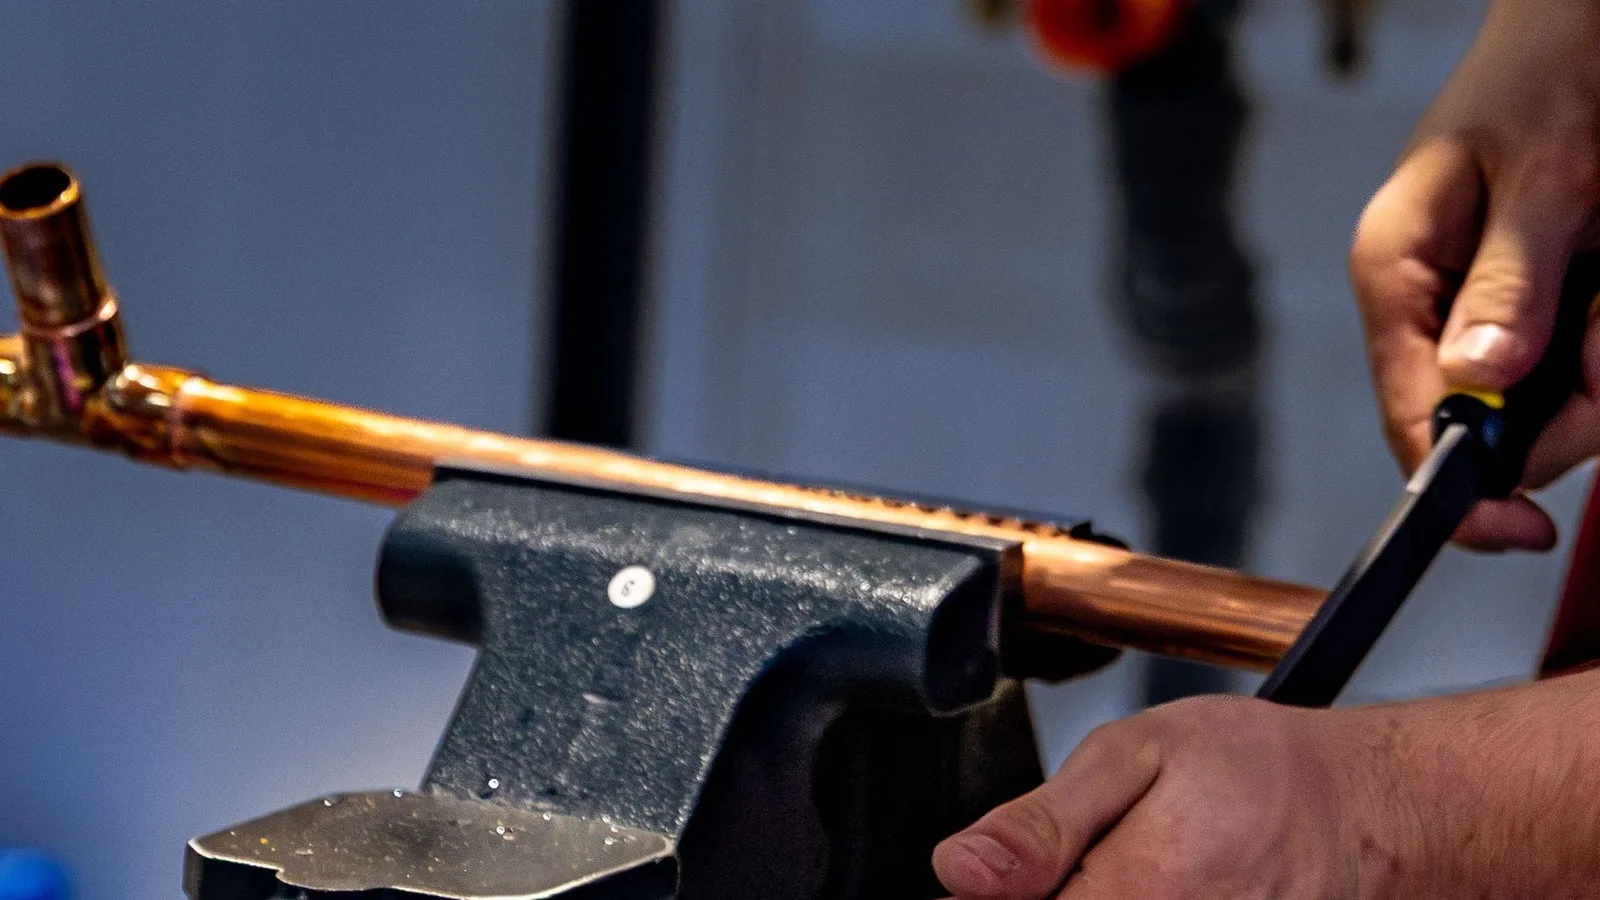
I install mini splits in Madison, Wisconsin and this post covers exactly how I handle curves on every install - from getting the line set unrolled to the final dress-out in a line set cover.
Key Takeaways
-
Most 1/4 inch and 3/8 inch copper are easy to bend by hand for gentle curves. For 1/2 inch and 5/8 inch copper, you really need a tool to avoid kinks.
-
I usually straighten 3–4 feet of line set at the indoor head unit, then form a single smooth 90° bend with at least a 4–5 inch bend size toward the wall penetration.
-
Mitsubishi's FX series sets a minimum 4 inch bend size, lets you have a maximum of 10 turns, and kinked copper is an automatic "cut it out and re-flare" situation - never something to leave in service.
How Mini Split Line Sets Work
A typical mini split installation around Madison looks like this: outdoor condenser sitting at grade, indoor wall cassette on an exterior wall, 10–35 feet of line set between them sent through a wall sleeve and often inside a line set cover outside.
-
The copper is soft-annealed tubing, which bends easily but will kink if the bend size is too tight or you twist while you bend it.
-
Mitsubishi's MSZ-FX 06/09/12 lets you have up to 65 ft of line and 40 ft of lift. The FX15/18/24 lets you have 100 ft and 50 ft. Both limit you to 10 bends - so every bend should be clean, smooth and necessary.
-
The minimum bend size is often specified as 4 to 6 times the tube's outer diameter. Mitsubishi sets 4 inches as the floor for FX units. Staying at 4–5 inches or more is a safe target for most hand work with smaller copper.
Hand Bending vs Using Tools
Some work on mini split line sets is something you can do yourself. Some really should involve a tool or a licensed installer. Here's where I draw the line:
-
1/4 inch and 3/8 inch lines can usually be shaped by hand for wide 45°–90° curves, as long as you support the tube with your palm and move gradually. Spring tools support smaller copper sizes while you bend and are worth the few dollars if you want extra insurance.
-
1/2 inch copper needs gradual work to avoid flattening. On 15–18K Mitsubishi FX units the gas side is 1/2 inch, and on the 24K unit it's 5/8 inch - these sizes benefit from a matched size tool.
-
5/8 inch and 3/4 inch copper should not be bent by hand. The risk of ovaling or crushing the cross-section is too high.
-
Lower quality 3/8 inch copper can kink more easily than thicker tubing. Higher quality copper tubing is about 0.8 mm thick, which gives you more room to work with. Check the wall thickness marked on the coil before you start.
-
Hand work technique: keep two hands on the copper, bend a couple of degrees at a time while sliding your hands along the line, and never snap it over a knee or sharp edge. Bend copper gradually to avoid kinking.
-
If you see a flat spot or feel a crunch in the copper, that section is compromised. Cut it out and re-flare - do not try to un-kink it.
How To Straighten a Line Set Without Kinks
This section walks through unspooling and straightening mini split line sets properly, because most kinks happen before you even start to bend.
-
The coiled line set is placed flat on the ground outside, with the insulation still on it, and with the free end on top. Do not pull from the middle of the coil.
-
So how do you get the coil open? Hold the first 2–3 feet firmly, then walk the coil out in a straight line, letting the copper untwist naturally. Work 10–15 feet at a time.
-
Straighten at least 3–4 feet near the indoor unit so that section can lie flat against the wall and make one controlled bend into the wall sleeve.
-
Gently hand-straighten by sight - push high spots down, pull low spots up, but keep all movements smooth. Avoid reversing direction sharply, which can crease the copper inside the insulation.
-
If insulation bunches or twists while uncoiling, stop and rotate the entire line set a quarter-turn rather than forcing the copper to twist inside the foam.
-
Inspect the full run after unspooling for any flat spots, nicks or pre-existing kinks from shipping. Always keep the ends of copper lines sealed during handling to prevent contamination - a simple cap or tape over each end works.
How To Bend Copper at the Indoor Unit
-
Drill the wall penetration slightly lower than the service ports on the indoor unit so the line set slopes gently downward. This limits how sharp the bend at the back of the unit needs to be.
-
Hold the copper about 4 feet back, press it lightly along the wall path, then begin a smooth 90° turn toward the wall sleeve with at least a 4–5 inch bend size.
-
Hand technique: you can cup your hands around the insulated lines, push with your thumbs on the outer arc while pulling gently with your fingers on the inside, and work your way along the bend 1–2 inches at a time. You'll want to bend the copper gradually, not flex it in one spot.
-
Keep the 1/4 inch and 3/8 inch lines parallel - don't let them cross. If the factory-taped bundle twists, rotate the whole bundle instead of forcing one tube tighter.
-
Dress the finished bend with a short section of line set cover or decorative channel if the lines are exposed inside, so the route looks clean and planned.
Bending Larger Line Sets With Tools
For anyone installing a 15K–24K mini split, the gas line goes up to 1/2 or 5/8 inch, and tools become essential. You'll want to avoid working on larger copper sizes by hand.
-
On 15K and 18K units the gas line is 1/2 inch. On 24K it's 5/8 inch. These sizes oval or flatten quickly on a tight 90° by hand. Use a 5-inch bend size for 90-degree turns in 1/2 inch copper.
-
Tool types in simple terms: spring benders for 1/4–3/8 inch tubing, lever-type tubing benders for 3/8–1/2 inch (these provide precise angle measurements without flattening the copper outer wall), and ratchet benders that provide leverage for larger refrigerant lines in the 1/2–5/8 inch range.
-
Using internal flexible insert benders prevents kinking and supports the walls of tubing from the inside. Matched benders create smooth, controlled bends for specific sizes.
-
Avoid using pliers or channel locks to bend copper tubing, as they can crush the copper. Using proper tools reduces kinking in copper tubing across every size.
-
Plan bend locations before starting: lightly mark the insulation where a 90° needs to seat (for line set cover fittings or to hit a wall sleeve), then position the tool jaws at that mark.
-
Every bend counts toward the 10-bend limit on Mitsubishi FX units. Sometimes a slightly longer, smoother route beats stacking several tight 45°s to hug a corner.
Routing Line Sets Through Walls and Covers
-
Bore a 2-1/2 or 3 inch hole through the wall with a slight downward pitch to the outside. The bend into this sleeve is usually one smooth 90°.
-
Pull enough slack outside, then gently bend so the copper lines enter the sleeve on center without rubbing the edge of the hole. That's the easiest way to avoid a stress point.
-
Plan turns to match line set cover fittings - a 90° elbow at the soffit, a 45° bump around an obstacle - so you're working to meet those fittings instead of fighting them after they're mounted.
-
Gentle S-turns are better than a pair of tight back-to-back 90°s when changing direction. They reduce pressure drop, friction and the chance of kinking.
-
Dry-fit the cover base and elbows before final work. Adjust the copper so it sits naturally inside the channel without being forced against one side.
-
Protect insulation at tight spots: anywhere the line exits a wall sleeve, passes a metal edge or turns under a bracket, add extra foam or tape to maintain at least 5/16 inch thickness - that's Mitsubishi's FX insulation spec on both lines.
When Bending Goes Wrong: Kinks, Flat Spots and Calling a Tech
-
A true kink in a mini split line set is a sharp crease where the copper wall visibly folds, the tube goes flat or you feel a hinge point when you flex it. This is never acceptable to leave in place. Improper work can lead to refrigerant flow restrictions, compressor overheating and premature failure.
-
Minor flattening - a slight oval on a gentle bend - is normal. Heavy flattening beyond about 20–30% reduction of diameter is reason to stop and cut that section out.
-
Inspect the bend for flat spots, creases or kinks after work. Any kinked section must be cut with a tube cutter, the ends reamed and cleaned, and new flare connections made. This usually needs a flare block, torque wrench and micron gauge for evacuation.
-
On Mitsubishi FX systems, if you shorten or lengthen the line set past the 25 ft factory charge on FX09/12 (or 50 ft on FX15–24), the refrigerant charge must be adjusted: add 0.22 oz of R-454B per foot beyond the chargeless length, charged slowly as liquid. That's licensed-tech work.
-
Warning signs after start-up that point to a bad bend: loud compressor, short cycling, poor cooling despite clean filters, or frost on one section of the line set. If you've heard any of these, don't worry about troubleshooting blindly - have someone check the lines.
-
If you're within about 40 miles of Madison, WI and suspect a kinked line set or need help with re-flaring, pressure testing or pulling a deep vacuum, you can reach out through howtoinstallminisplit.com. Thanks for reading - share this post with anyone planning a mini split install, and feel free to check out the video guides on the site for more tips on installing mini splits the right way.
FAQ
Can I bend a mini split line set already connected to both units?
Avoid making new tight turns once both ends are flared and torqued, because twisting can easily stress the flare fittings and cause a leak. Light repositioning with wide, gentle curves is usually fine, but major re-routing should be done with the system recovered, lines disconnected and then re-bent and re-flared by a tech with the right equipment.
Can you have loops with a longer line set?
One or two large, gentle loops are common and won't hurt anything. Avoid tight coils - spread the extra length horizontally or vertically with wide bend sizes. Remember that Mitsubishi FX systems cap total turns at 10, so don't add decorative turns just to buy time or use up copper.
Do I need to insulate bends differently?
Factory insulation handles normal bends, but anywhere the foam stretches or thins on the outside of a bend, wrap extra foam or UV-rated tape to maintain at least 5/16 inch thickness around the lines, especially on the suction (gas) line to prevent condensation and energy loss.
Can I use an electrical conduit bender on my mini split line set?
No. EMT or rigid conduit benders are sized and curved for steel, not soft copper and can easily flatten HVAC tubing. Only use HVAC-rated tubing benders sized for 1/4, 3/8, 1/2, or 5/8 inch refrigerant line sets.
What's the minimum distance so you don't have to loop the line set?
Many mini splits allow short runs, but Mitsubishi's FX series cautions that runs under about 16 feet can produce intermittent noise in quiet rooms. I'd suggest planning at least that much total line length, laid out in smooth shallow turns rather than tight coils, for both noise and oil return reasons.